Install Apache CloudStack Management Server on Red Hat Enterprise Linux 8

This is part of a series of posts that will cover building and using Apache CloudStack.
Part of my day to day task is building combinations of servers and applications to prepare for customer installs and make myself familiar with these applications.
I have been quite happy running VMware vSphere in my home lab for this use case. More recently, I do find myself using and building skills on different cloud infrastructures like Amazon AWS, Microsoft Azure, Google Cloud Platform and IBM Cloud.
Enter Apache CloudStack. Apache CloudStack helps me combine my knowledge of cloud whilst I continue building my knowledge of other hypervisors like Linux KVM, LXC, VMware vSphere, Microsoft Hyper-V and Citrix XenServer.
I also get to build and apply my knowledge around Ansible automation, Hashicorp Packer and Terraform and cybersecurity onto both cloud and hypervisors in one go.
Task Duration - 60 minutes
On this post, we will go through and build the Apache CloudStack Management Server.
Step 1
Register the server using the subscription-manager command.

Step 2
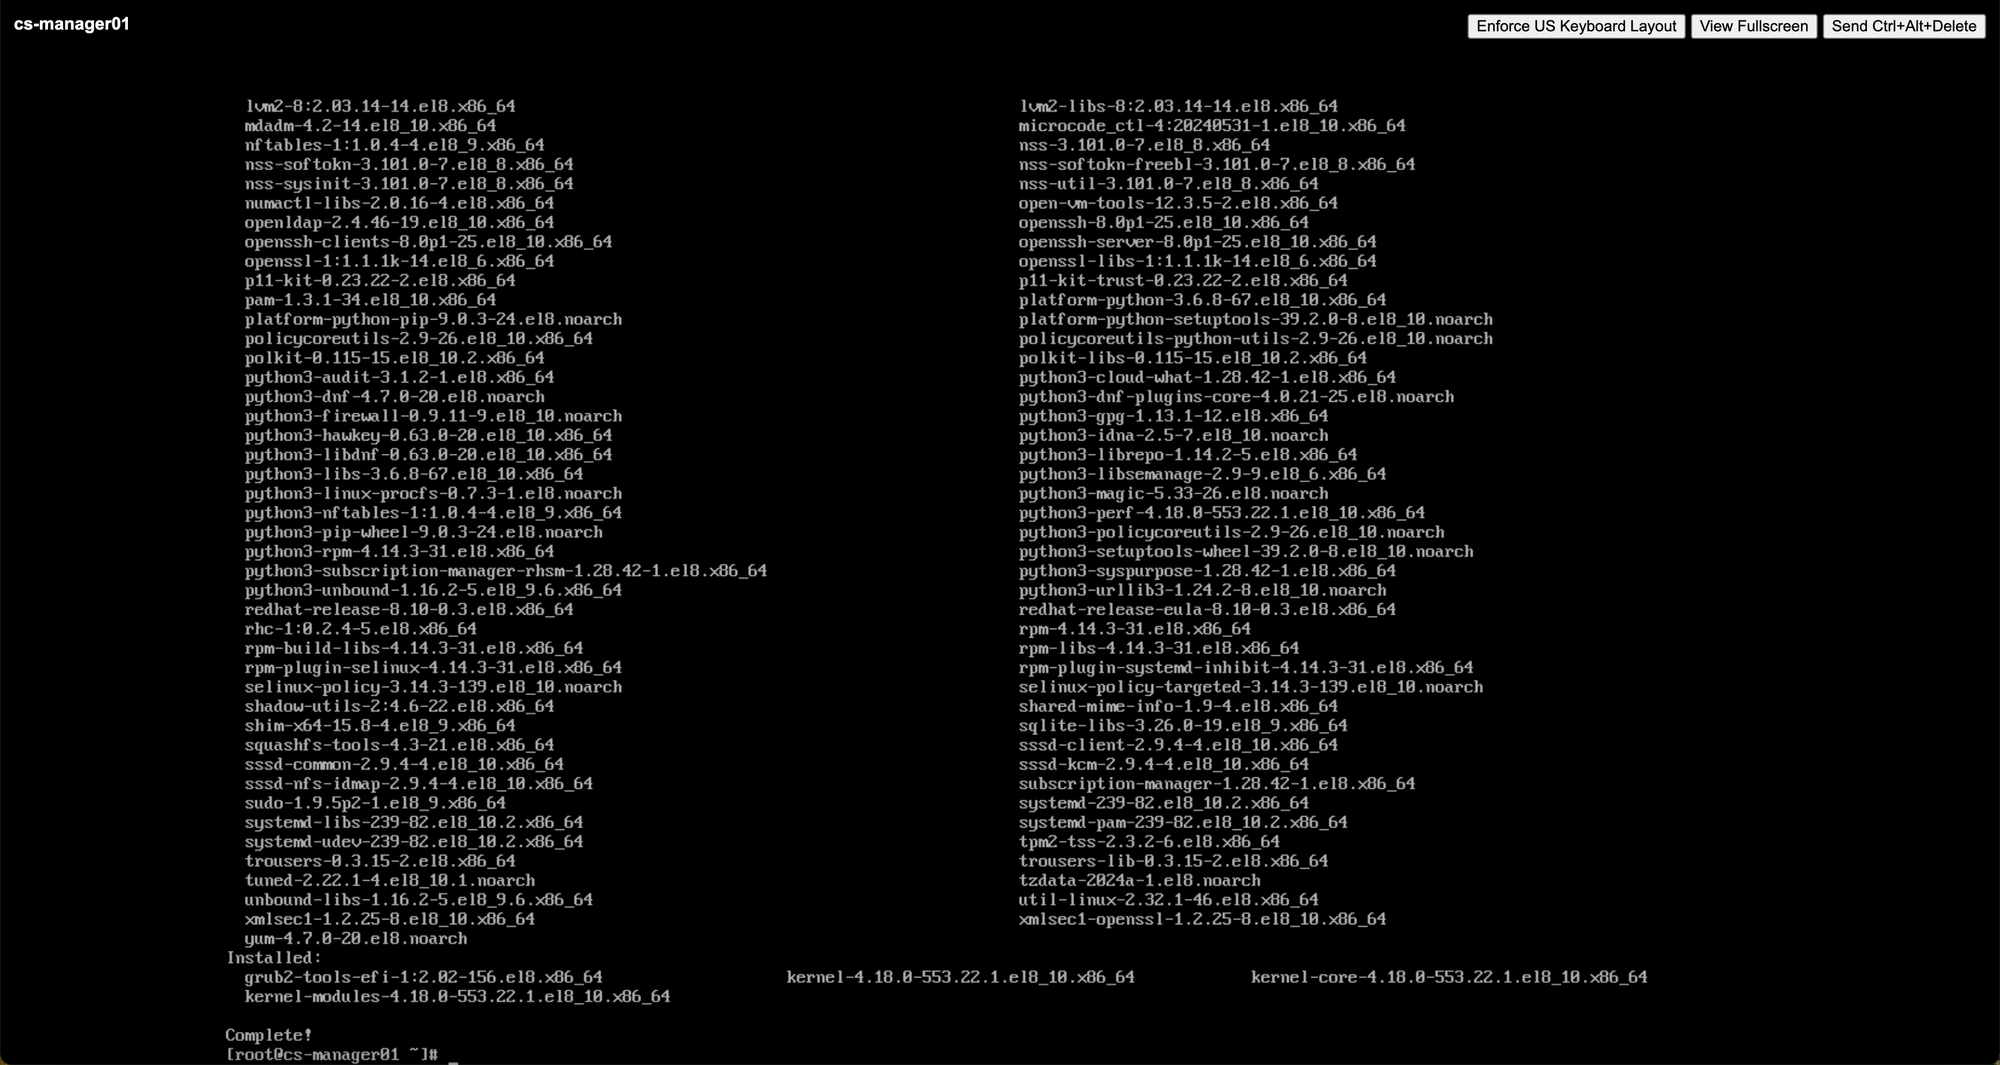
Run the dnf update command to patch the Red Hat operating system.
Step 3
The steps here are similar to what is listed on the https://docs.cloudstack.apache.org - Prepare the Operating System section.
Check the fully qualified hostname.

Step 4
Make sure the machine can reach the Internet.

Step 5
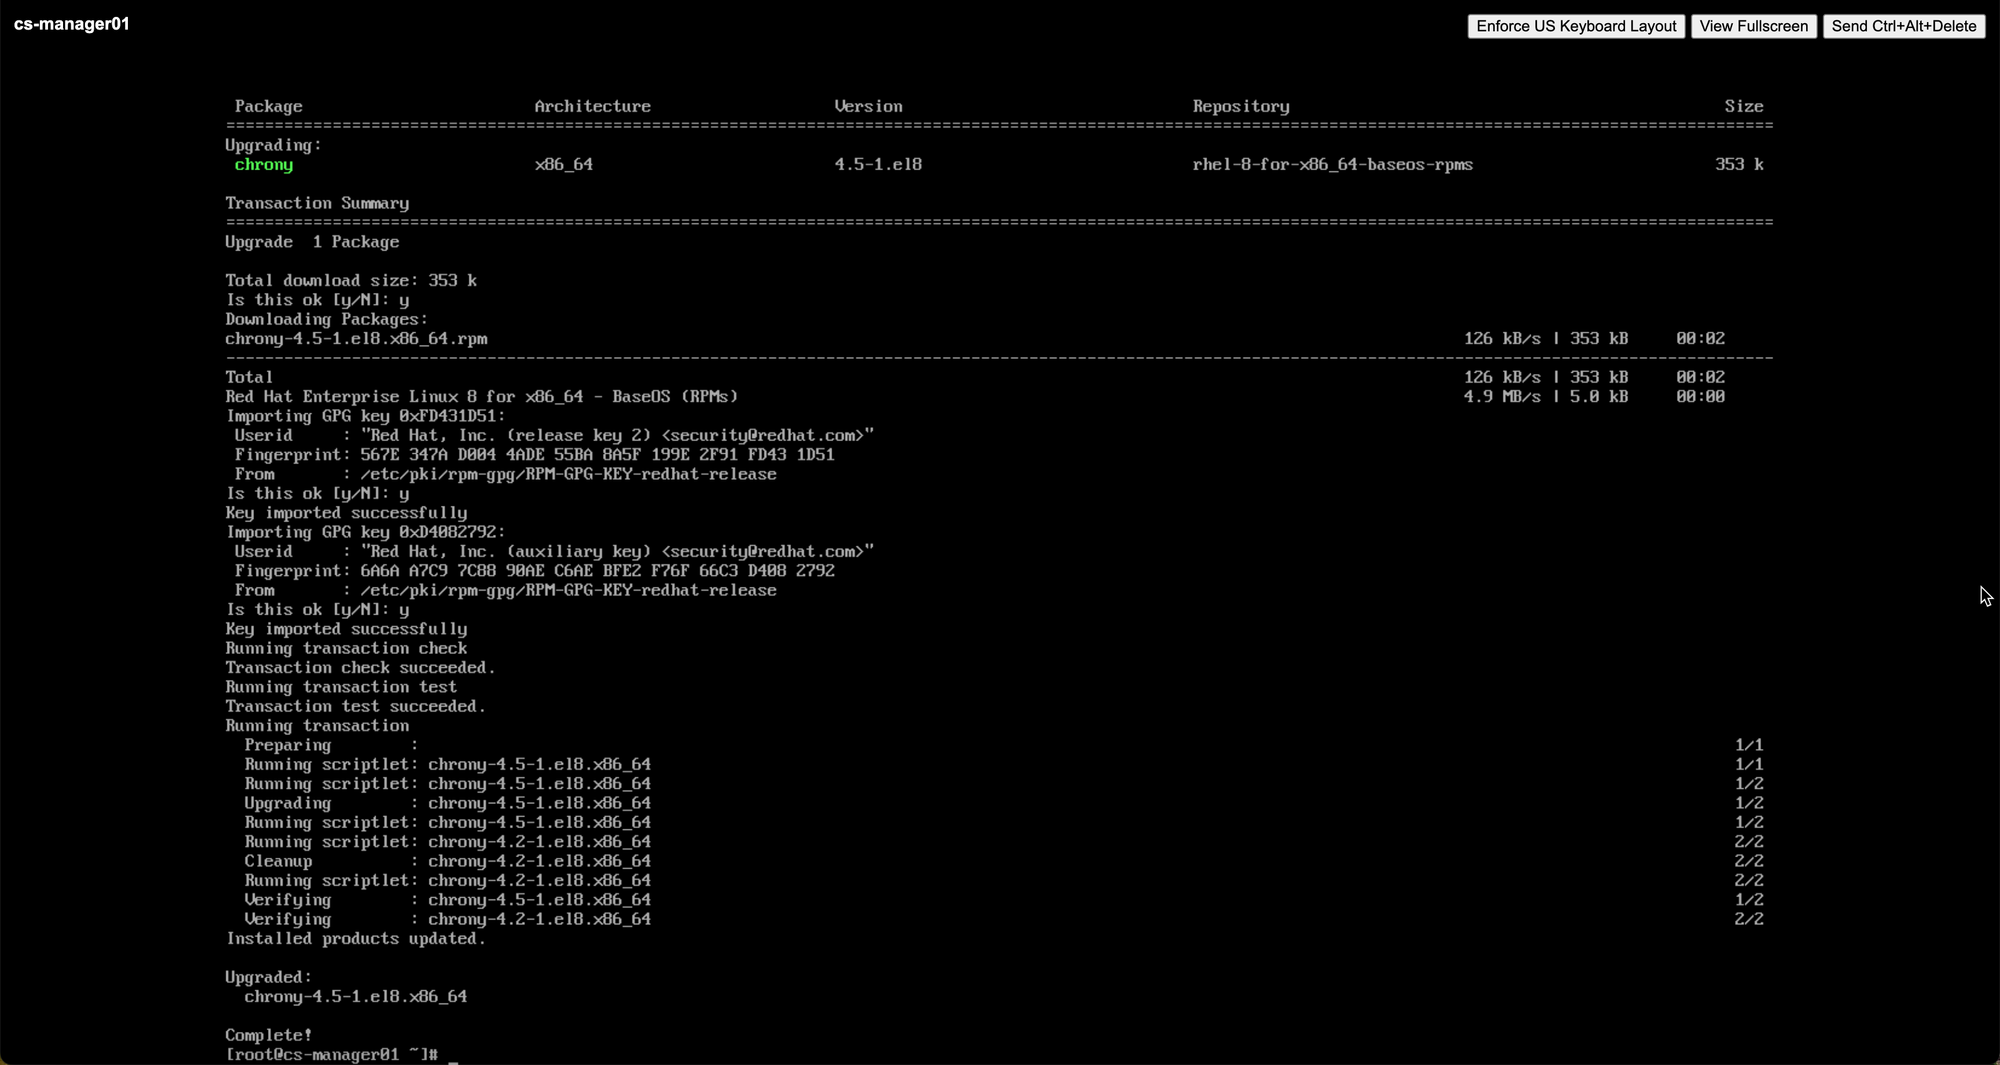
Turn on the NTP for time synchronization.
Step 6
Configure package repository. Change directory to /etc/yum.repos.d.
Create a file cloudstack.repo with the following content.
[cloudstack]
name=cloudstack
baseurl=http://download.cloudstack.org/rhel/$releasever/4.19/
enabled=1
gpgcheck=0
Step 7
Run installer command.
yum install cloudstack-management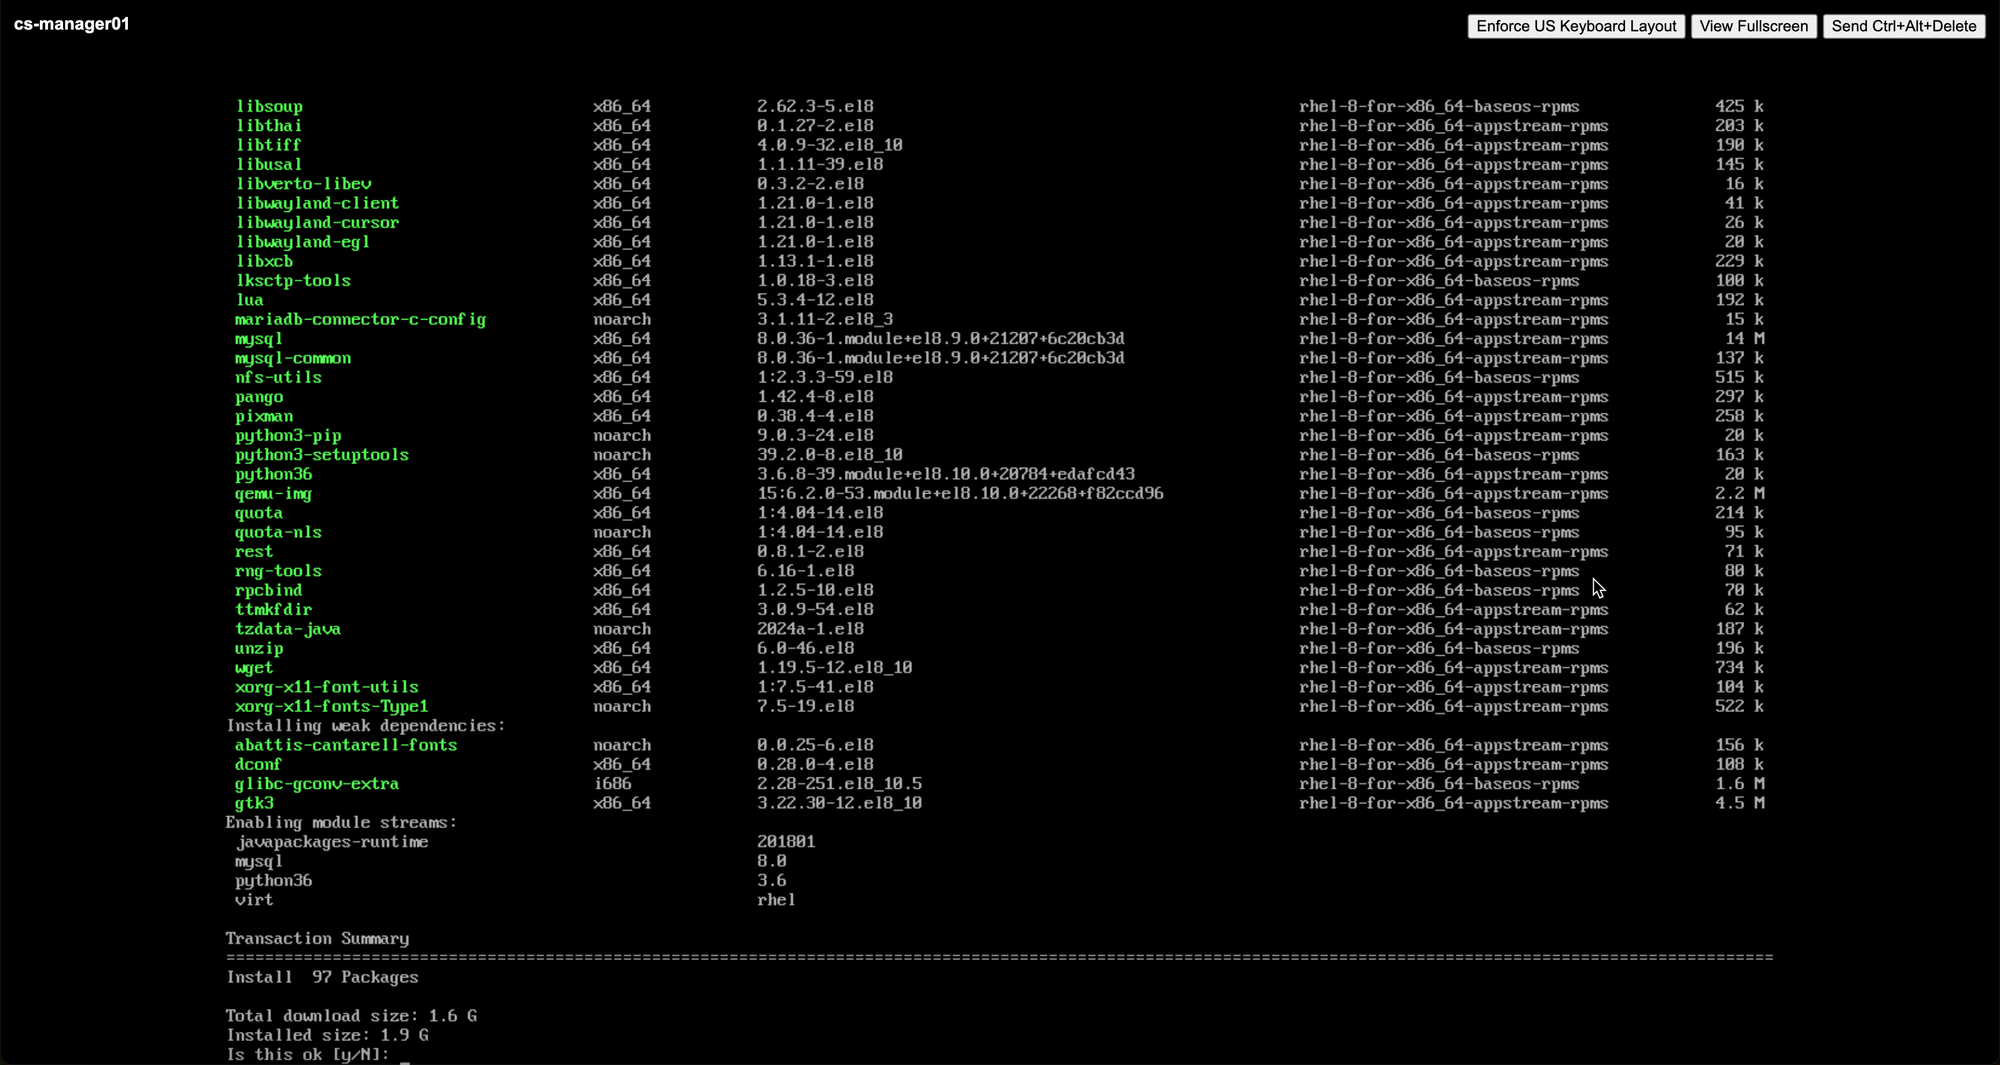
Step 8
Install the MySQL Database on the Management Server node.
dnf install @mysql:8.0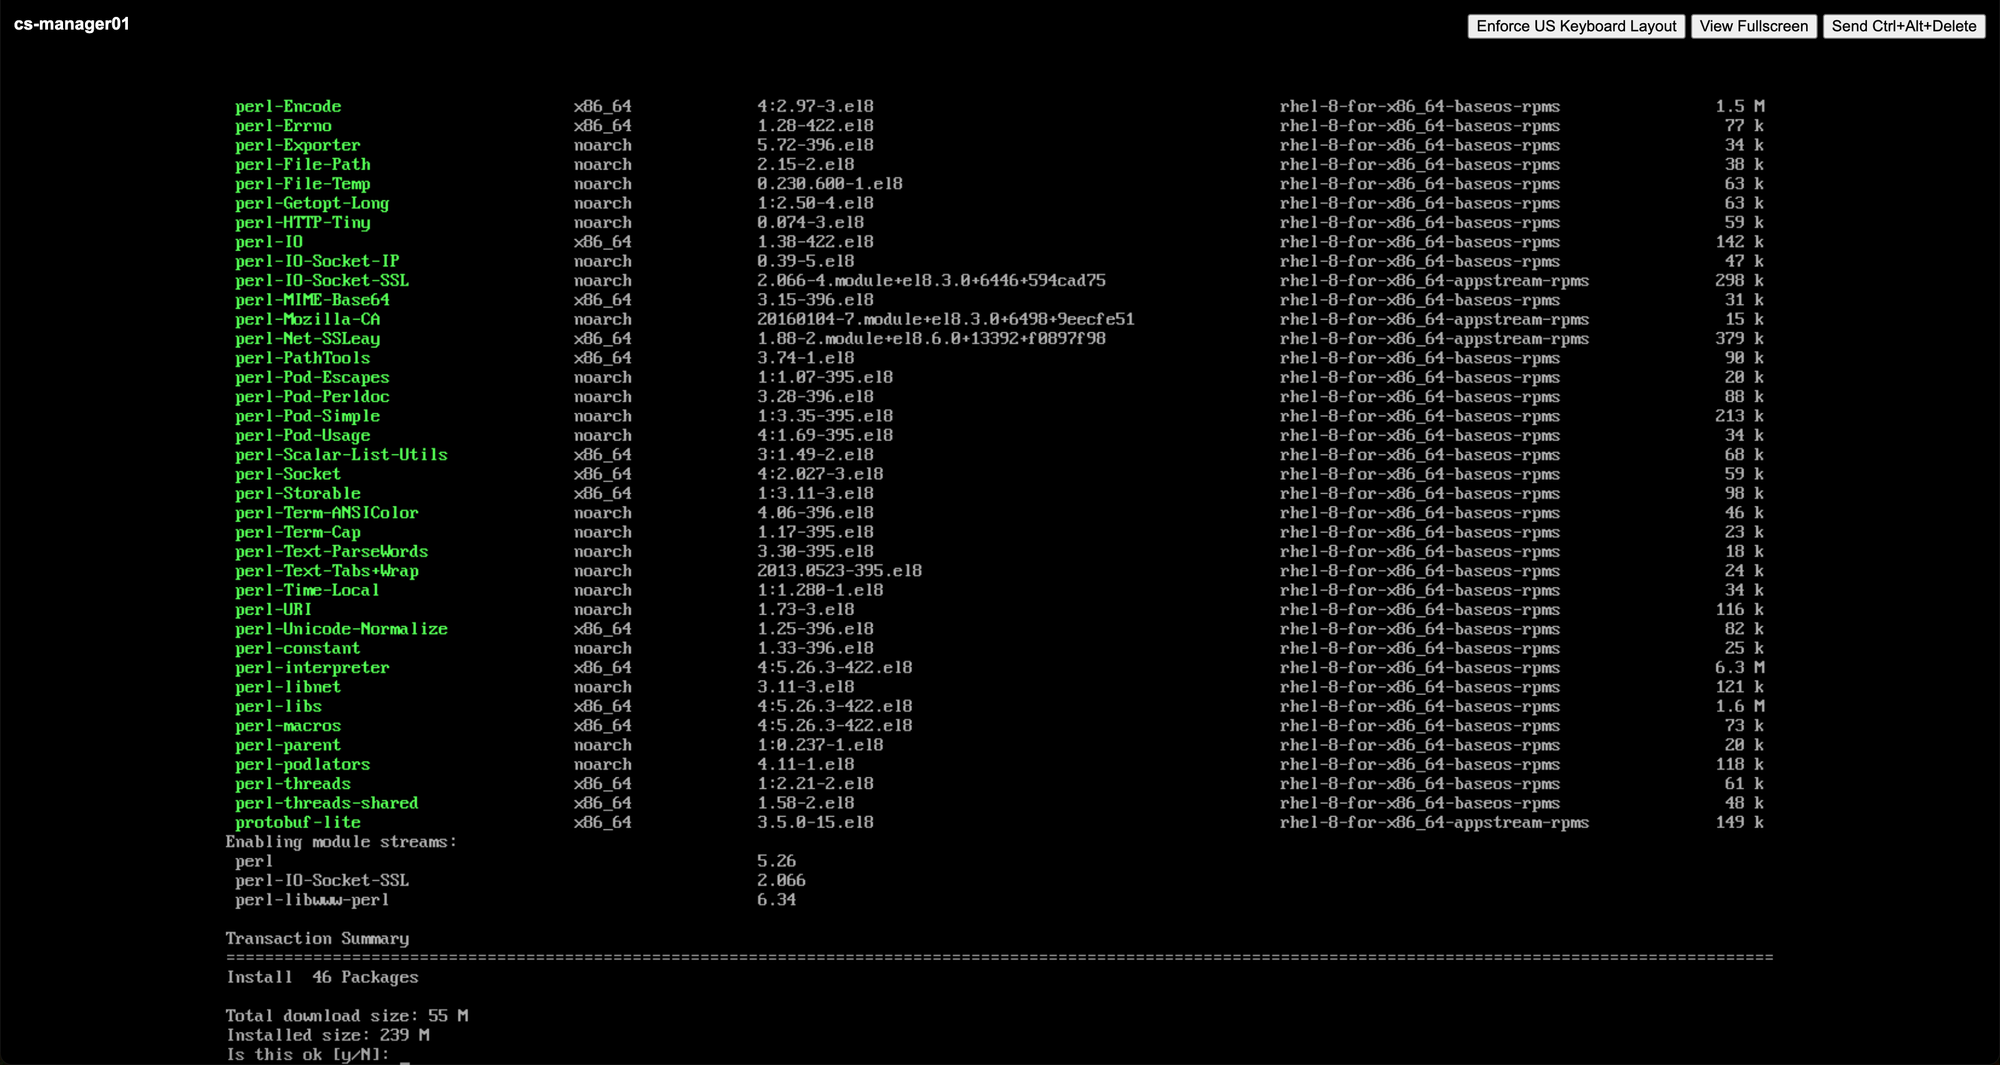
Step 9
Edit the file /etc/my.cnf.d/mysql-server.cnf
Insert the following lines in the [mysqld] section, below the datadir line.
The max_connections parameter should be set to 350 multiplied by the number of Management Servers being deployed. The values below is for a single Management Server.
innodb_rollback_on_timeout=1
innodb_lock_wait_timeout=600
max_connections=350
log-bin=mysql-bin
binlog-format = 'ROW'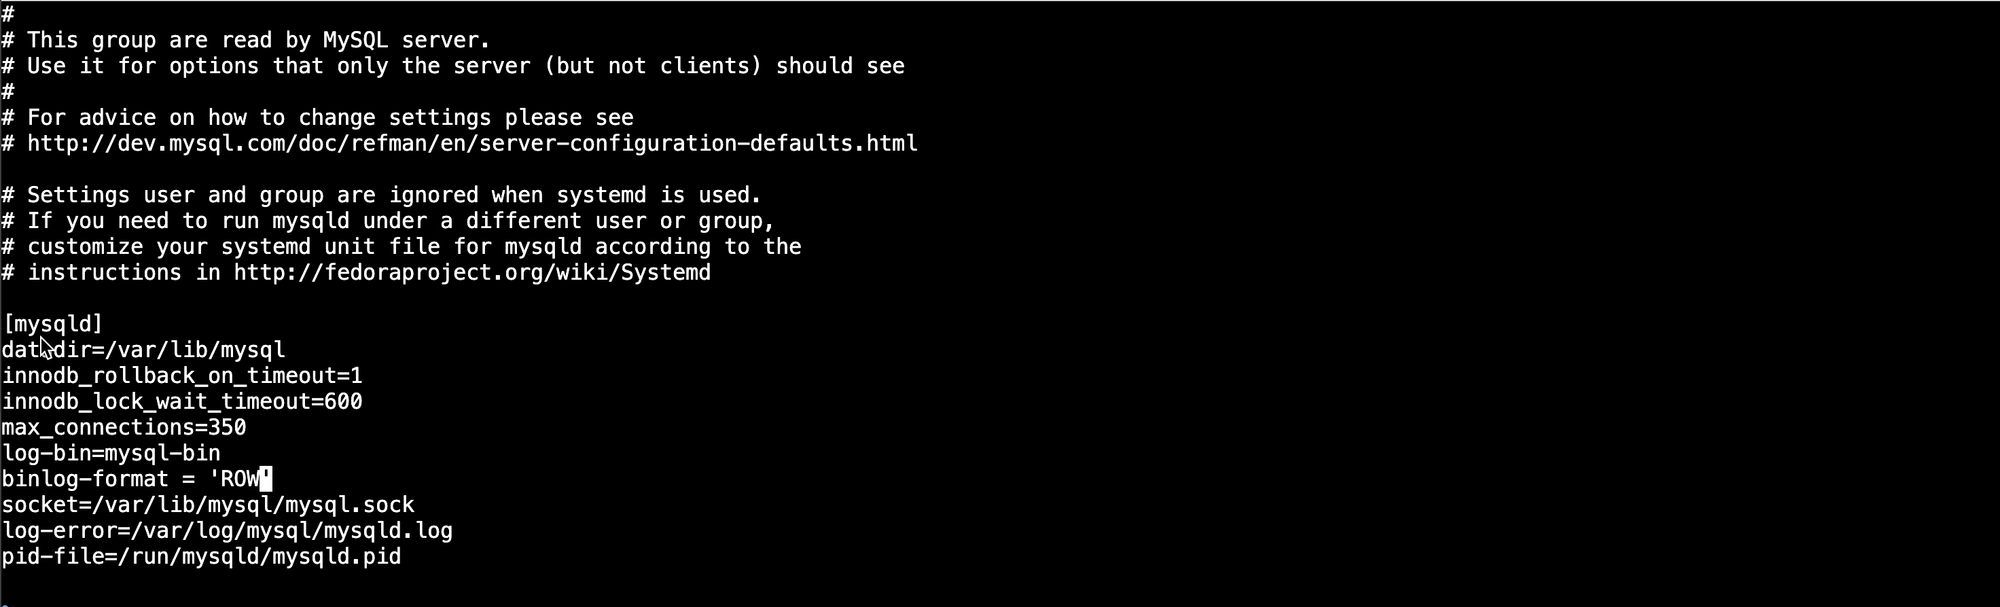
Step 10
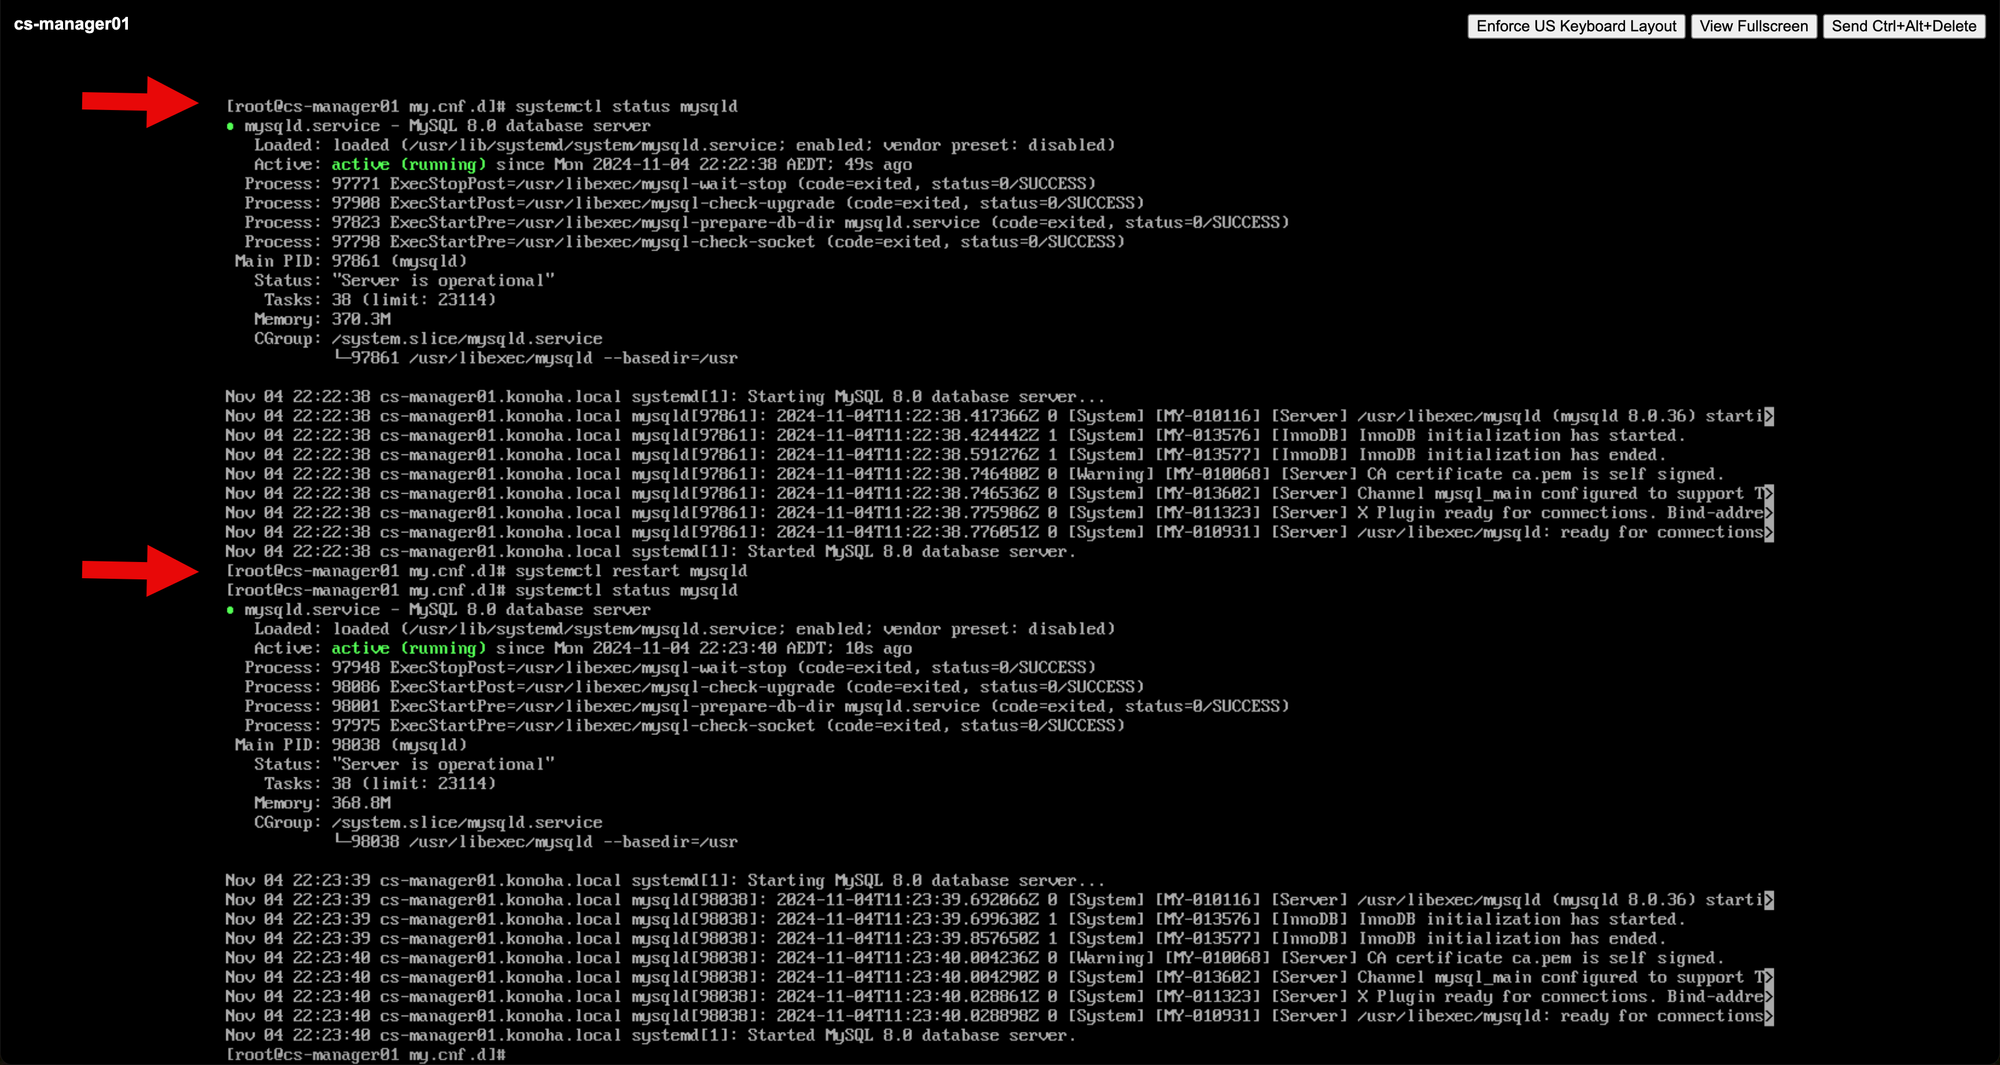
Start or restart the MySQL database to apply the configuration change.
Step 11
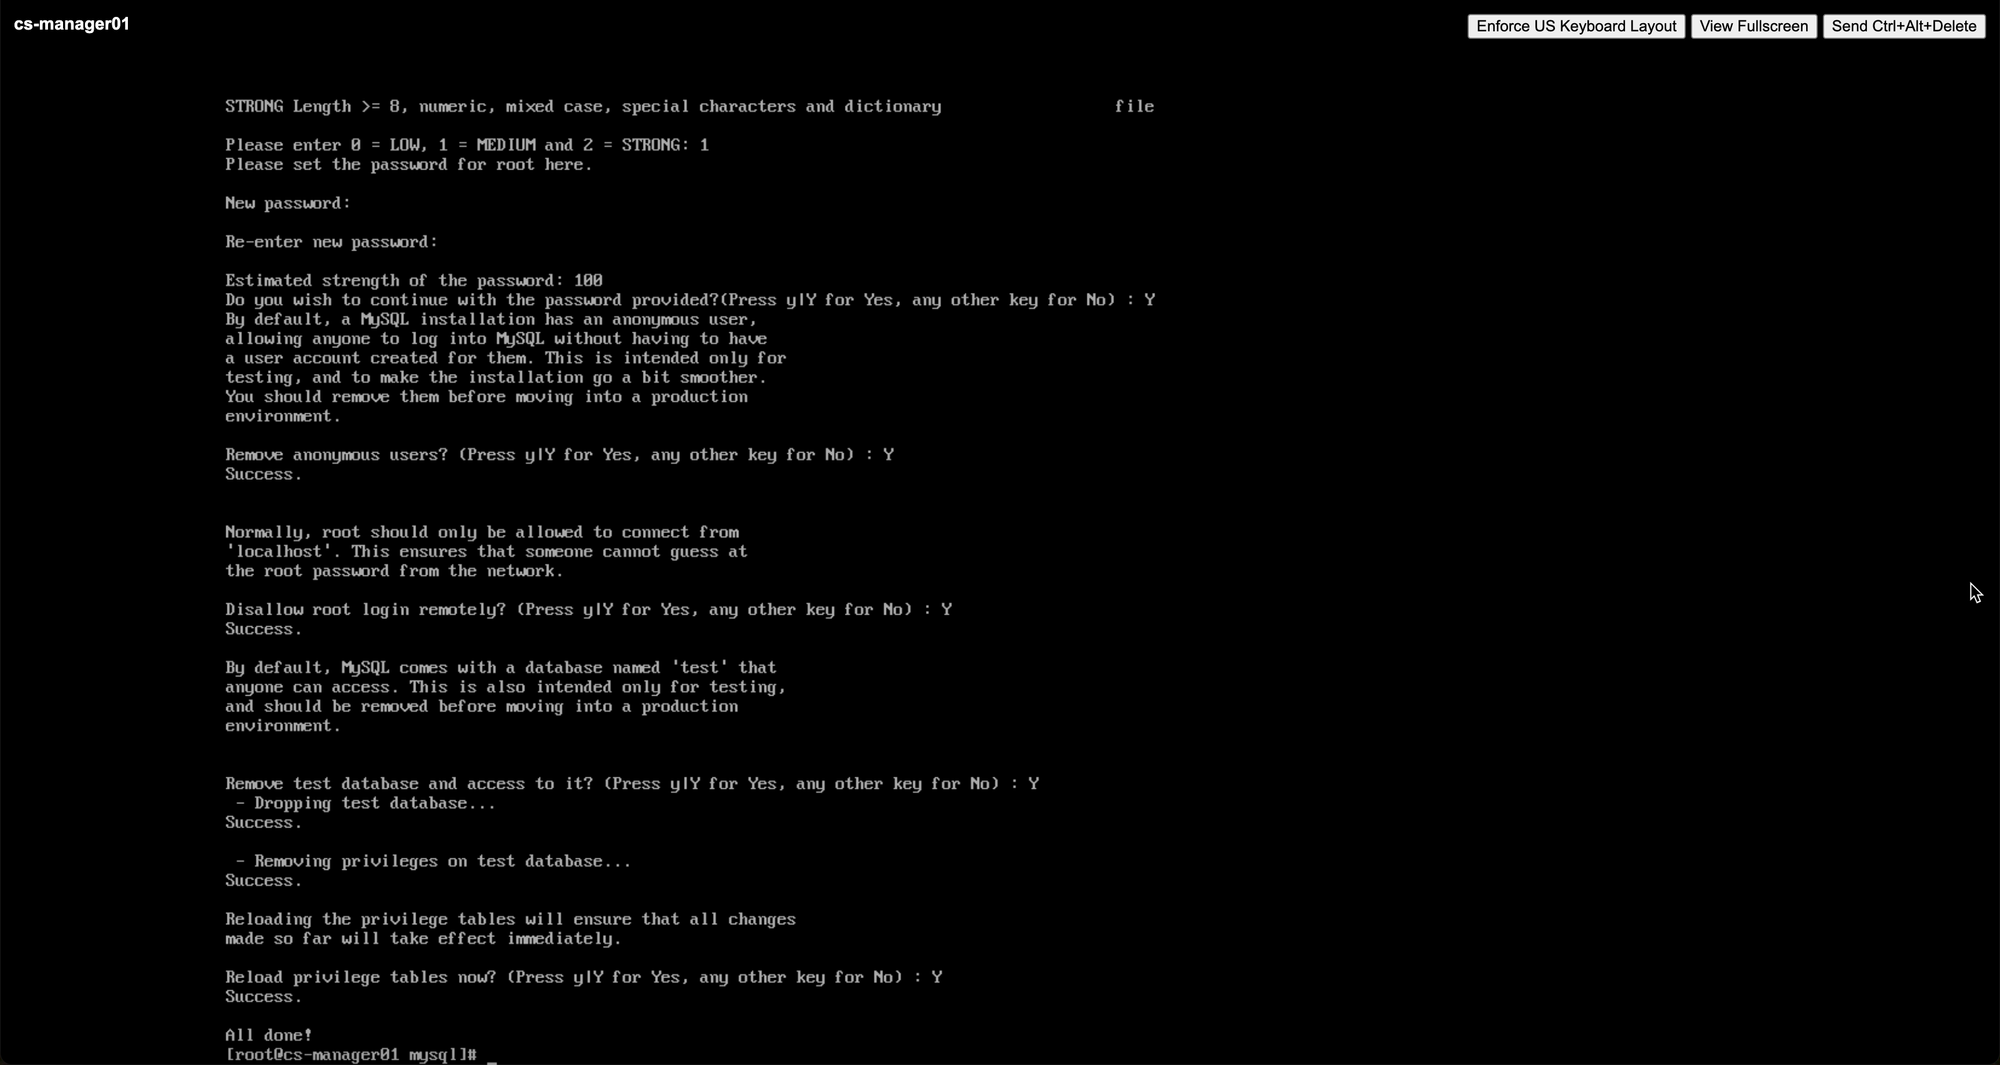
Run the following command to secure the MySQL installation.
Answer "Y" to all questions.
The installation will prompt for a password security level and a change in the root user password.
mysql_secure_installation
Step 12
Allow mysqld connectivity by allowing port 3306.
sudo firewall-cmd --permanent --add-port=3306/tcp
sudo firewall-cmd --reload
Step 13
Configure SELinux to permissive.
Set the SELINUX variable in /etc/selinux/config to "permissive". This means the setting will be retained even after any server reboots.
vi /etc/selinux/configChange the following line,
SELINUX=enforcingto this,
SELINUX=permissiveStep 14
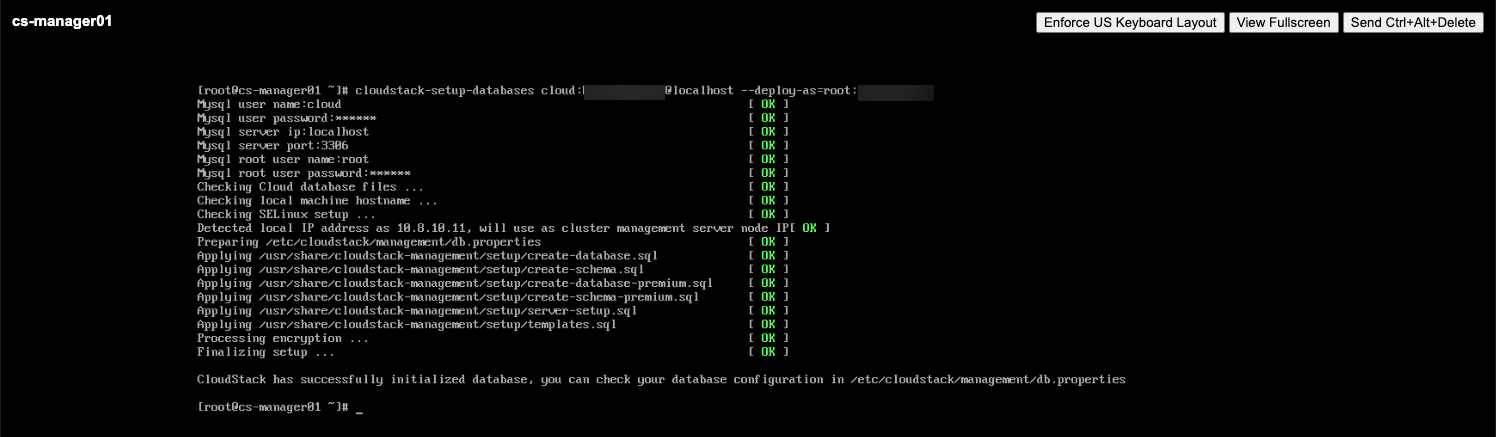
Deploy the CloudStack databases.
NOTE: The passwords shown are for examples only, please make sure to pick more complex passwords for production use.
cloudstack-setup-databases cloud:passw0rd@123@localhost --deploy-as=root:password@123Command output,
Step 15
Run cloudstack-setup-management command.

Step 16
Update the firewall rules as suggested by the previous command output.
firewall-cmd --permanent --add-port=8080/tcpfirewall-cmd --permanent --add-port=8250/tcpfirewall-cmd --permanent --add-port=8443/tcpfirewall-cmd --permanent --add-port=9090/tcpfirewall-cmd --reloadStep 17
Logon to the Apache CloudStack Management GUI.
http://<management-server-IPv4 address>:8080/client
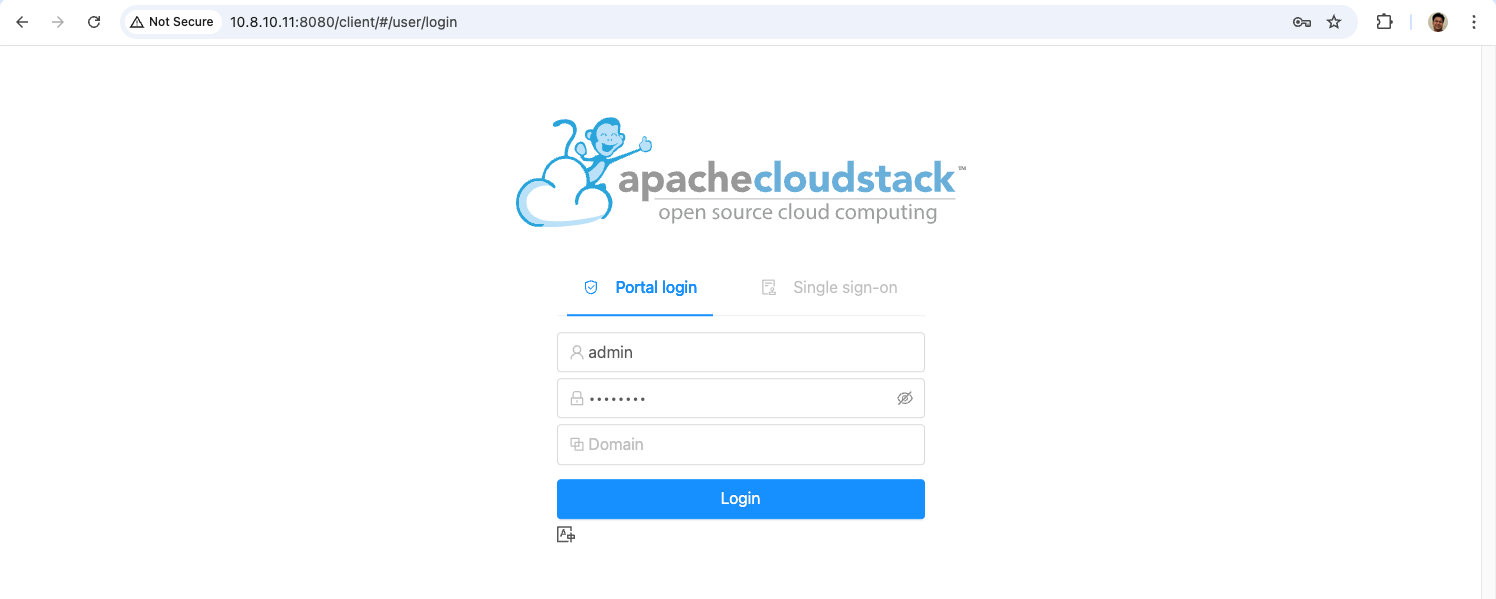
Step 18
The default credentials are as follows, username - admin, password - password.
Please make sure to change the password to a more secure password.
Welcome to Apache CloudStack!
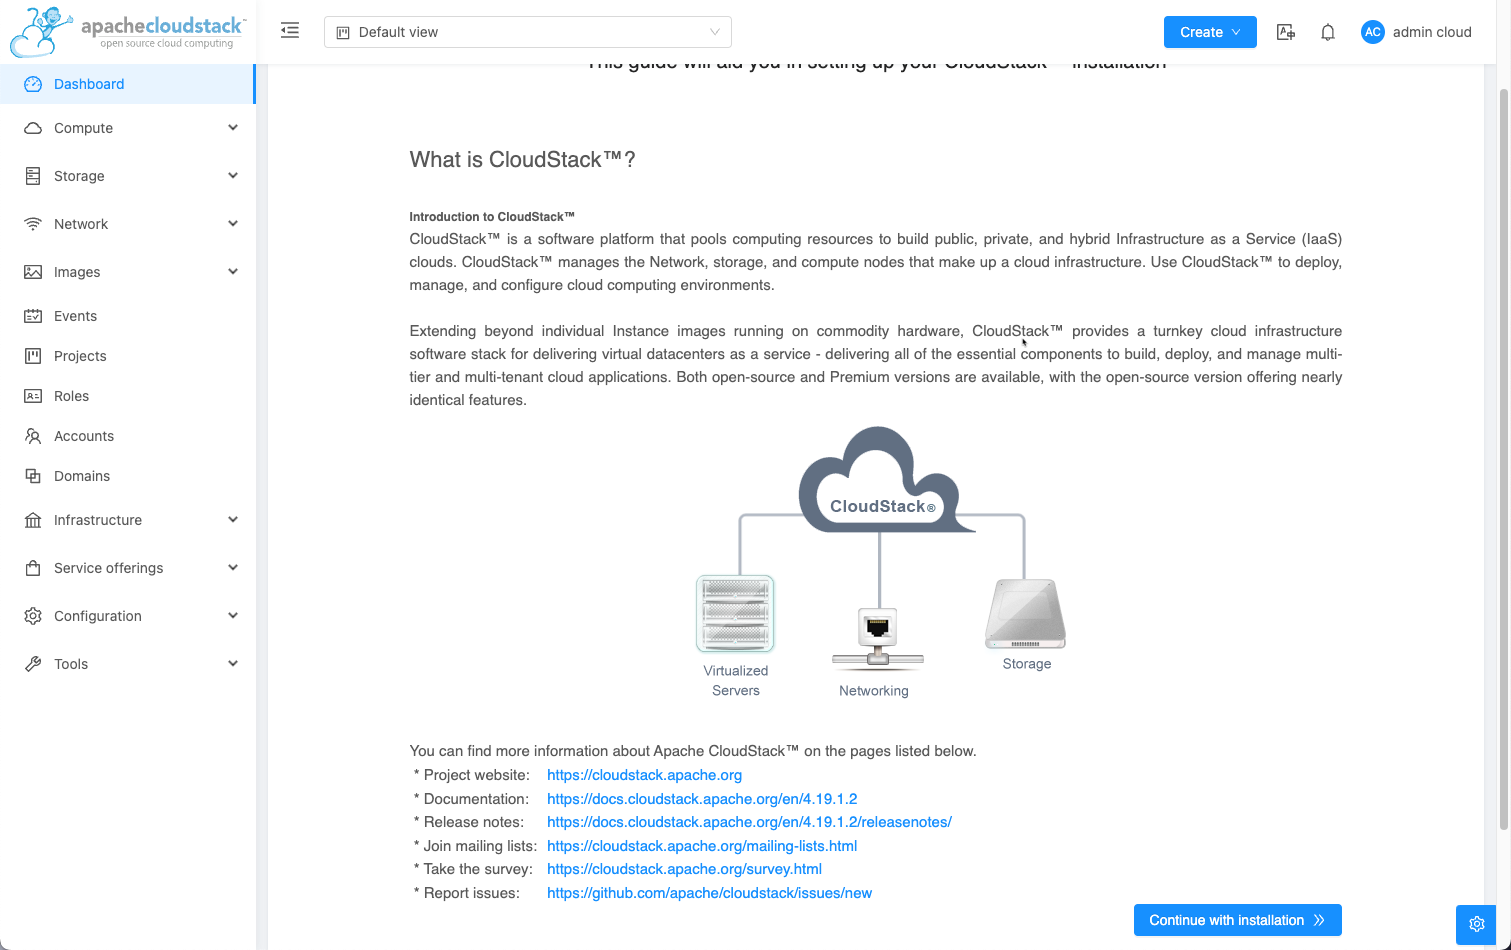
You can now continue by adding CloudStack resources like storage and your choice of hypervisors hosts like VMware vSphere, KVM, LXC, Microsoft Hyper-V and Citrix XenServer.
Please refer to the official Apache CloudStack documentation for more details.


