Provision a Linux server on the IBM Cloud in less than 10 minutes

This is part of a series of posts where I document my server builds on the IBM Cloud environment. I am building these resources for a Commvault and IBMi backup project for a client. This is more to help me prepare and check my knowledge with the different technology components of the project.
The Windows server build can be found on this link,
https://connectedtech.com.au/provision-a-windows-server-on-the-ibm-cloud-in-less-than-10-minutes/
The IBMi server build can be found on this link,
https://connectedtech.com.au/provision-ibmi-on-ibm-cloud-in-less-than-30-minutes/
As in my previous posts, if you have found this article to be helpful please consider clicking the Subscribe button. Happy to hear comments and related posts you may be interested in.
Step 1
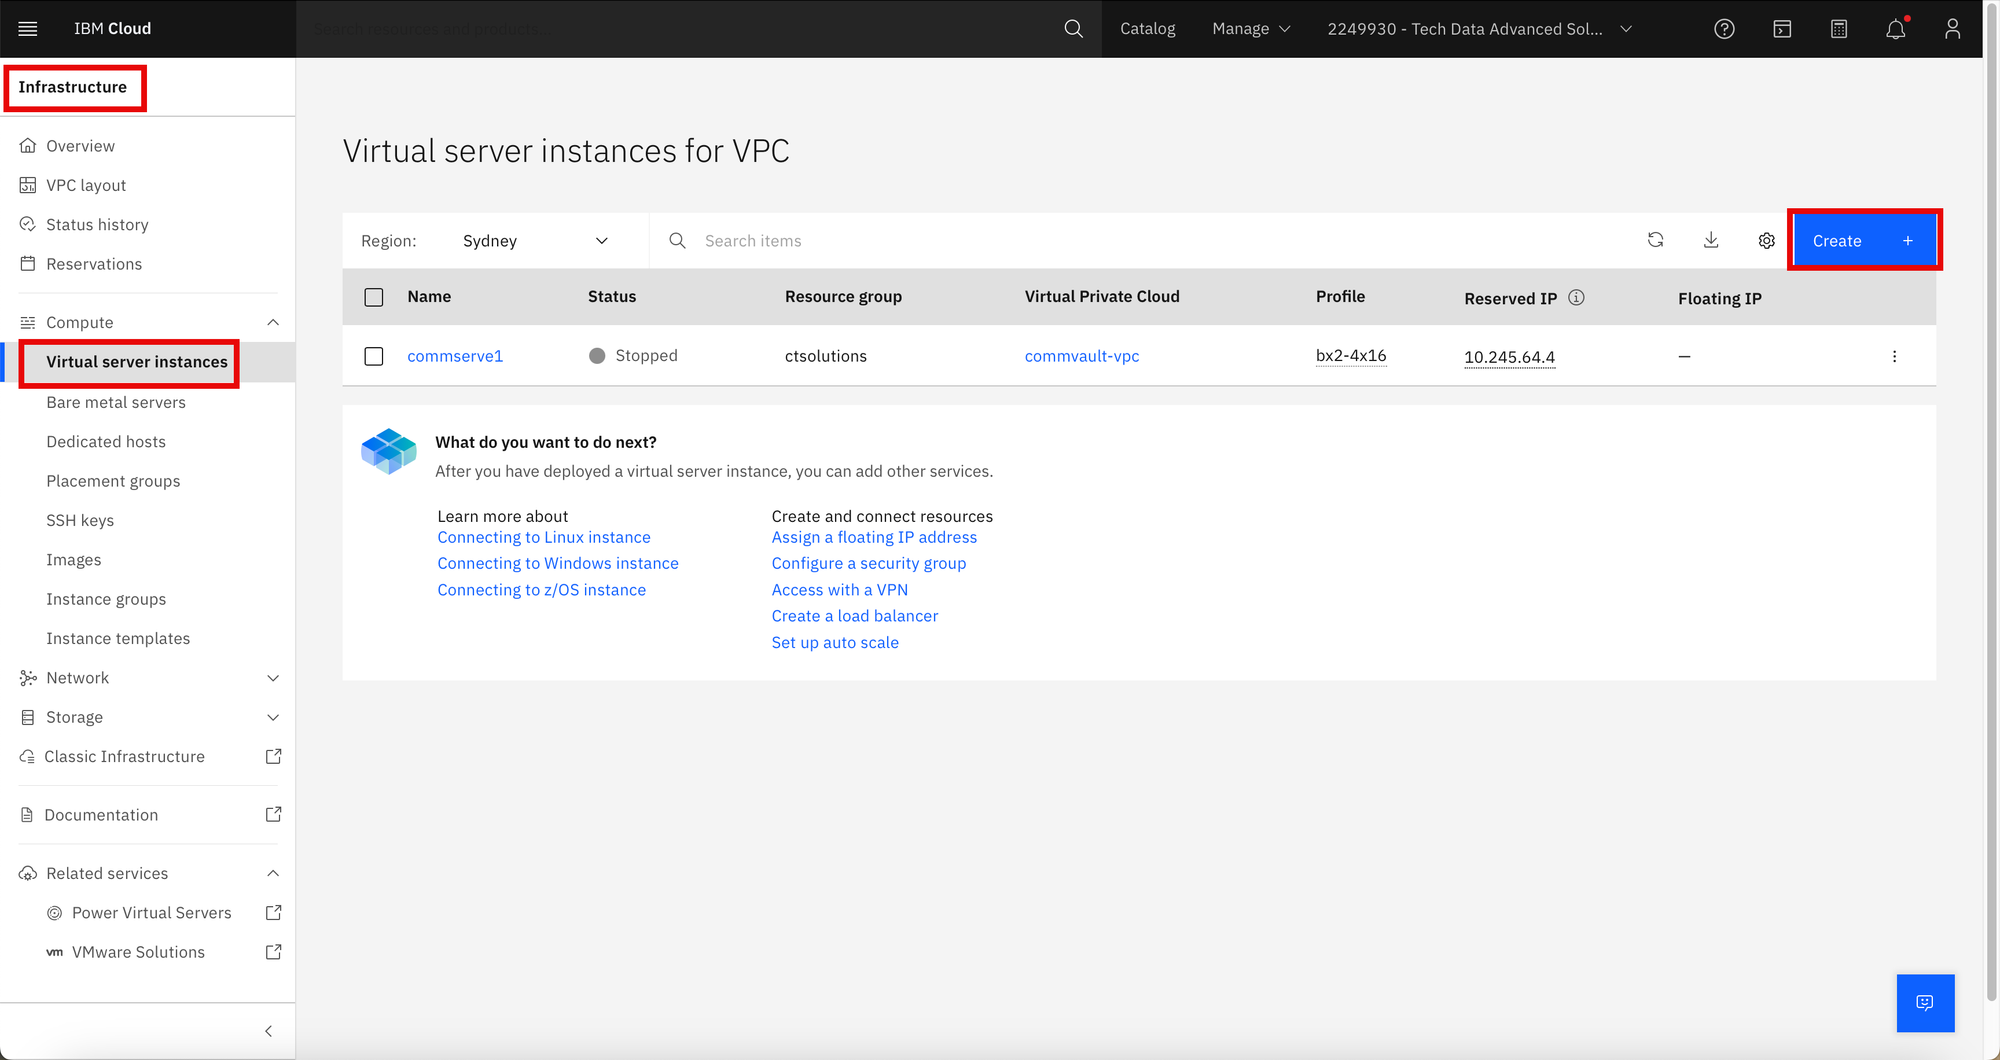
In the IBM Cloud - Infrastructure dashboard, click Virtual server instances and click Create.
Step 2
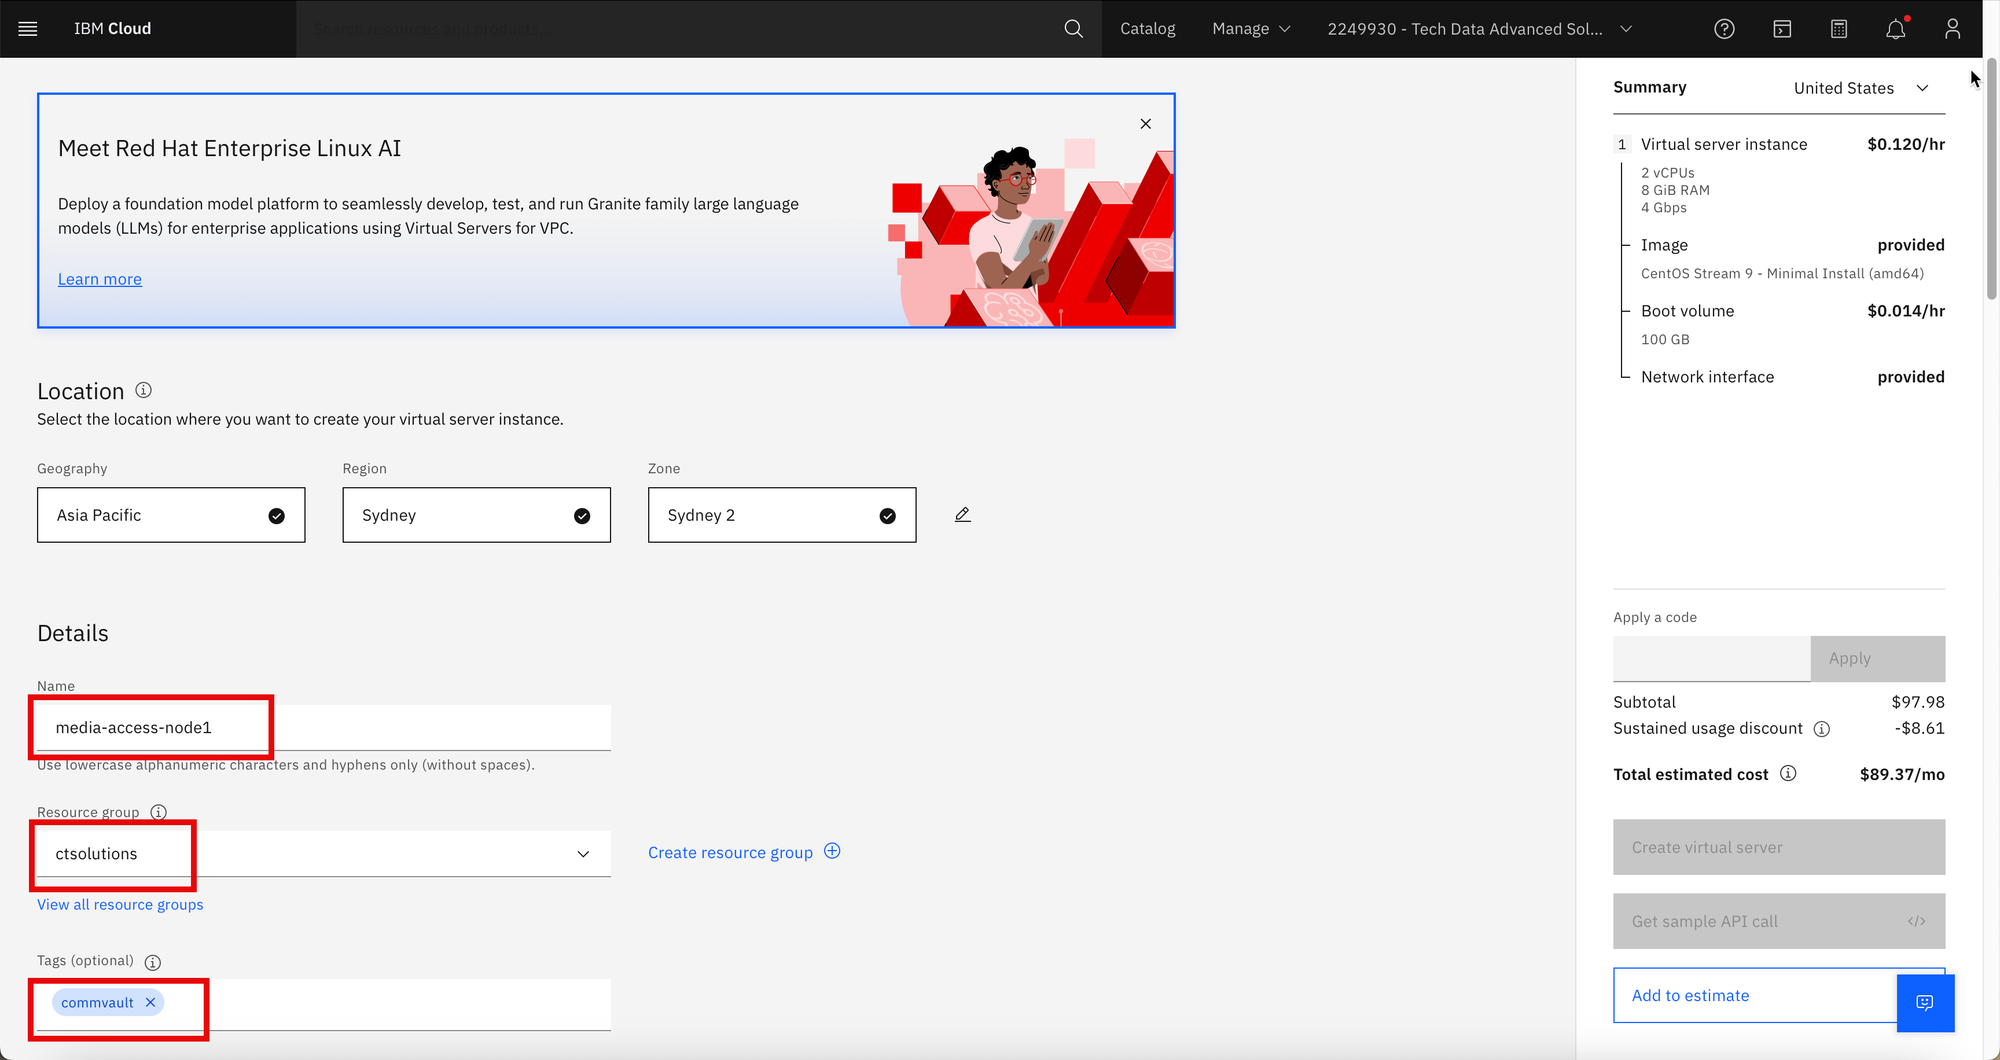
In the Create page, confirm the Geography. Enter the server name in the Name field. Enter Tags for the resource. This is optional.
Step 3
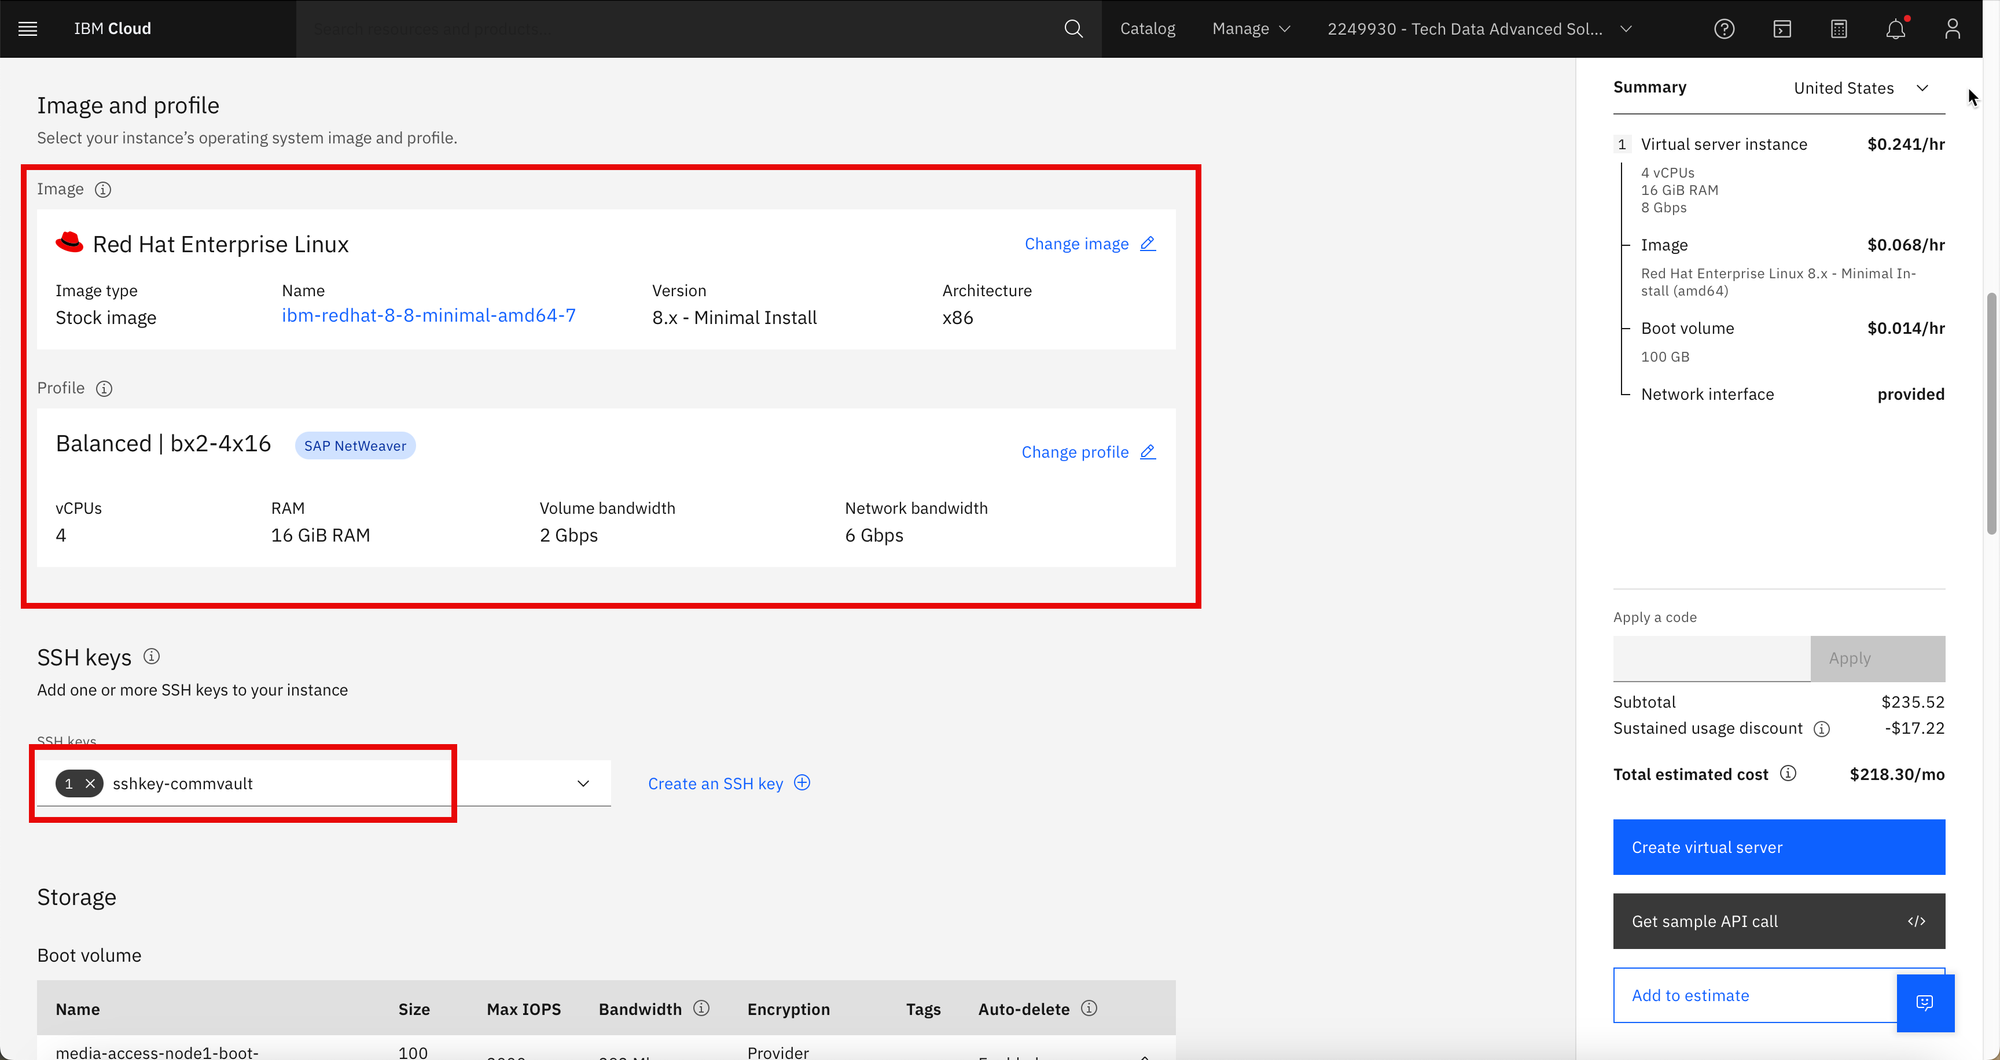
Confirm or change the image and server profile as needed.
I have chosen to use Red Hat Enterprise Linux for my Commvault backup use case.
I will be using this node as both the Commvault media agent server and the IBMi access node.
Select the SSH key.
Step 4
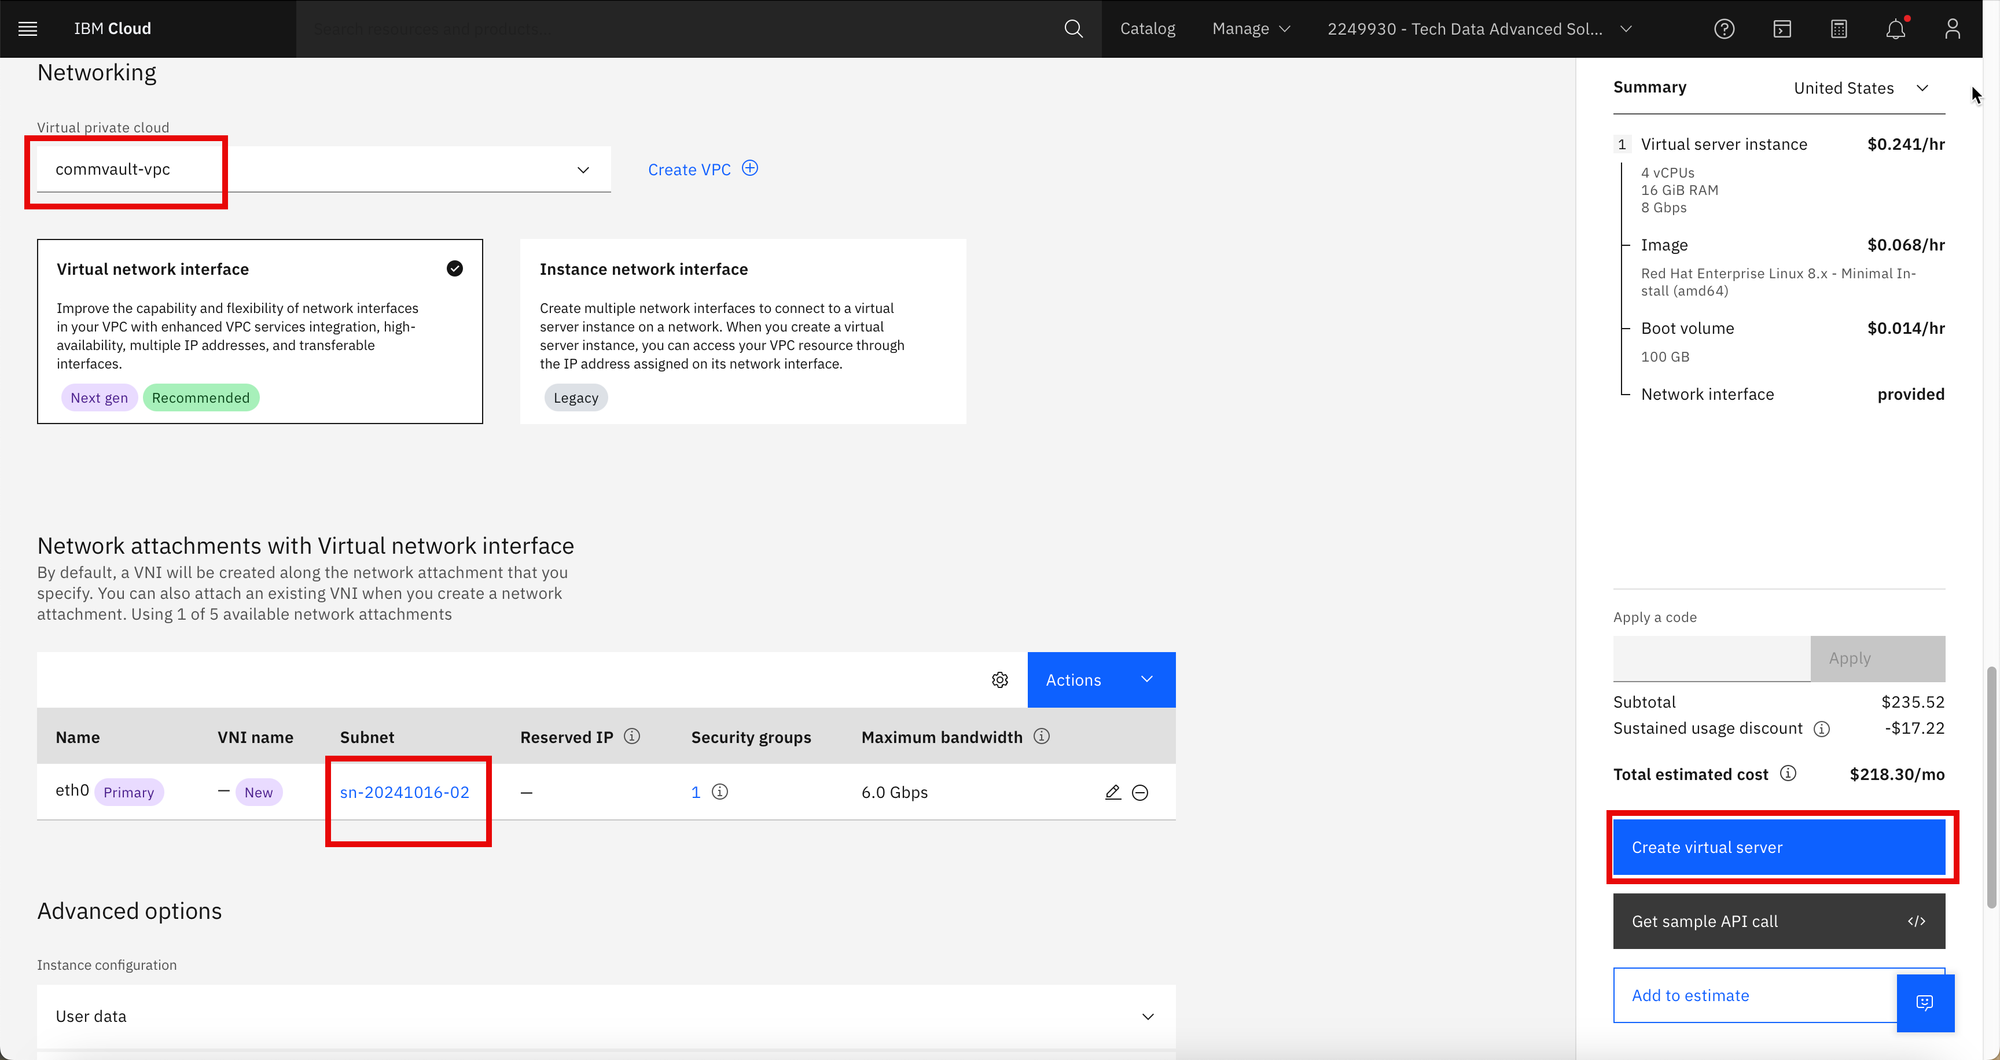
Confirm the server will be built in the correct VPC and subnet.
Click Create virtual server.
Step 5
IBM Cloud will begin the server build.
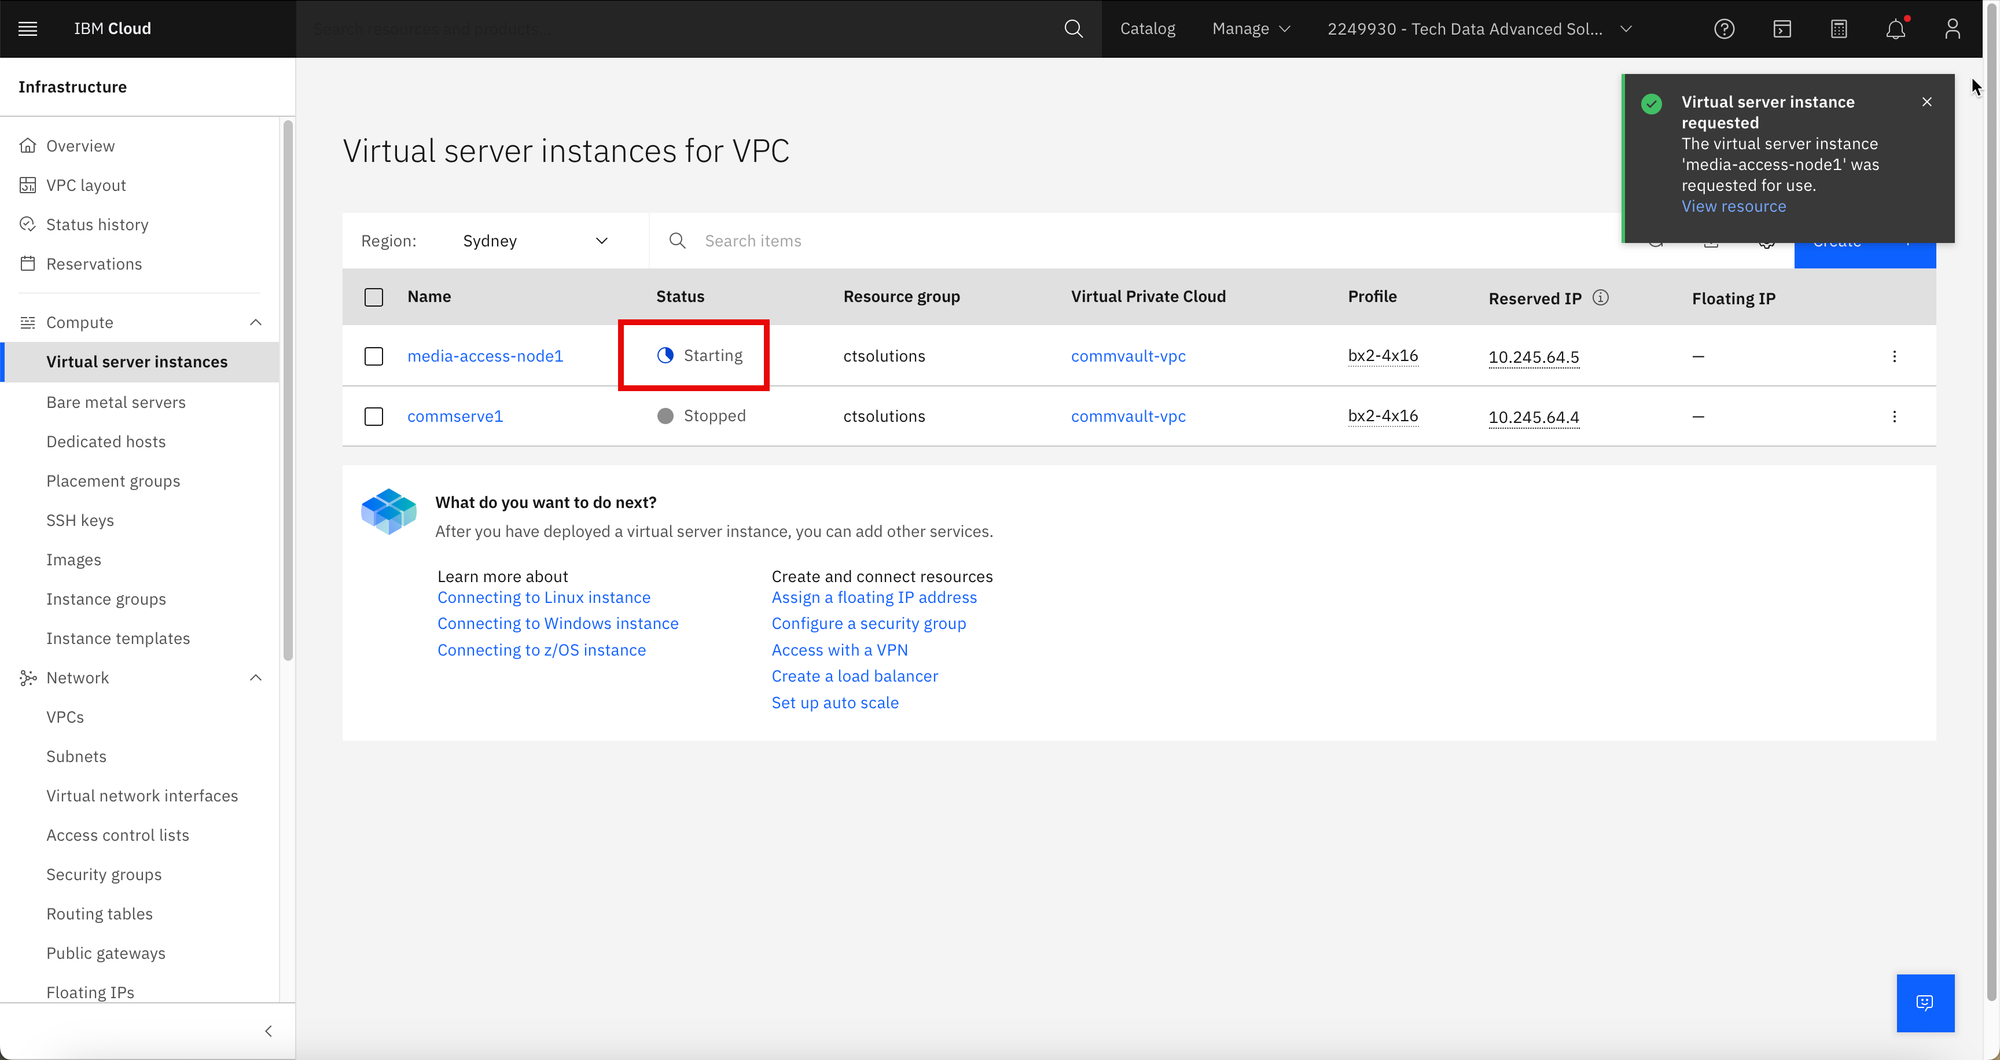
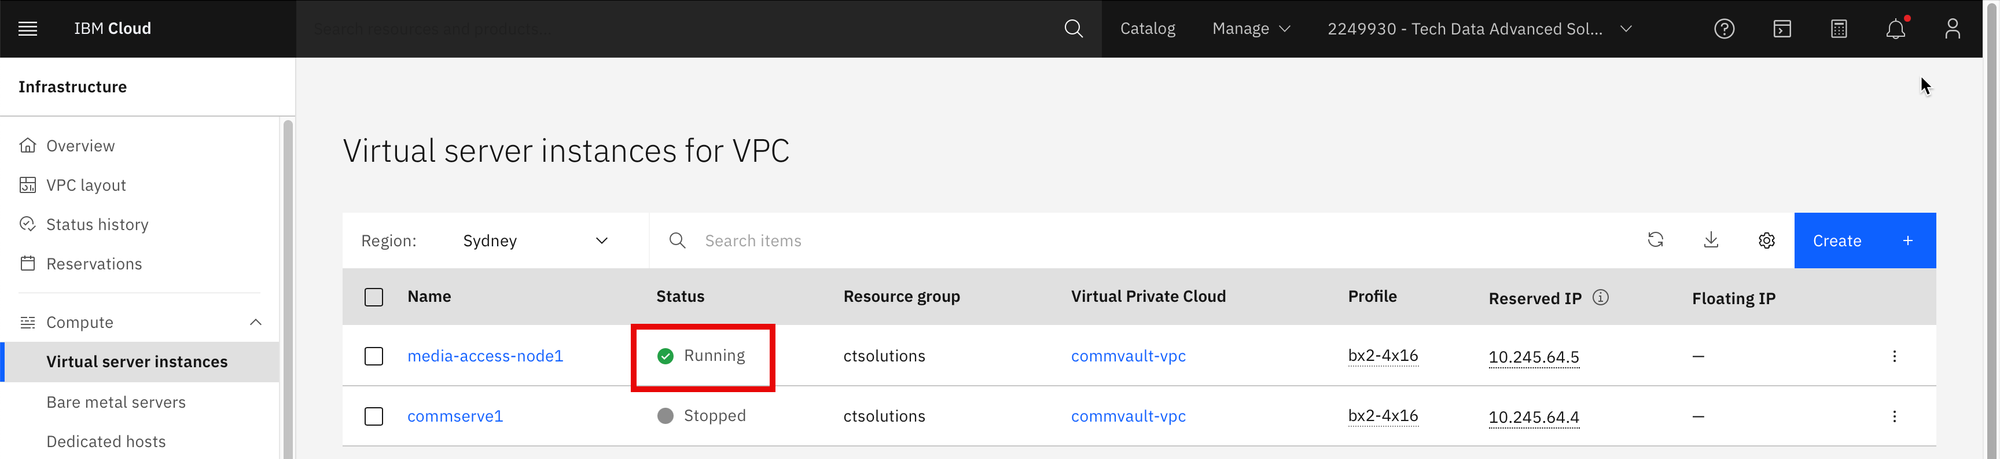
Step 6
The server is now ready for use. The server status can also be checked using the VNC console.
NOTE 1: Similar to other cloud vendors, accessing the server will require the use of the ssh key.
NOTE 2: Assign a Floating IP if the Linux virtual server needs to be accessible externally.

ssh -i <path to your private key file> root@<floating ip address>

