Provision IBM i on IBM Cloud in less than 30 minutes

I needed to learn the basics of the IBM i operating system for my next Commvault customer project. I already had some long term experience using the IBM Power platform administering AIX operating systems.
I am sure this IBM i cloud build will help someone who is looking at building a clean room environment for ransomware recovery use case.
I was able to reach out to a previous colleague who sponsored my access to the IBM Cloud. Please lookup Daryn Higgins on LinkedIn if you would like more information on IBM Cloud.
https://www.linkedin.com/in/daryn-higgins-7a95598/
Note: If you already have good system administration skills, I definitely recommend checking out Matthew Willson's channel.
This is part 4 of a 4 part video series where he walks you through how to install an IBM i operating system as a logical partition on an IBM Power server on his home lab.
https://www.youtube.com/watch?v=mITiqL2OIGQ&t=1037s
First and foremost, you need to have created an IBM Cloud account.
https://cloud.ibm.com/login
Main Tip - This is a cloud resource, please make sure to shutdown or delete the IBM i instance when not in use.
Before we begin, if you found this post helpful, please remember to Sign-up to receive future posts. You can also provide comments on future posts you would like to see.
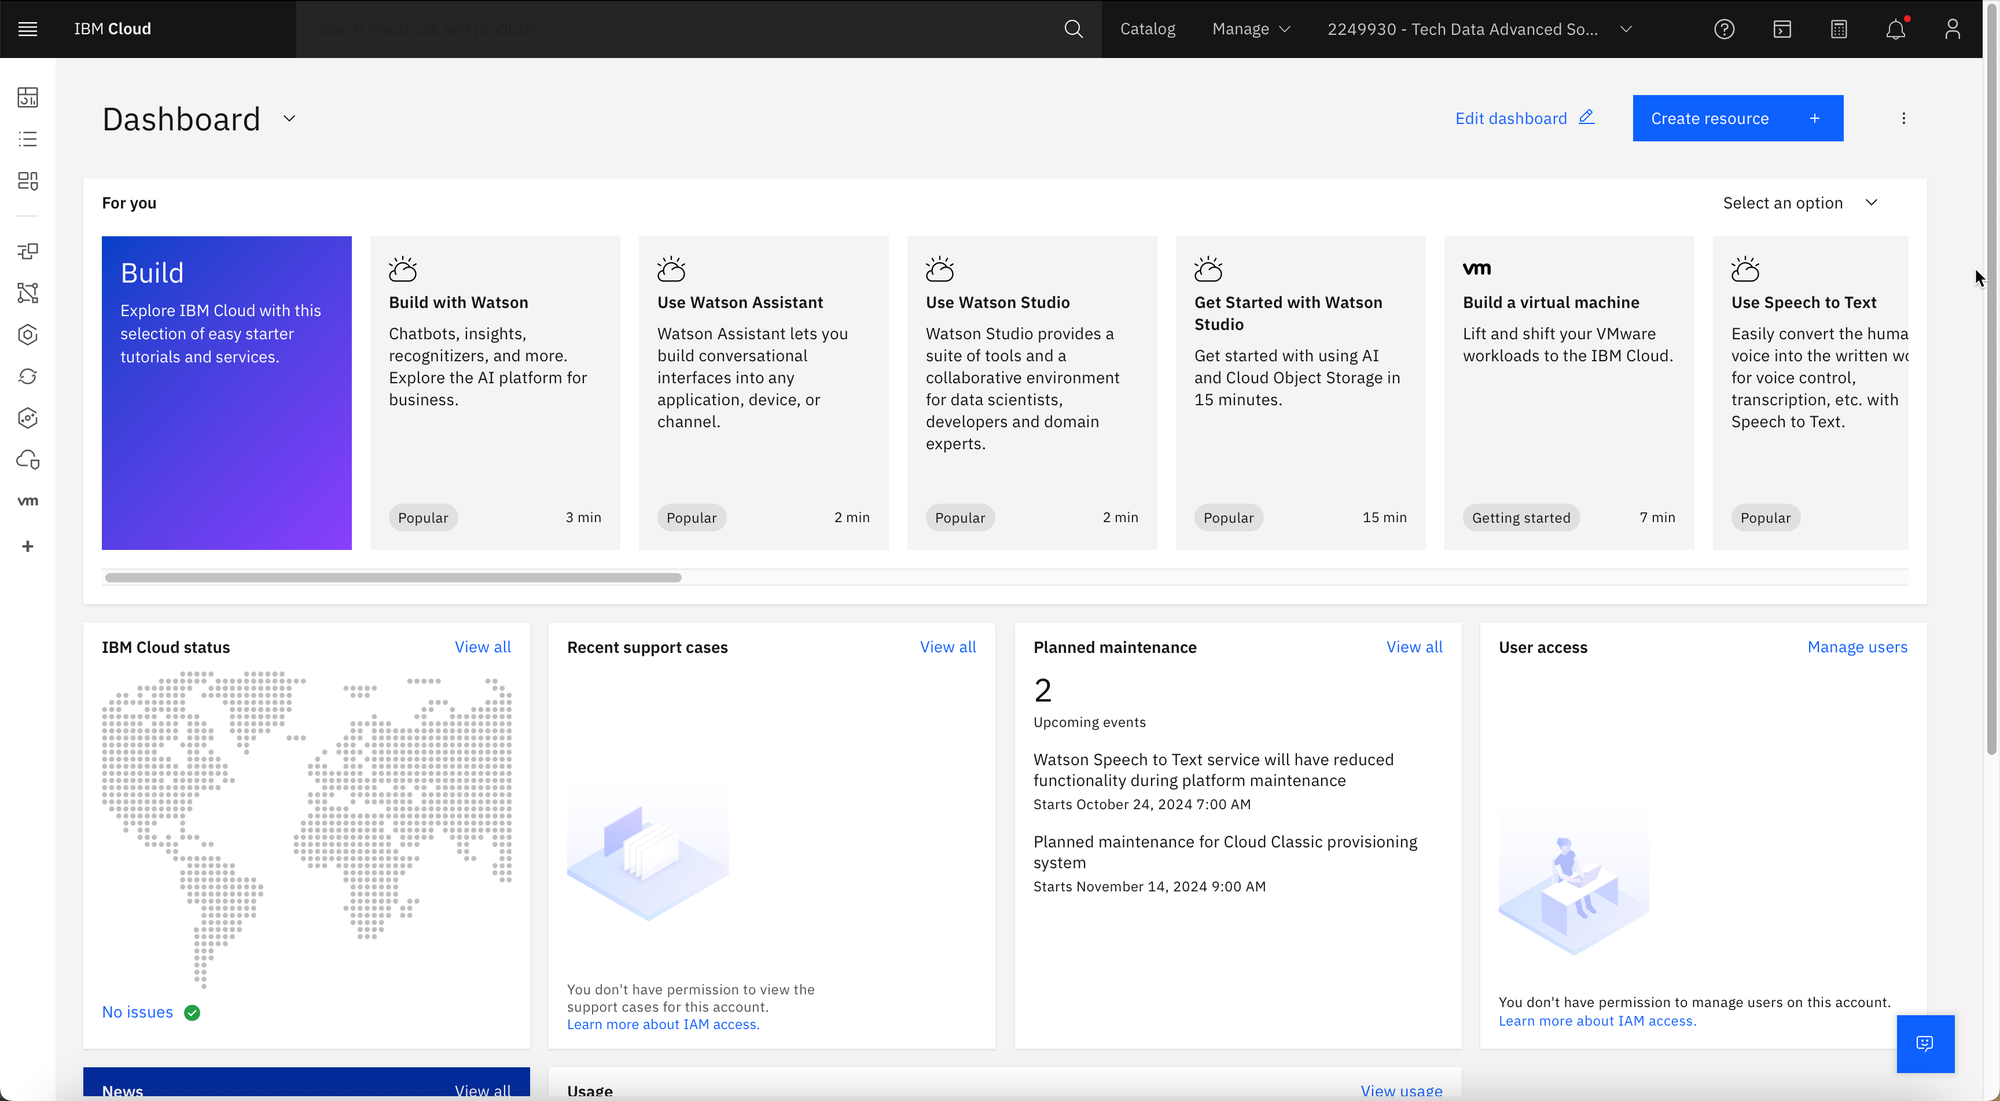
Step 1
Login to your IBM Cloud account. You will be presented with the IBM Cloud Dashboard.
Step 2
Click on the hamburger menu, then select and click Infrastructure.

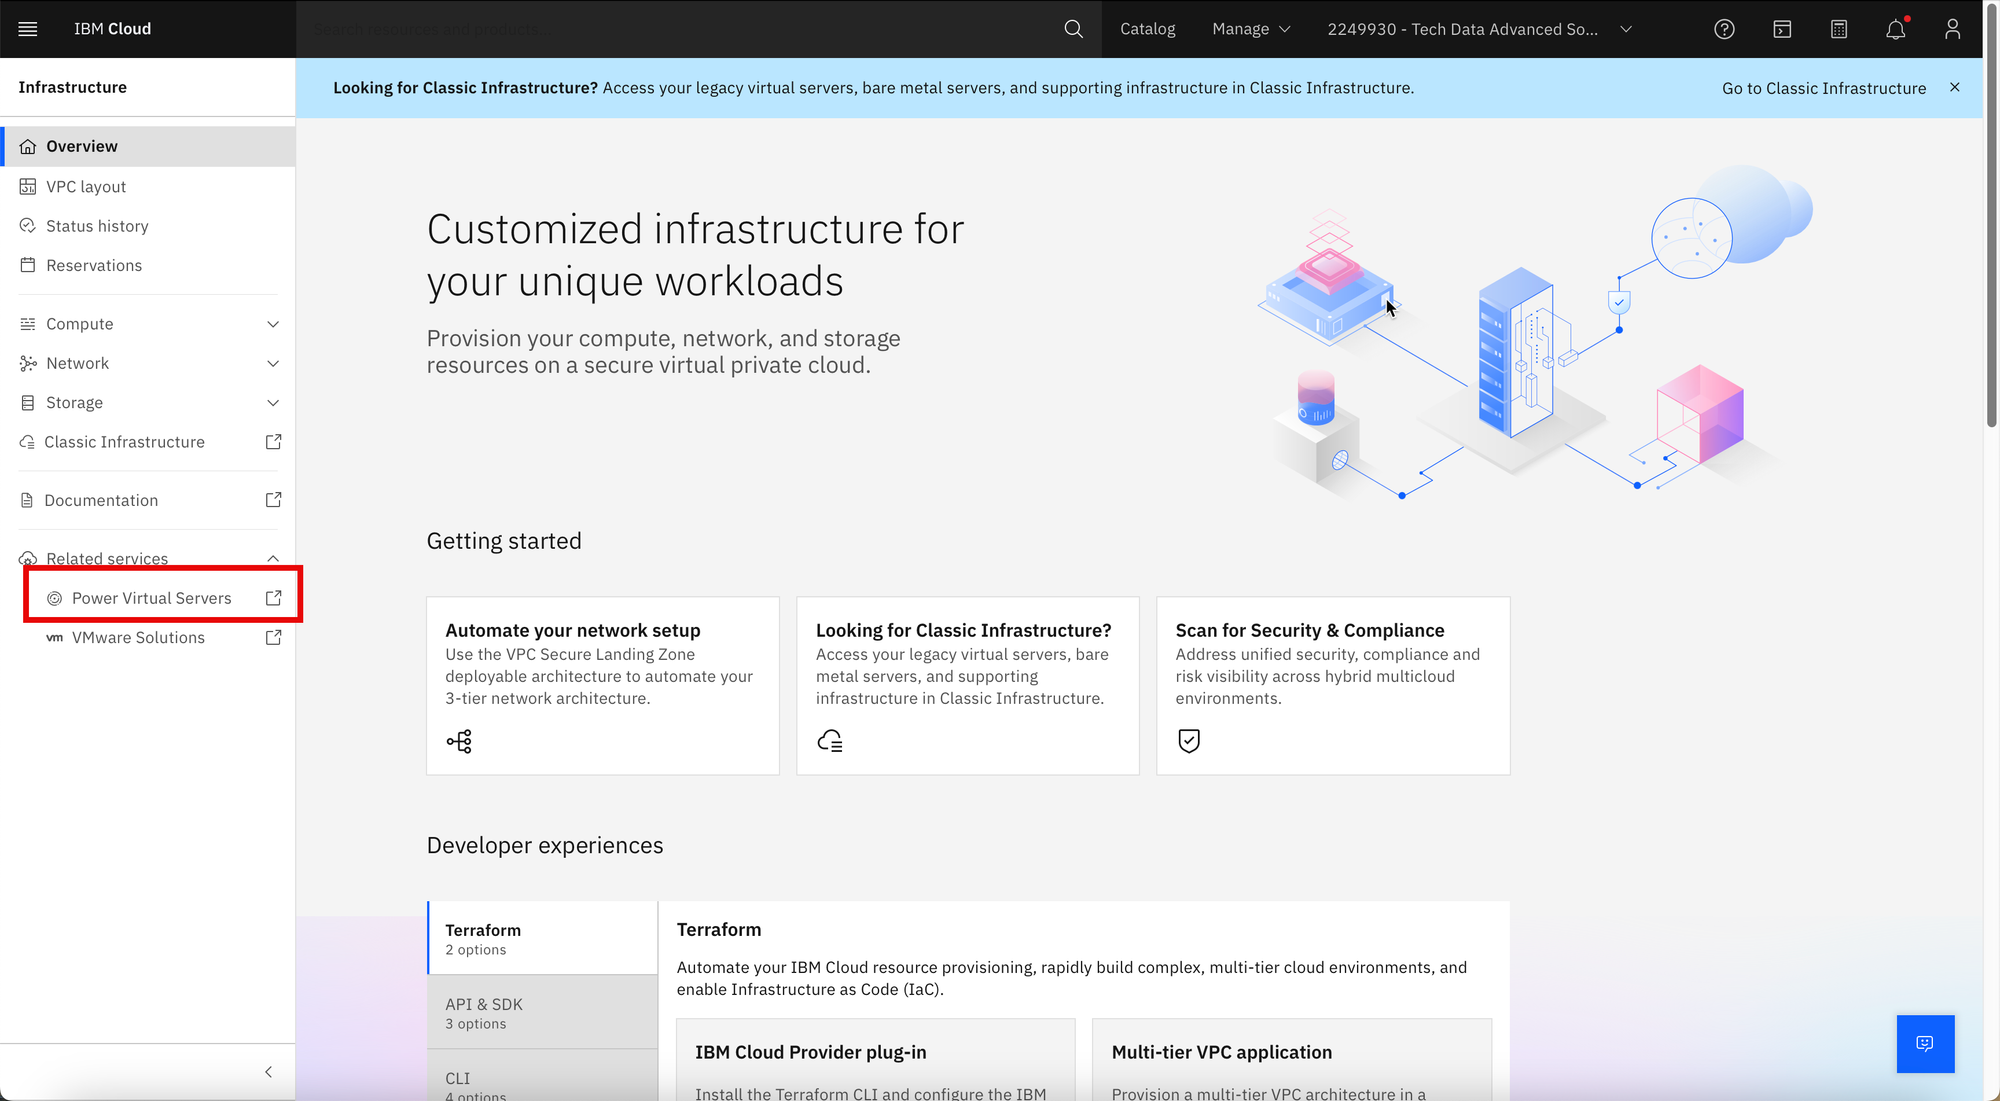
Step 3
On the Infrastructure dashboard, select and click Power Virtual Servers.
Step 4
In the Power Virtual Server dashboard, create a workspace. A workspace a equivalent to a VPC where Power Servers are logically located and grouped in IBM Cloud.

Step 5
Before creating any virtual server instance, Compute SSH keys and Networking Subnets, will need to be provisioned.
a. Generate an ssh key using the ssh-keygen command. IBM Cloud only accepts RSA type ssh keys. Once created, upload the public key of the generated ssh key pair.
b. Follow the prompts to create a Networking Subnet.
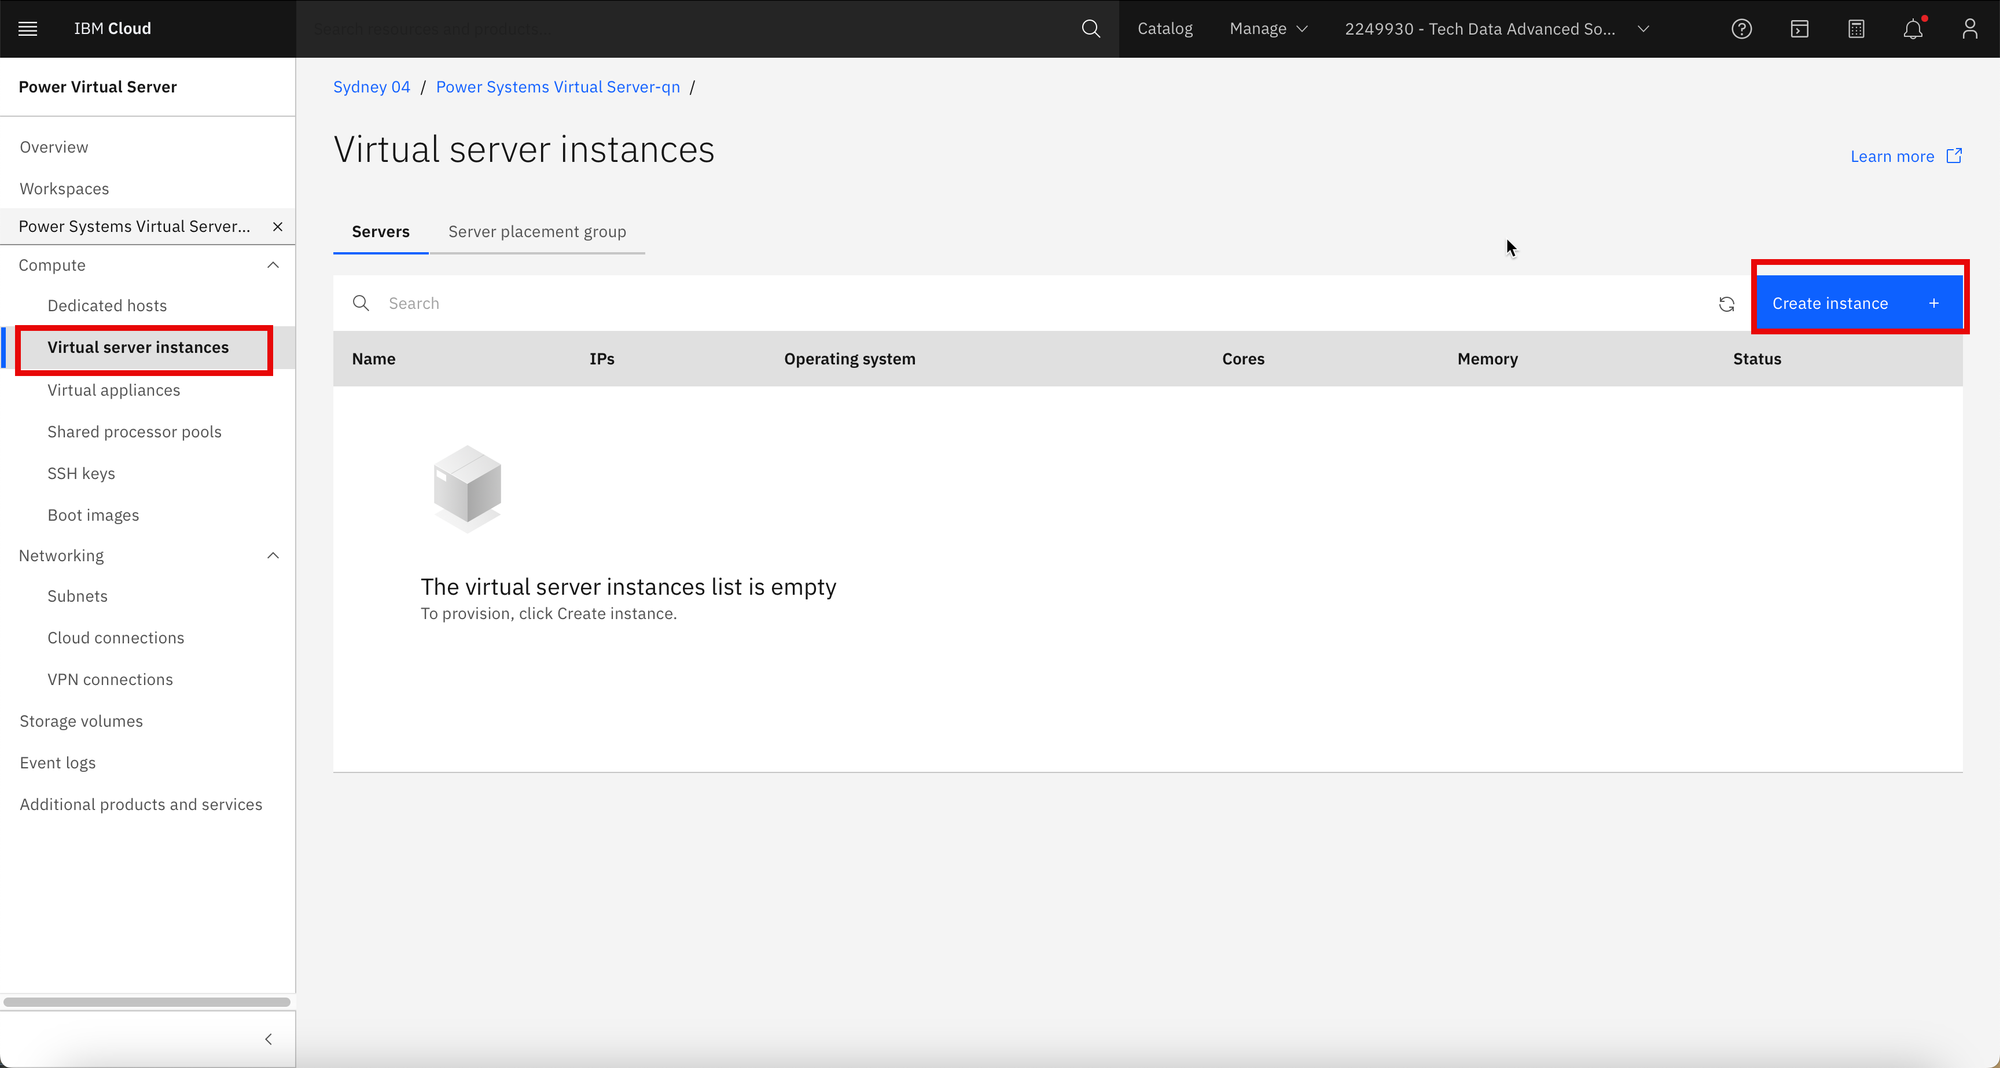
Step 6
It is time to create the IBMi virtual server instance. Click on Virtual server instances then click Create instance.
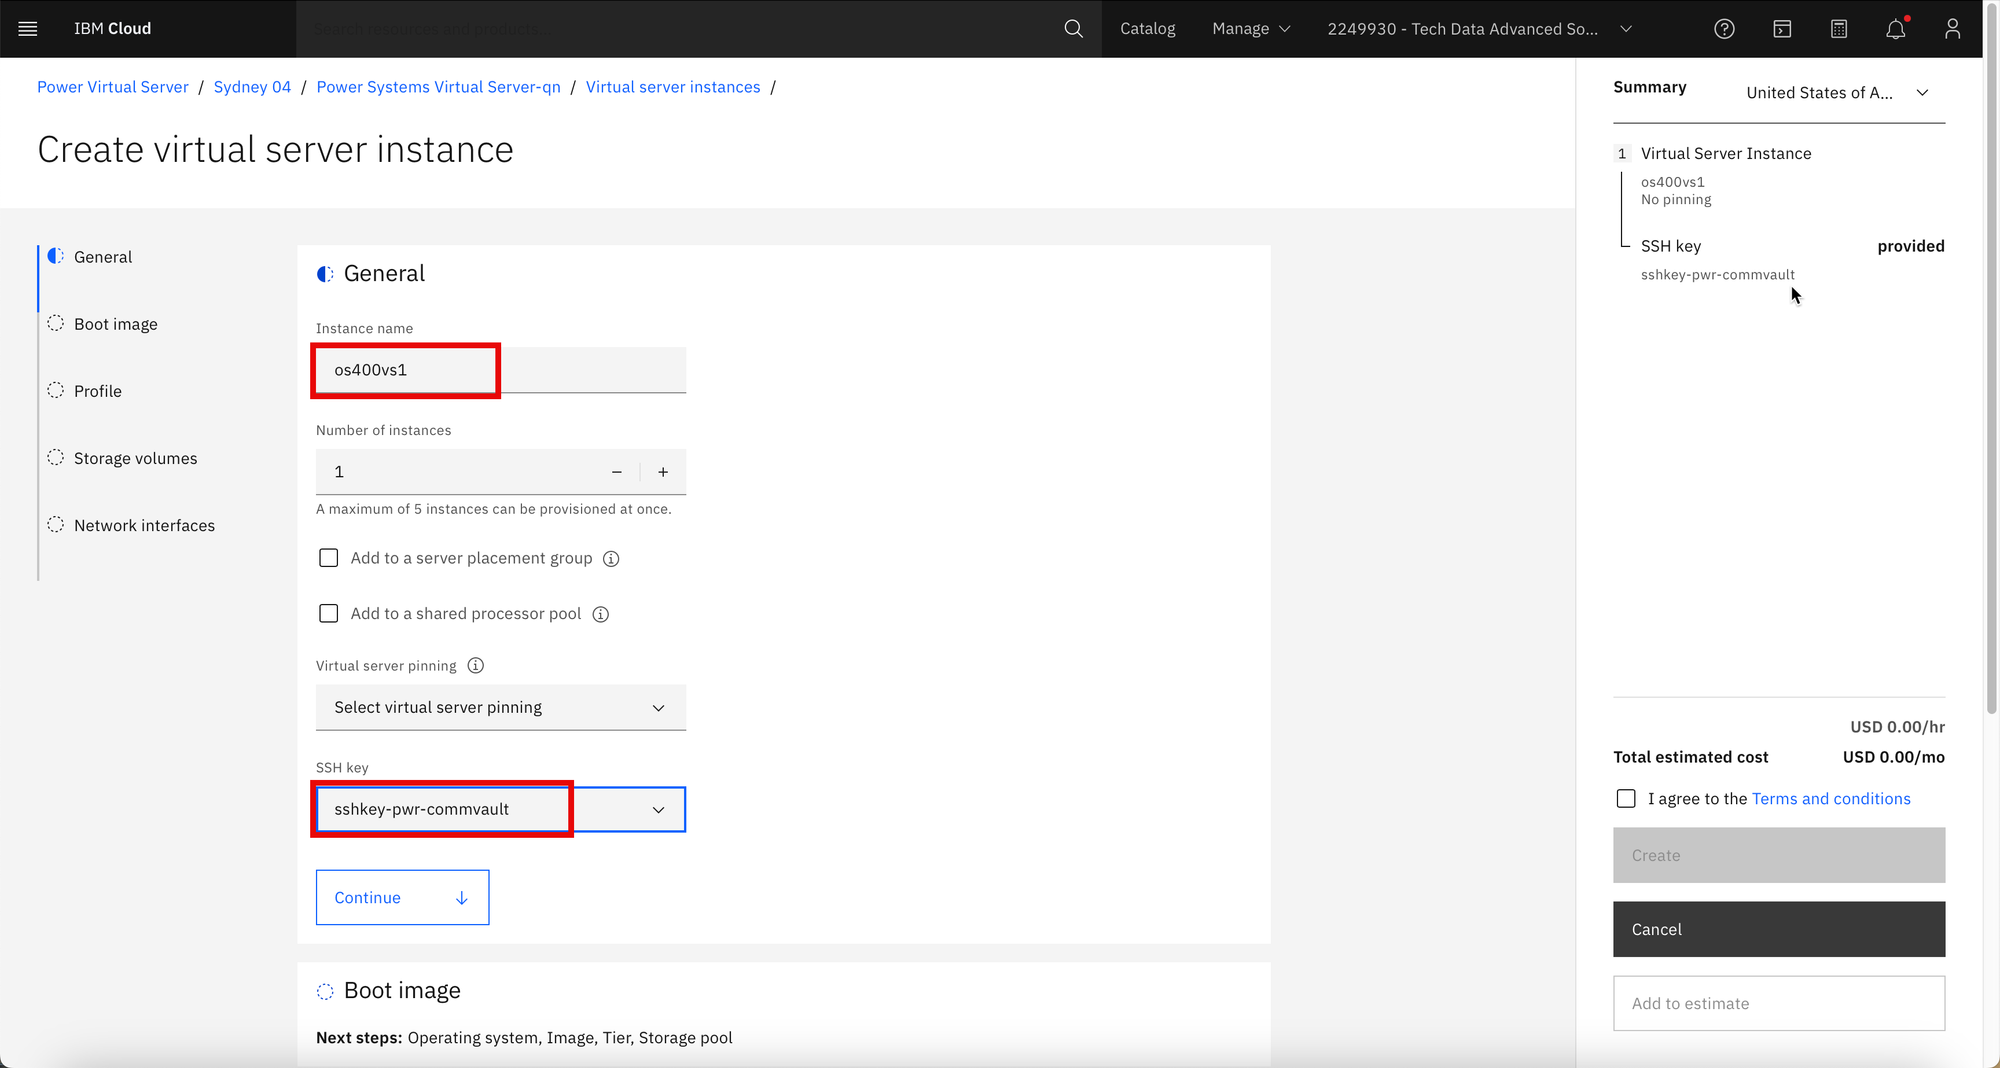
Step 7
Enter the server instance name. This will be used as the hostname of the instance.
Choose the ssh key generated in Step 5. Click Continue.
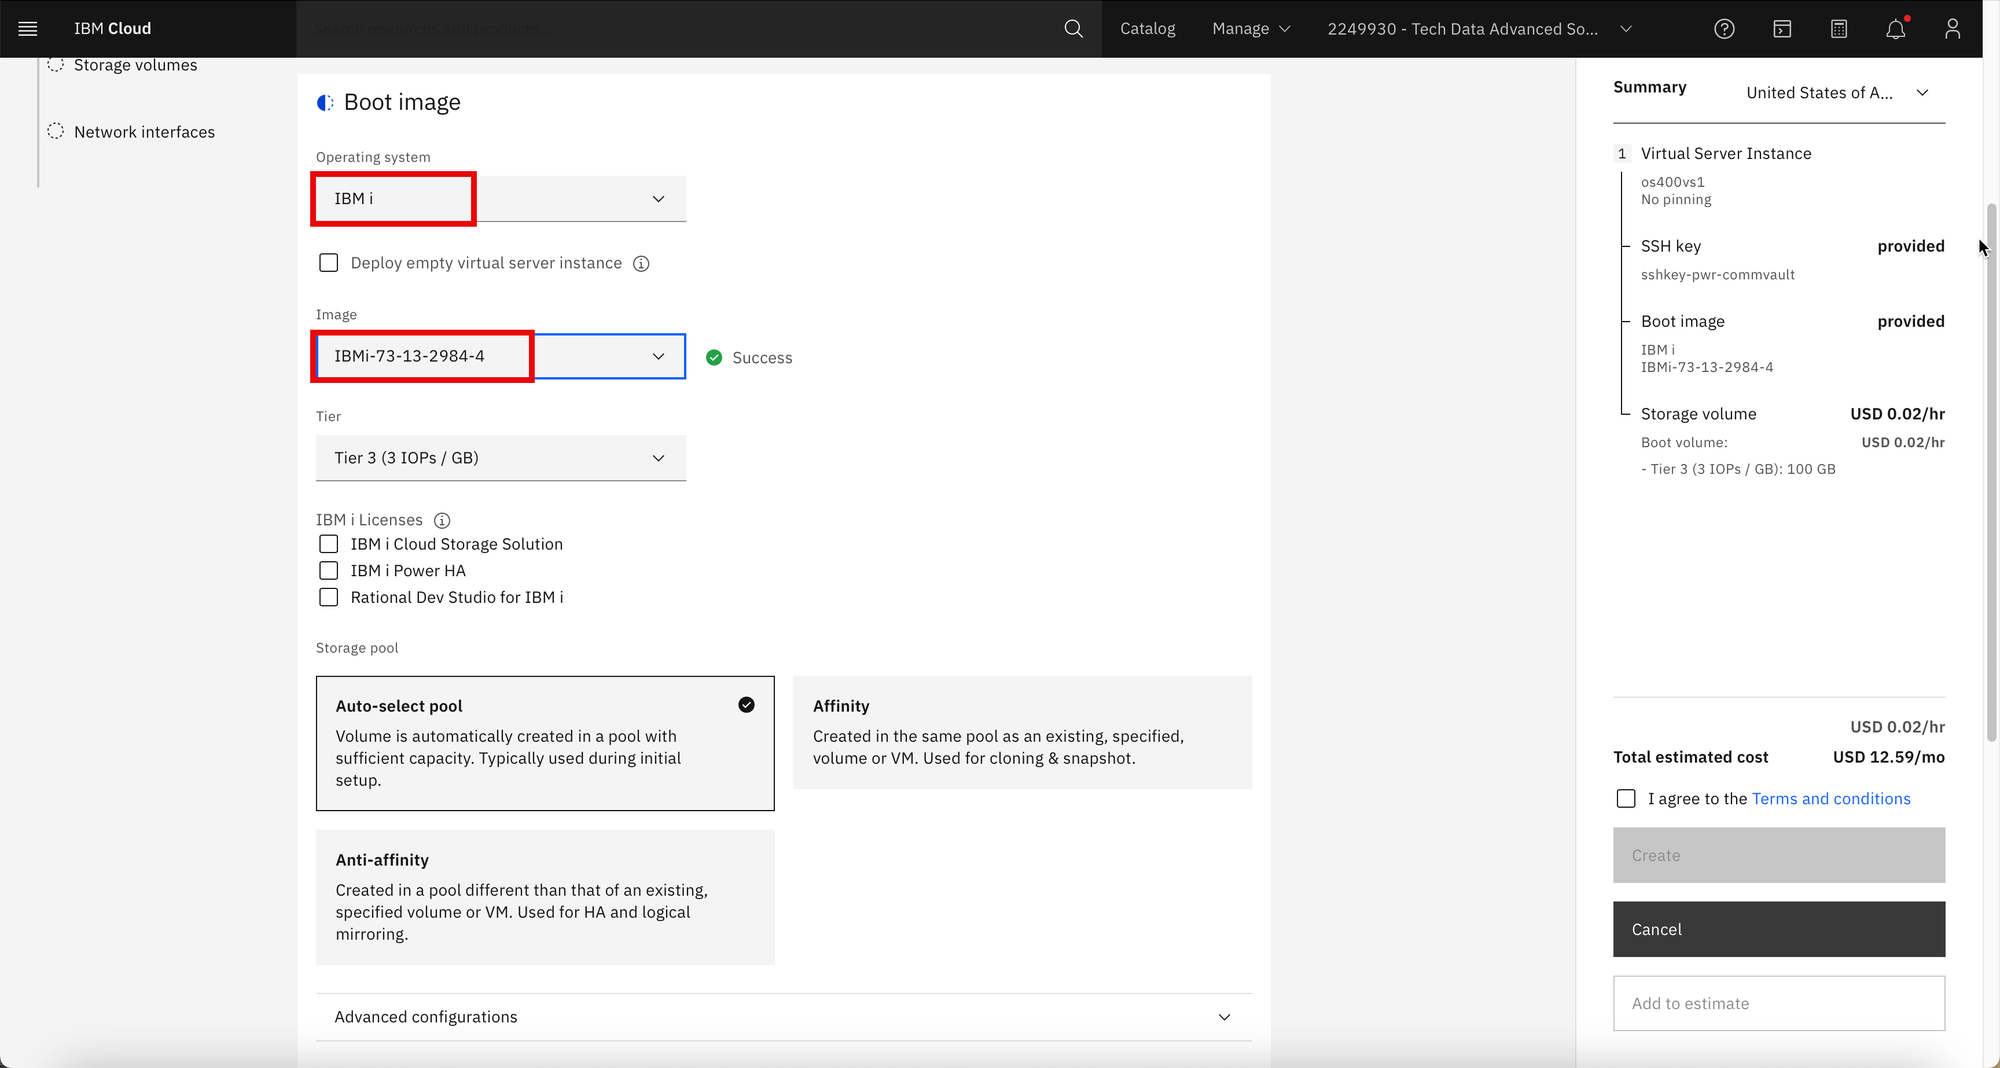
Step 8
Select IBMi for the operating system. Select the image or the IBMi operating system version you would like to use. Scroll down and click Continue.
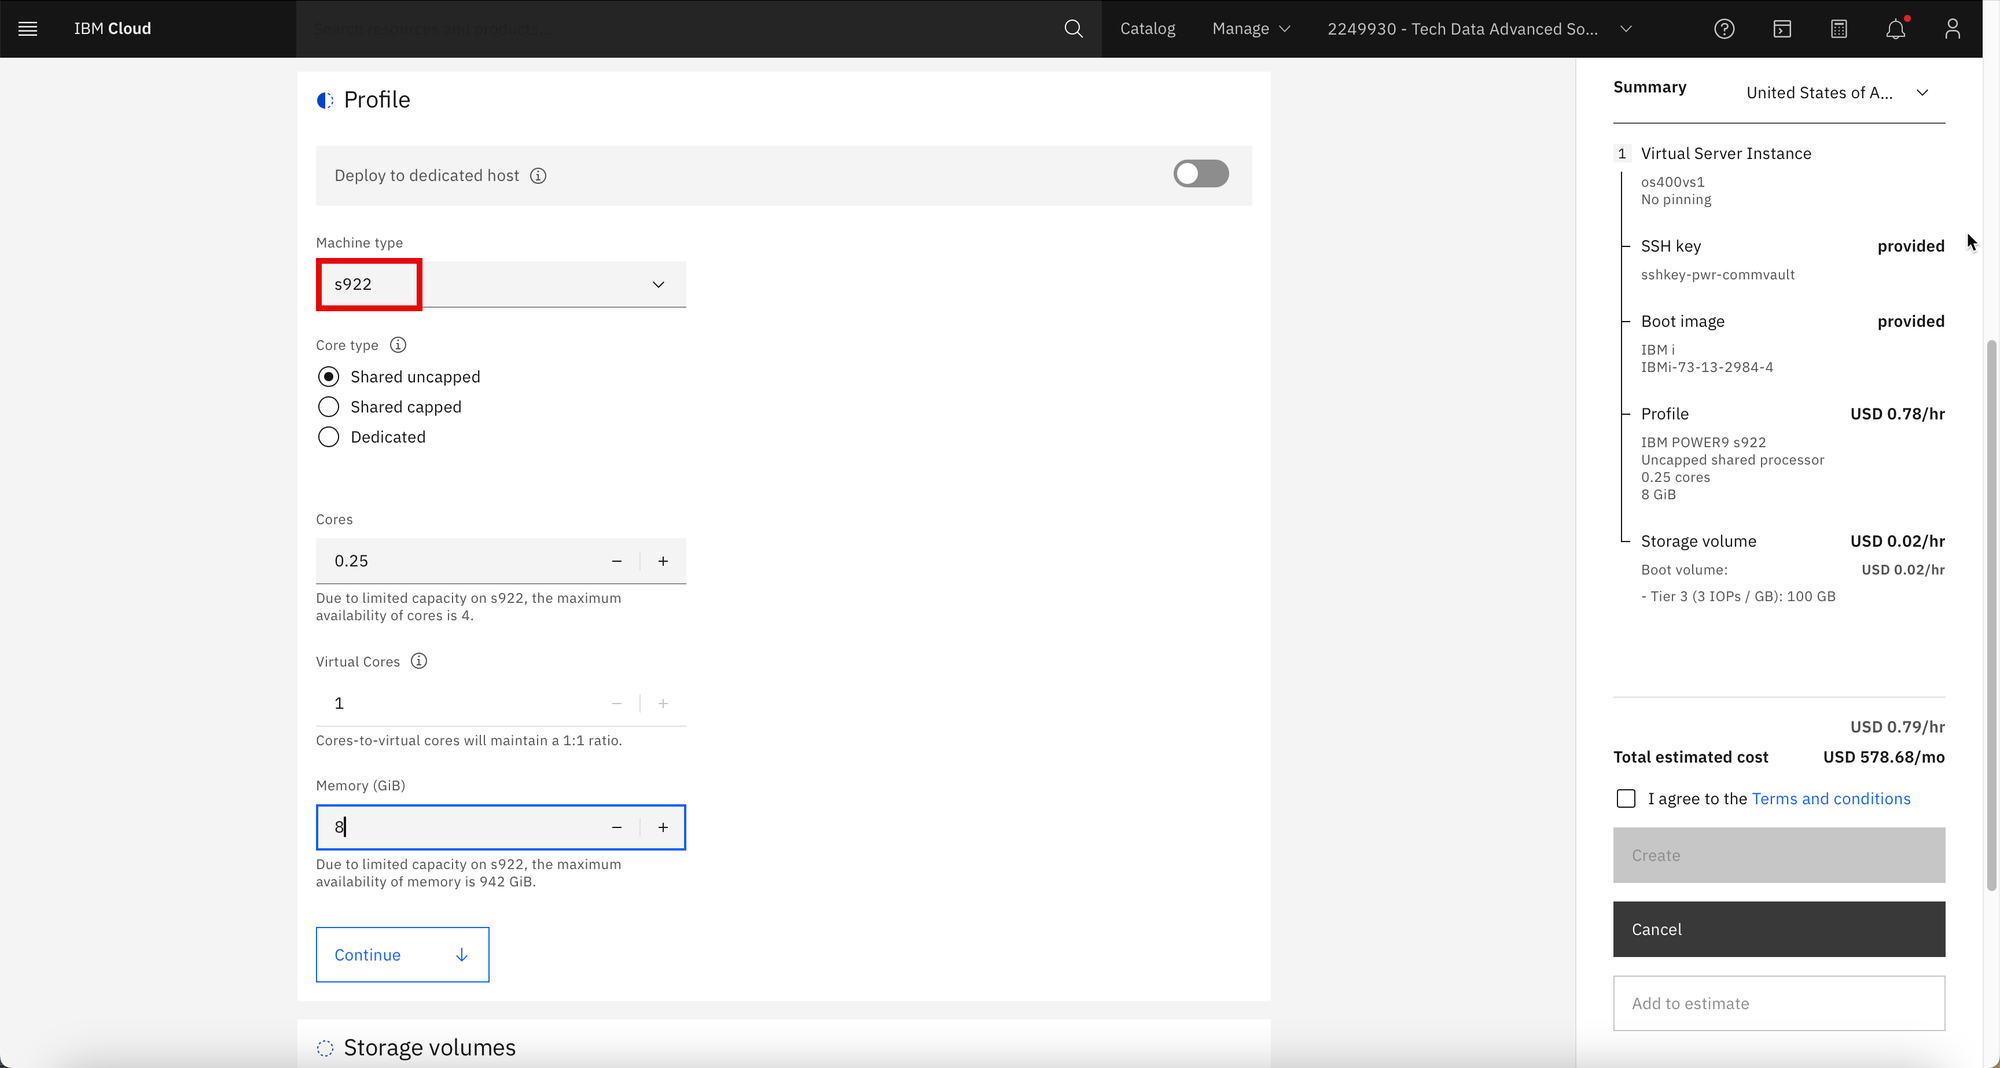
Step 9
Select the machine type. I am using an s922 server to keep the cost to a minimum.
Choose the appropriate CPU Cores, Virtual Cores and Memory. Click Continue.
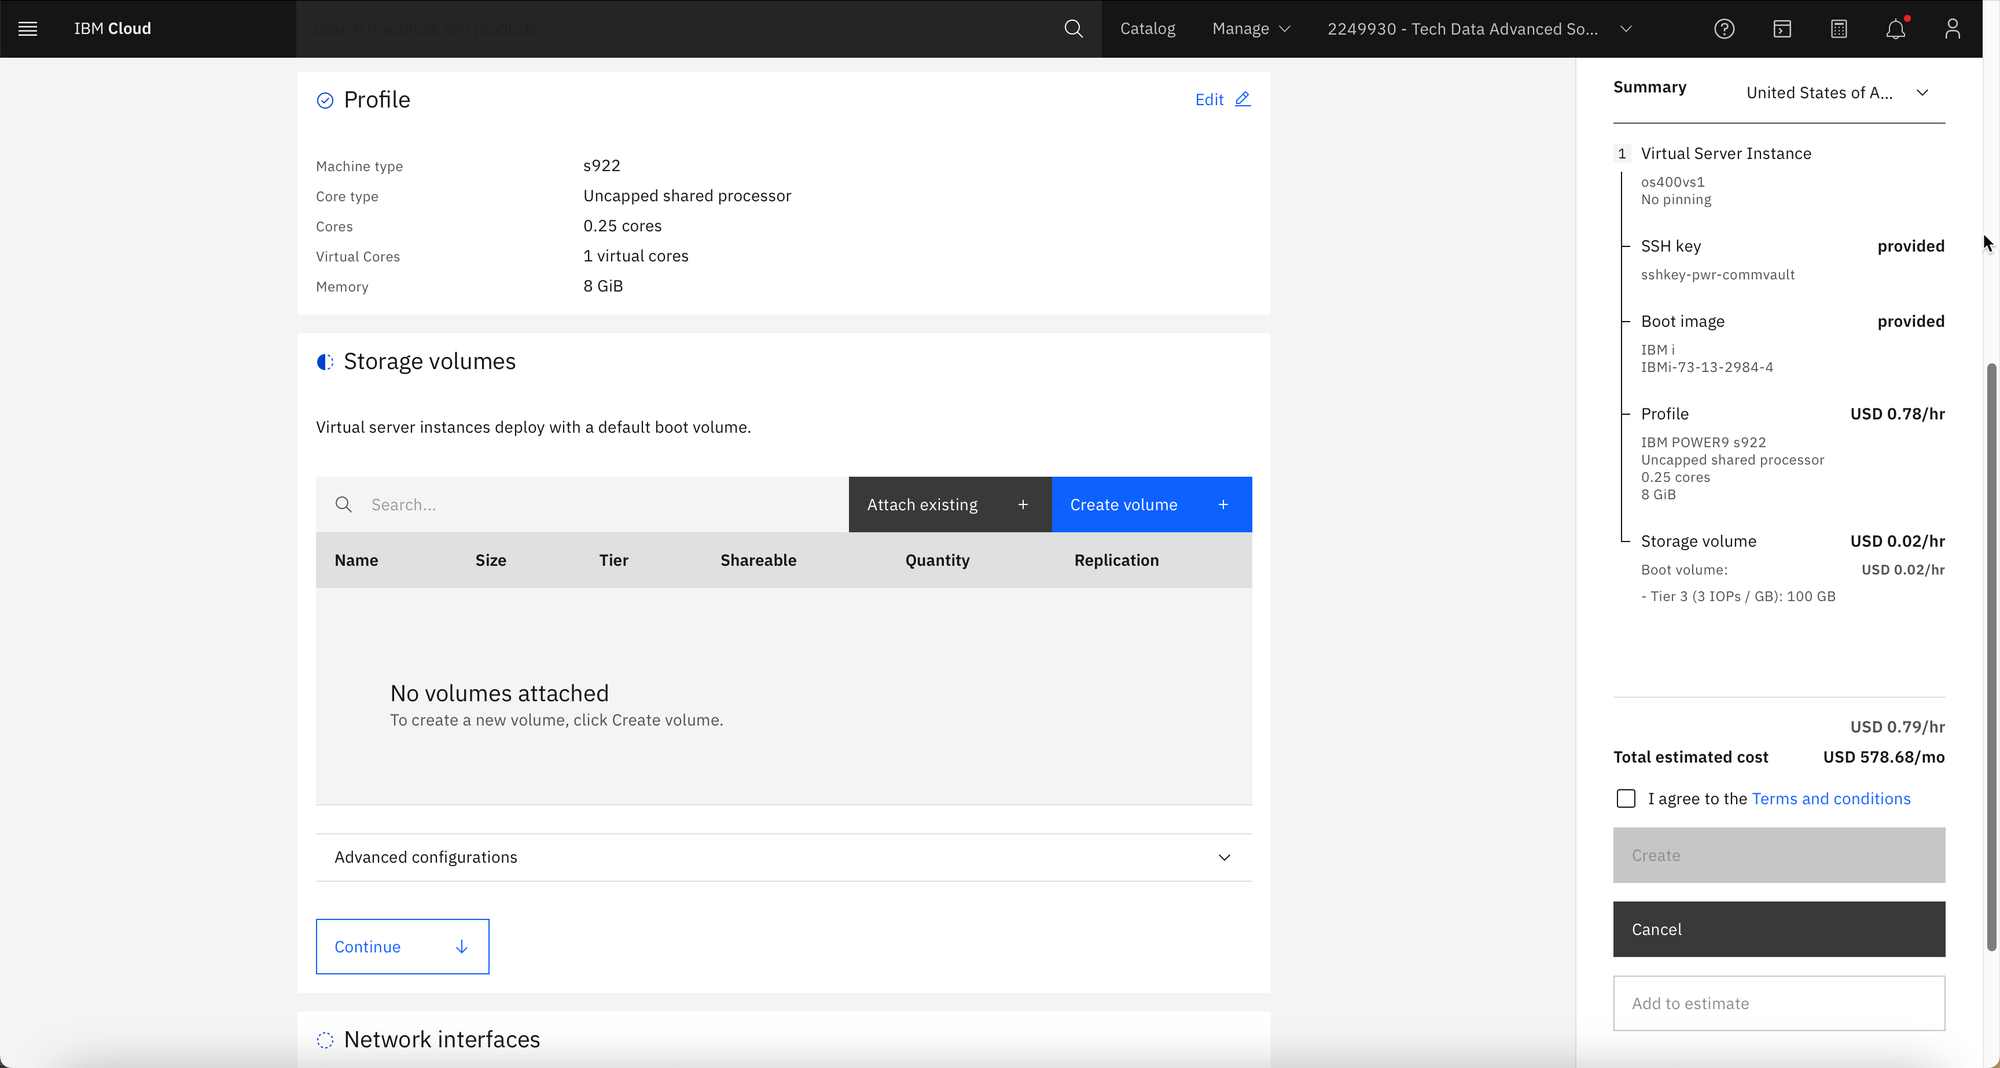
Step 10
Create or Attach an existing volume then click Continue.
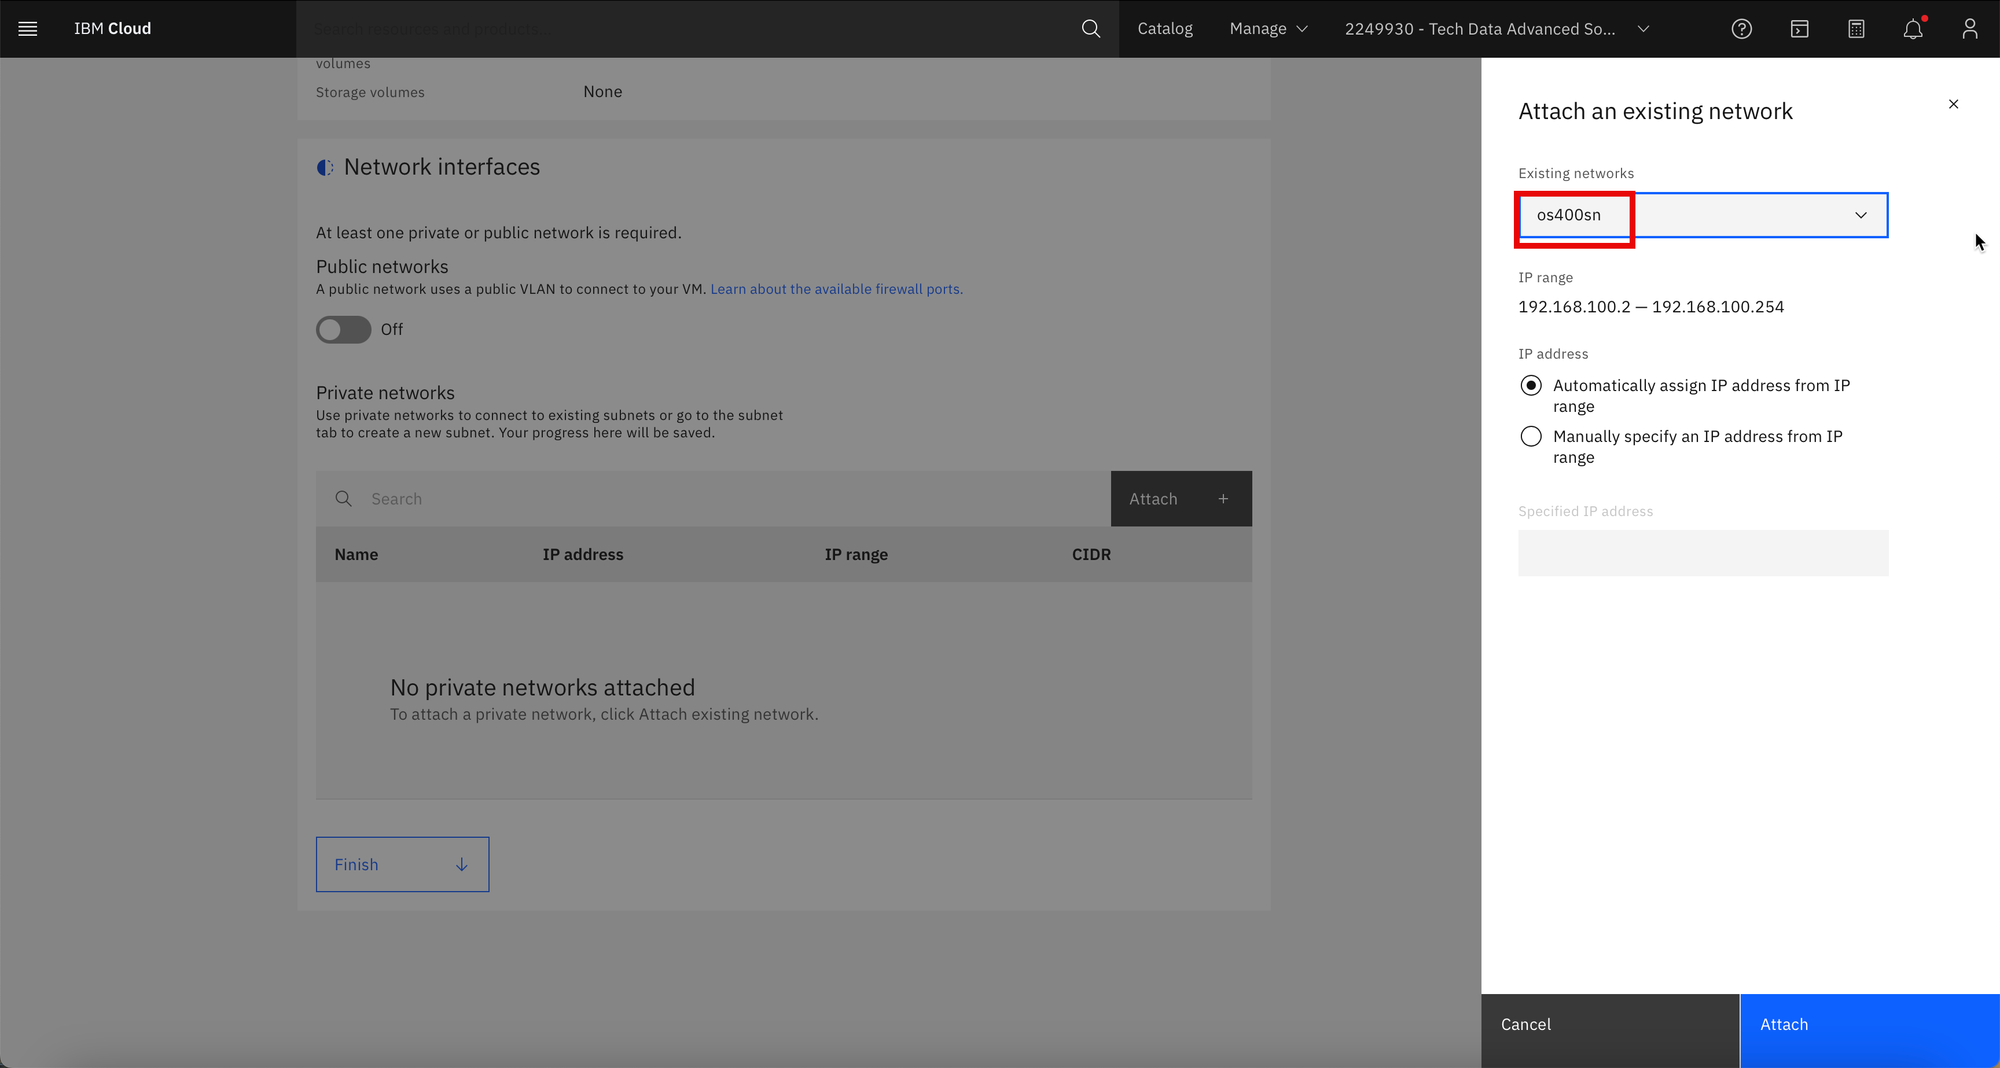
Step 11
Click Attach and select the subnet created in Step 5. Click Attach, then click Finish.
Step 12
Review the estimated cost then click the box to agree to the Terms and conditions.
Then click Create.
Step 13
The server creation process will begin. This will take about 15 minutes to complete.


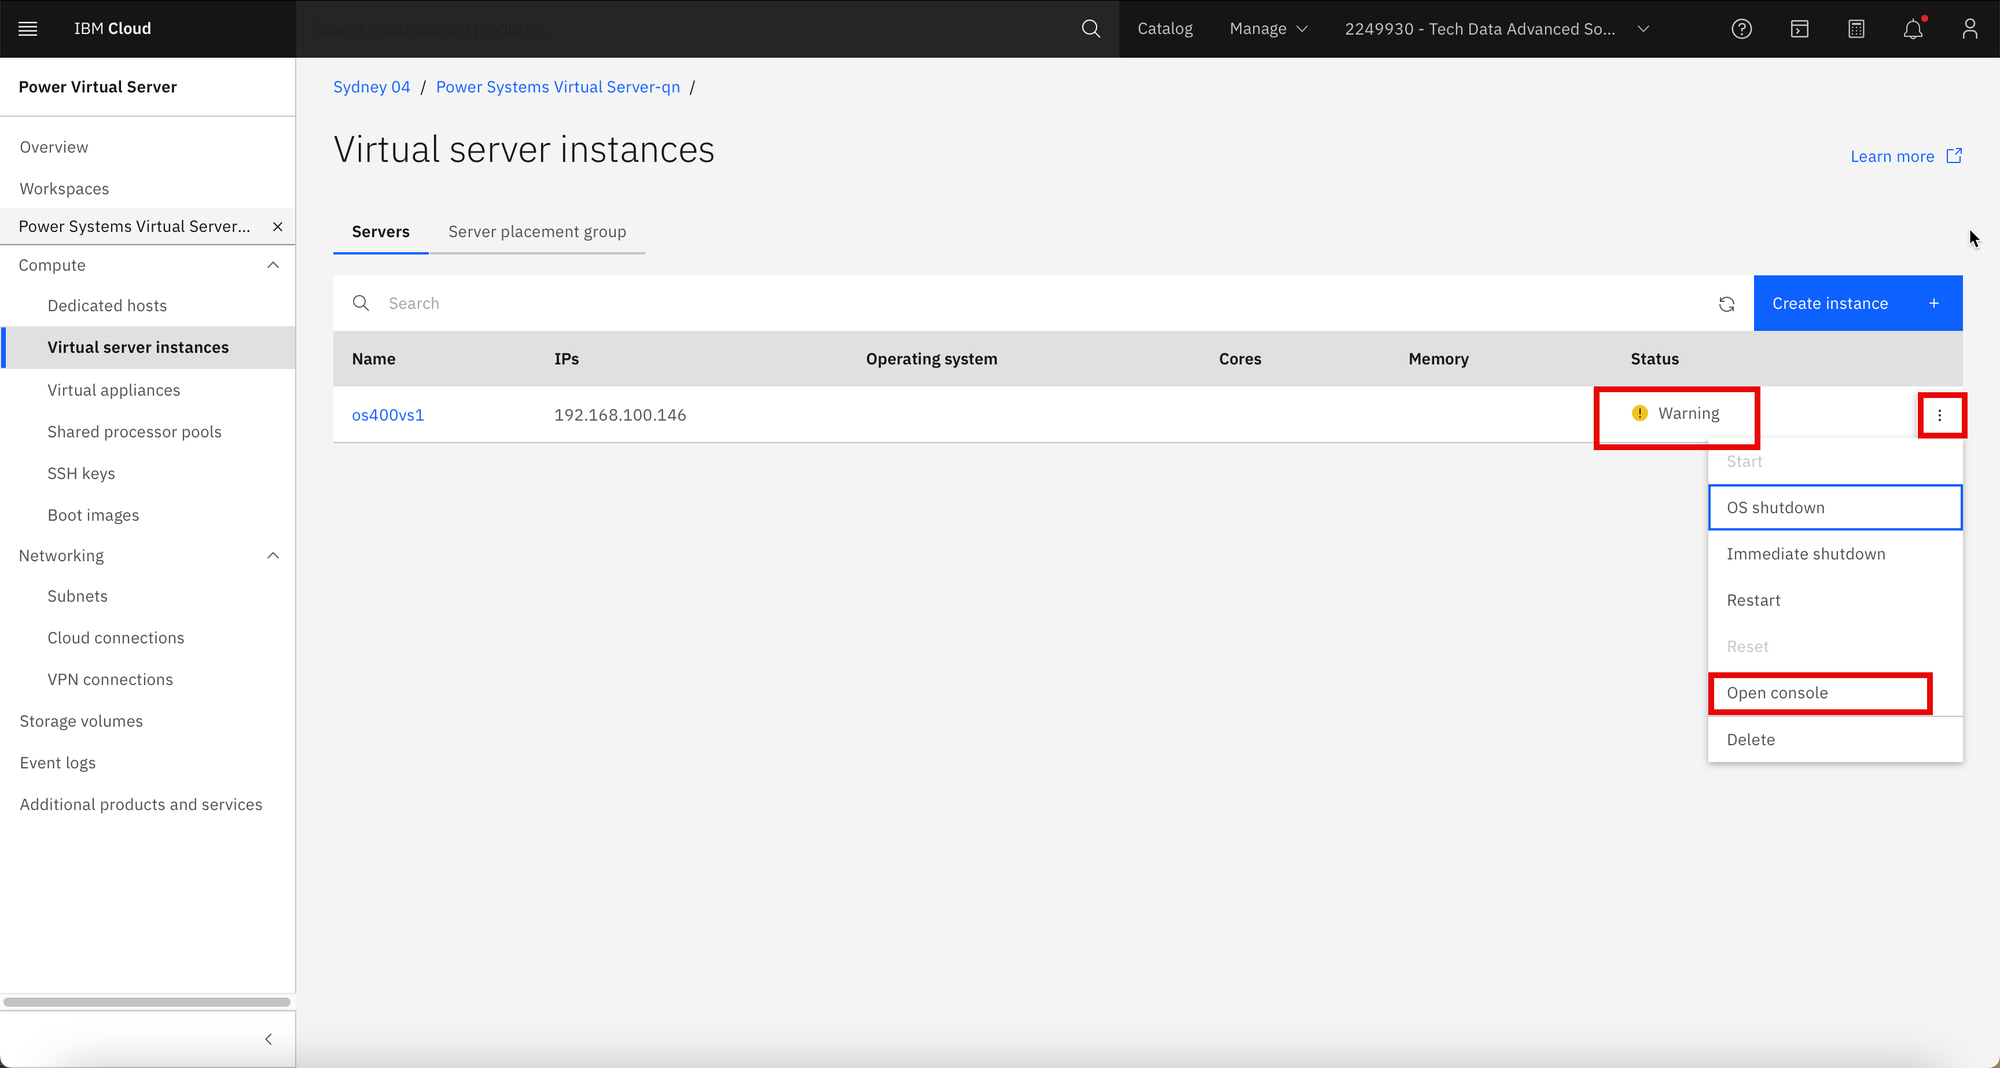
Step 14
When the Status shows Warning, click on the submenu and click Open console.
This will show the IBM i IPL process or the Initial Program Load process.

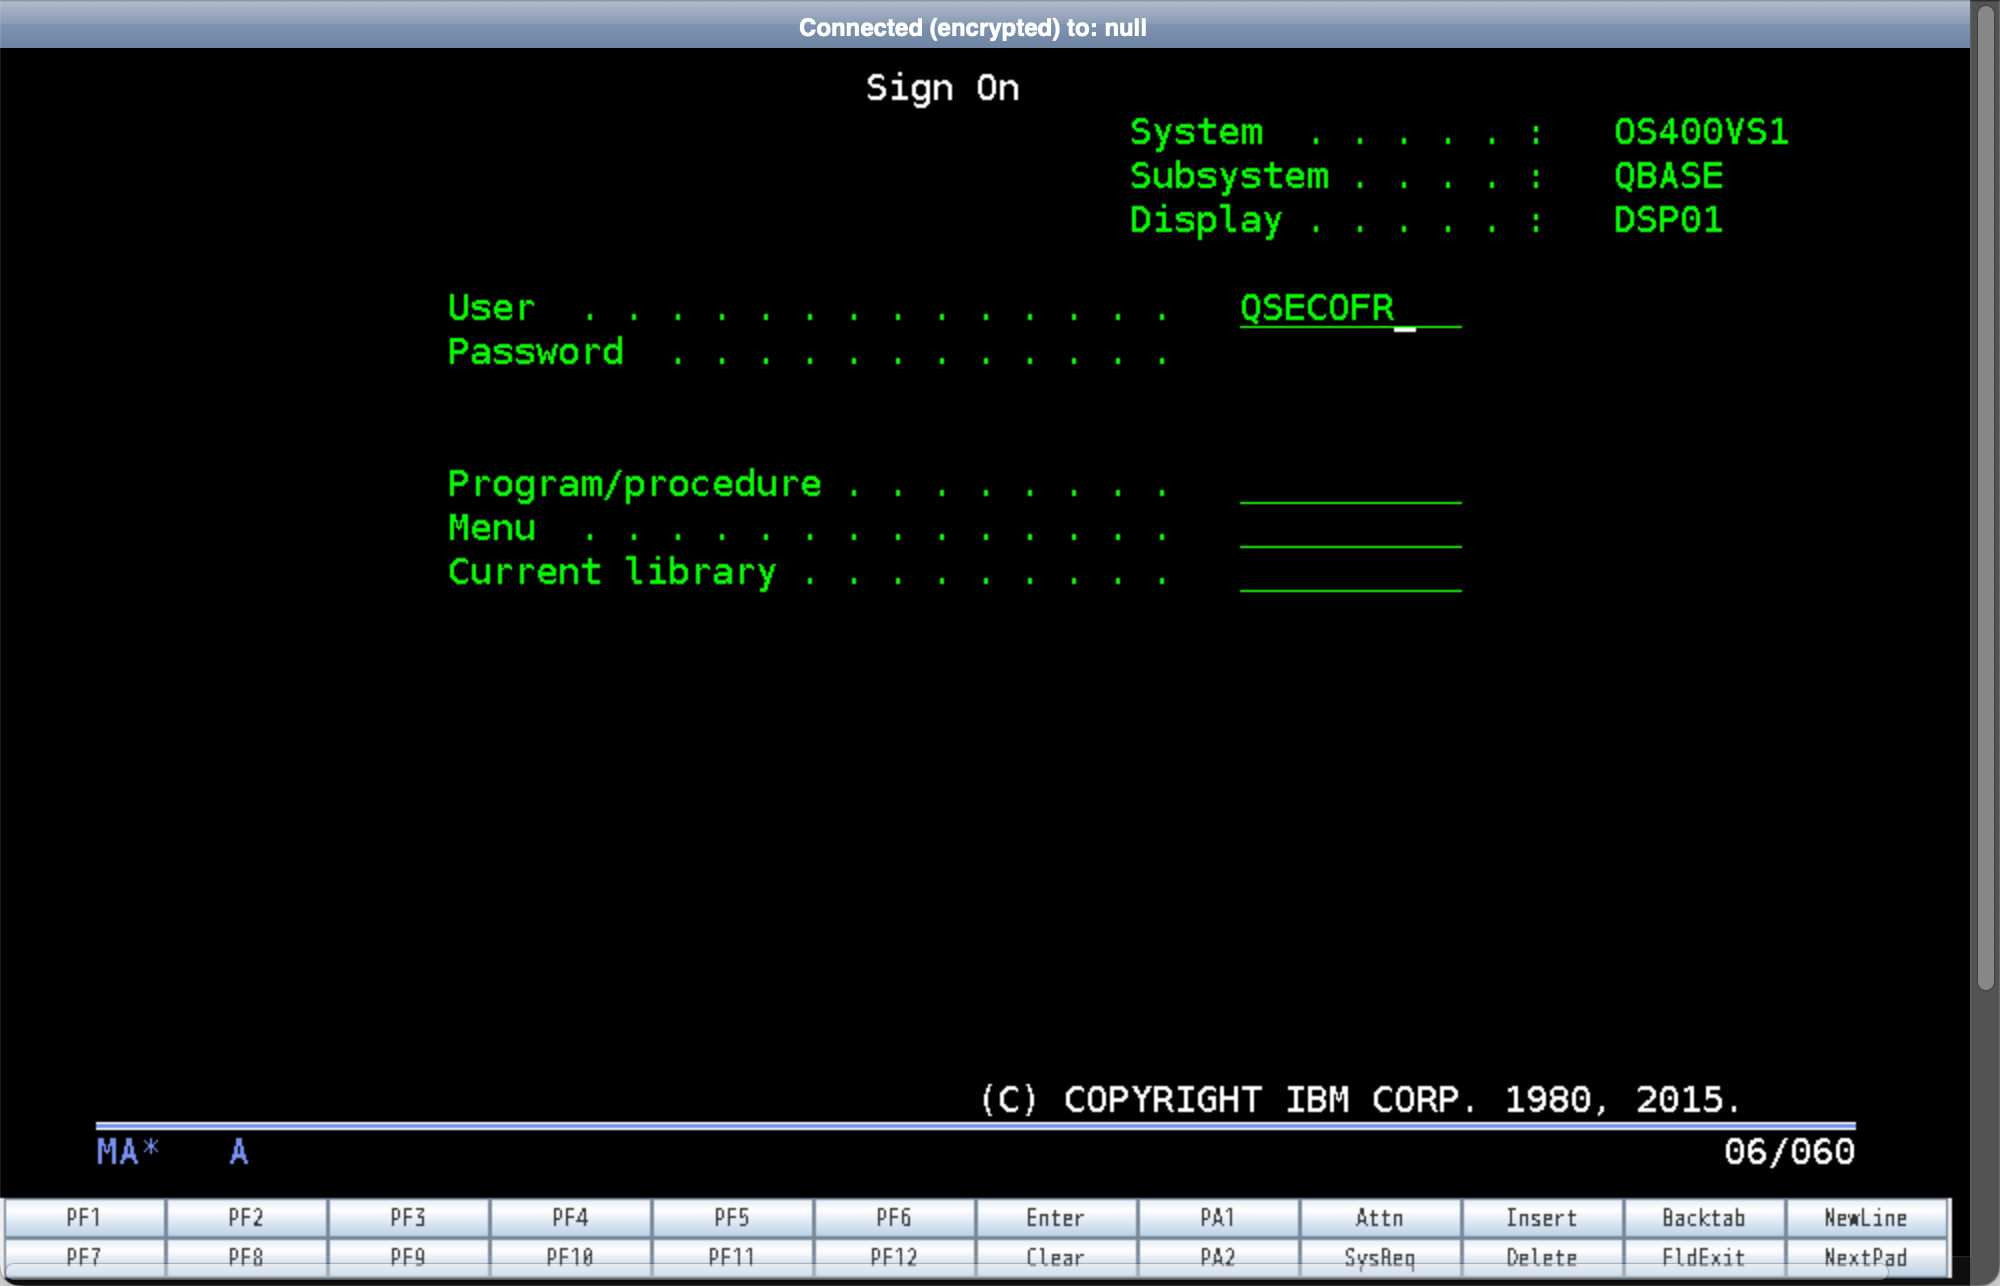
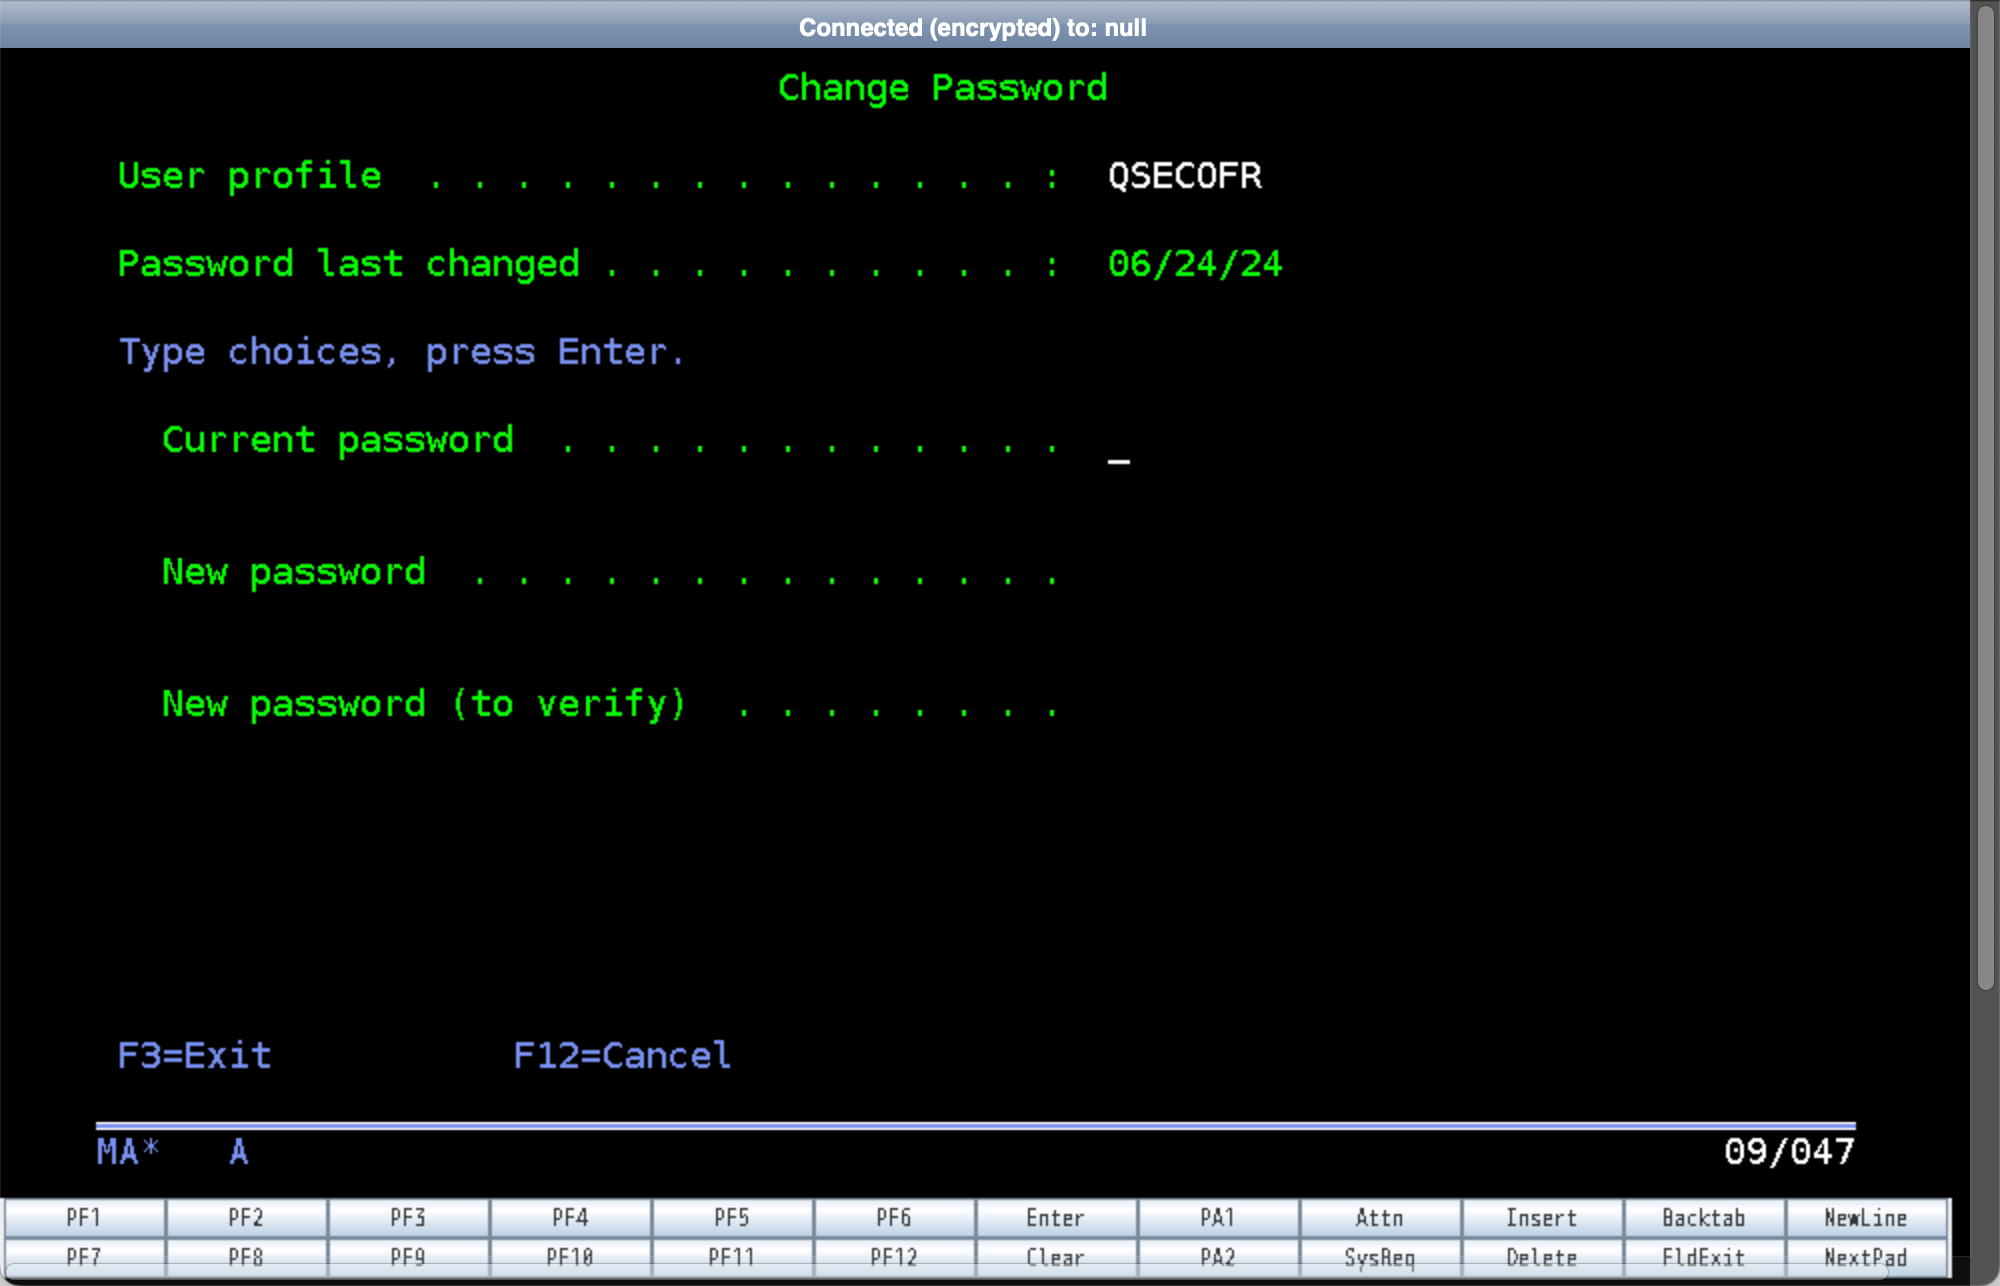
Step 15
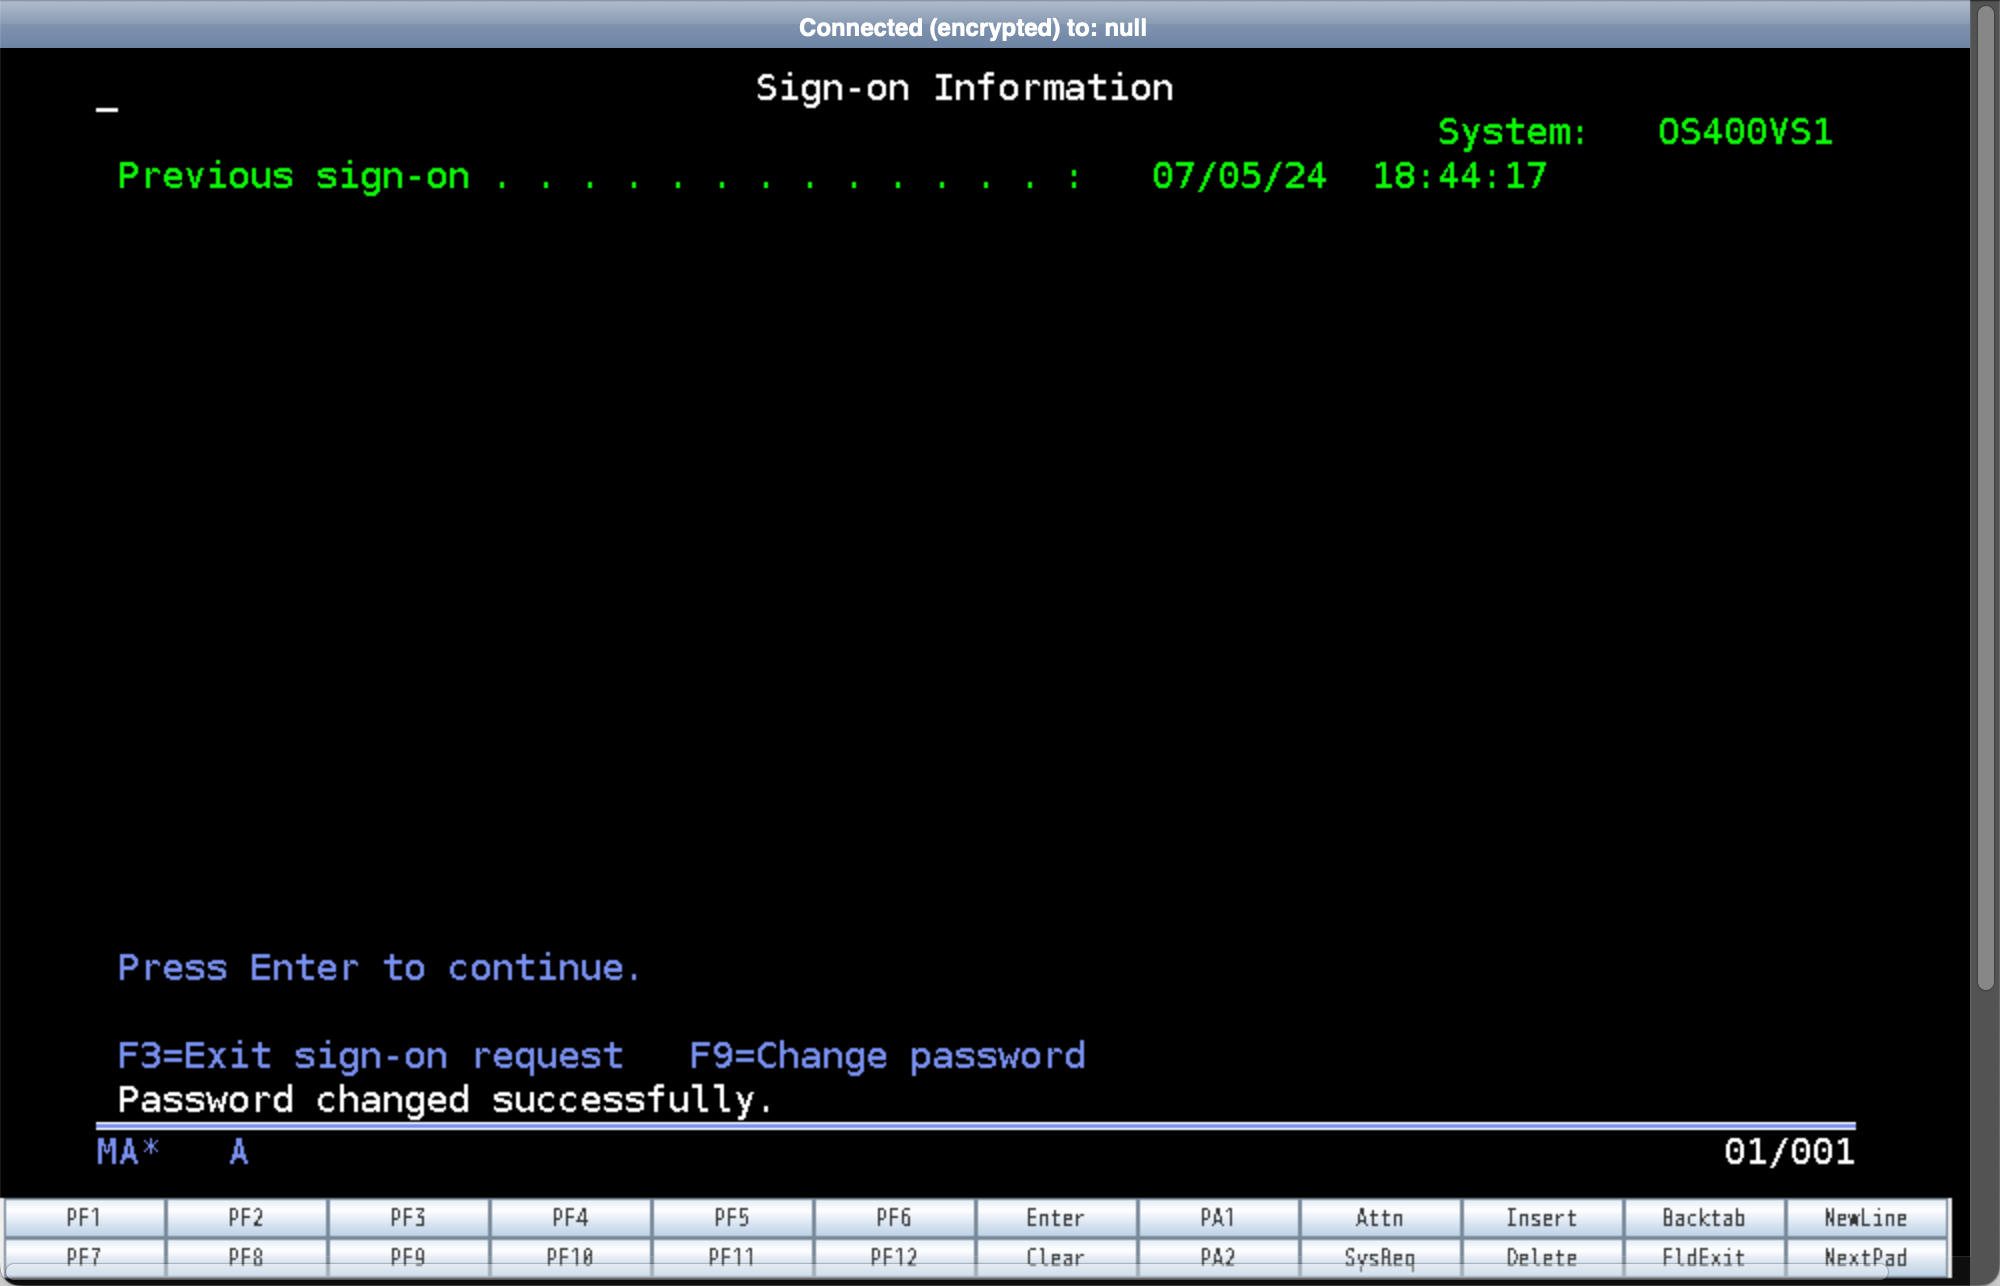
Logon as User - QSECOFR and Password - QSECOFR.
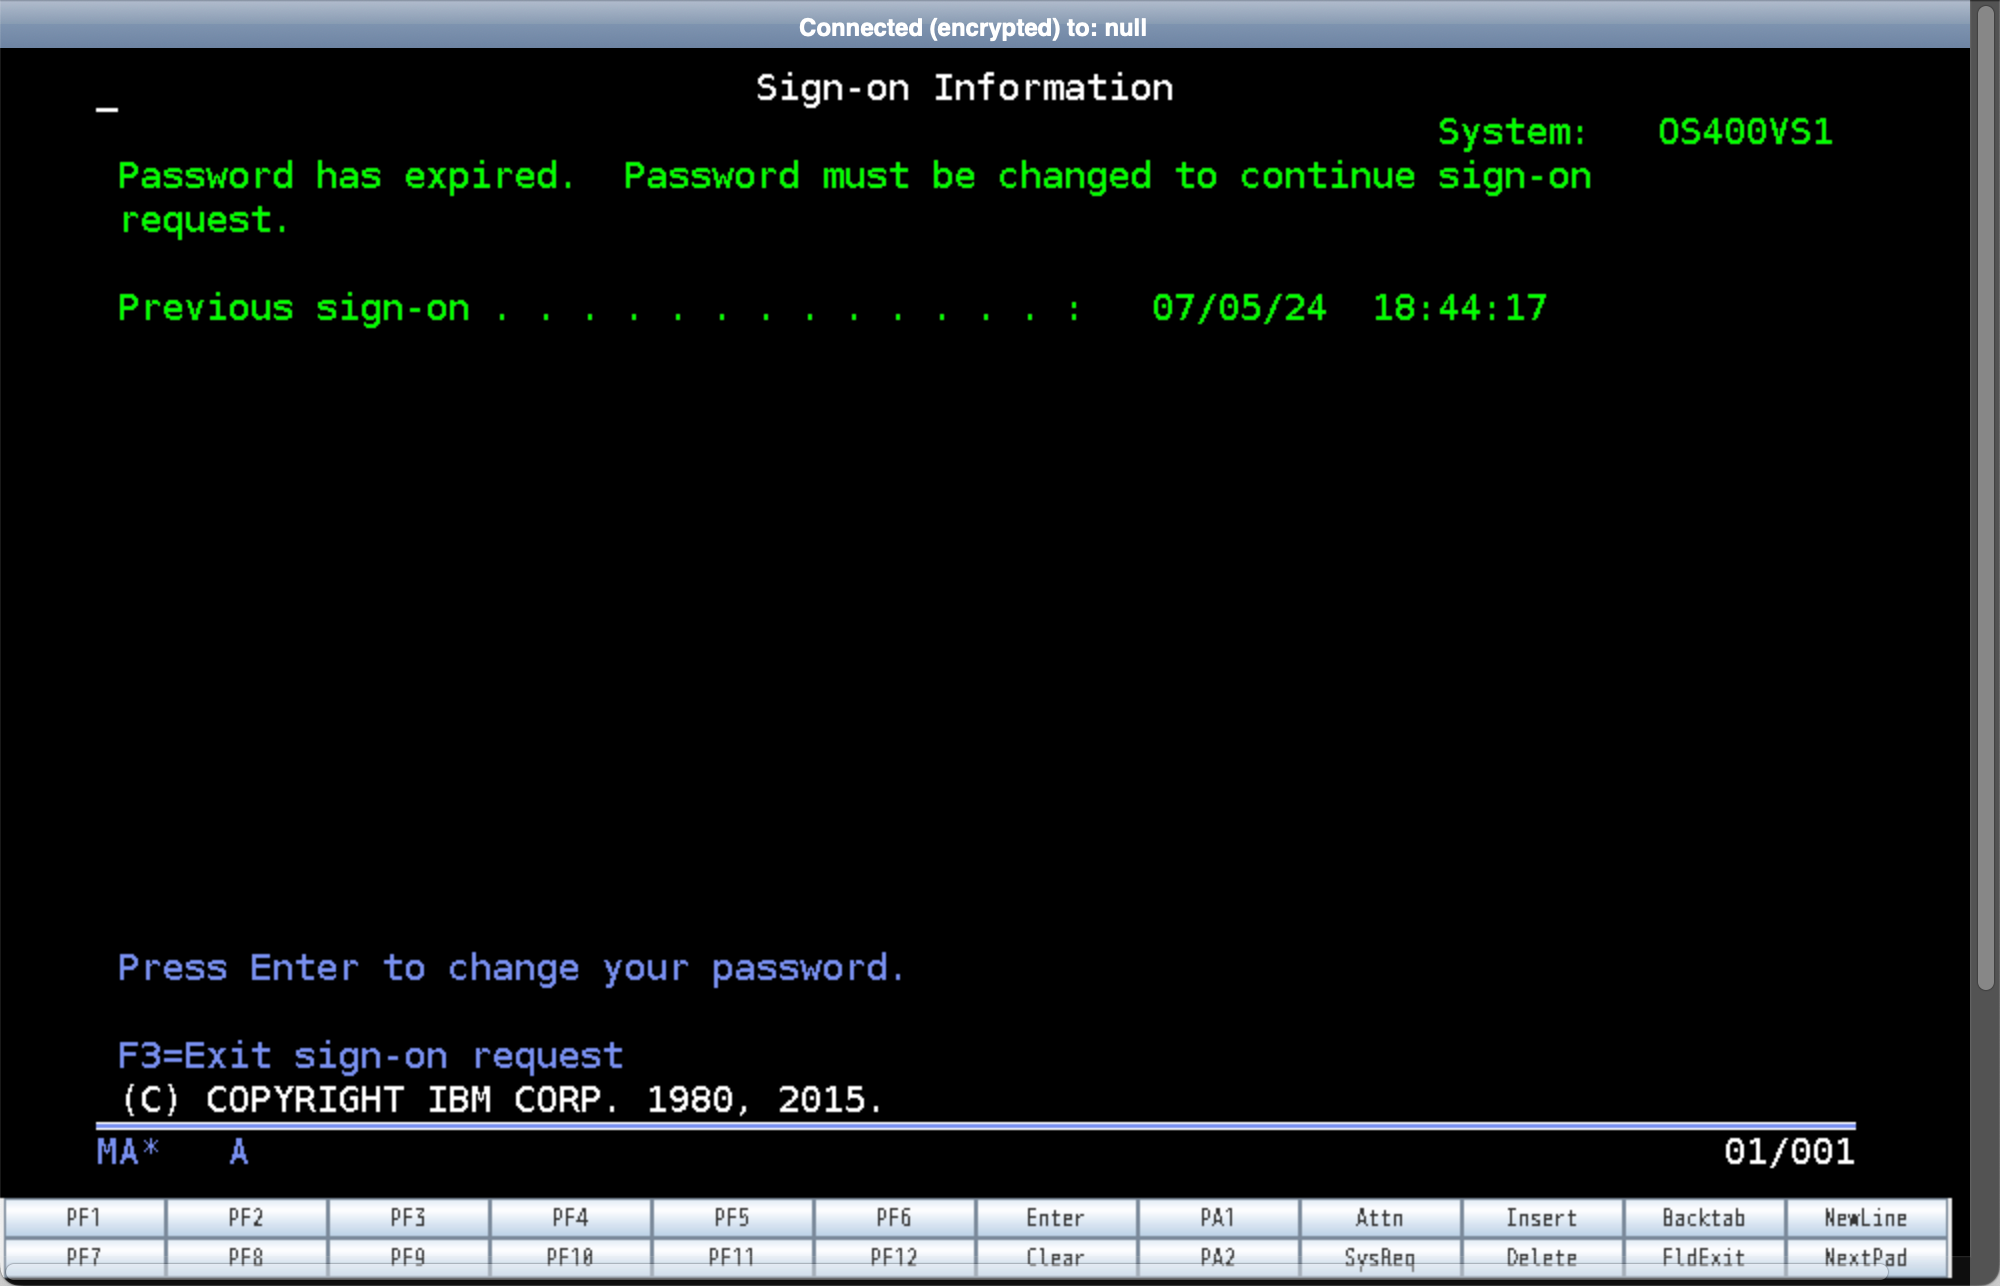
Enter a new 15 character password when prompted.
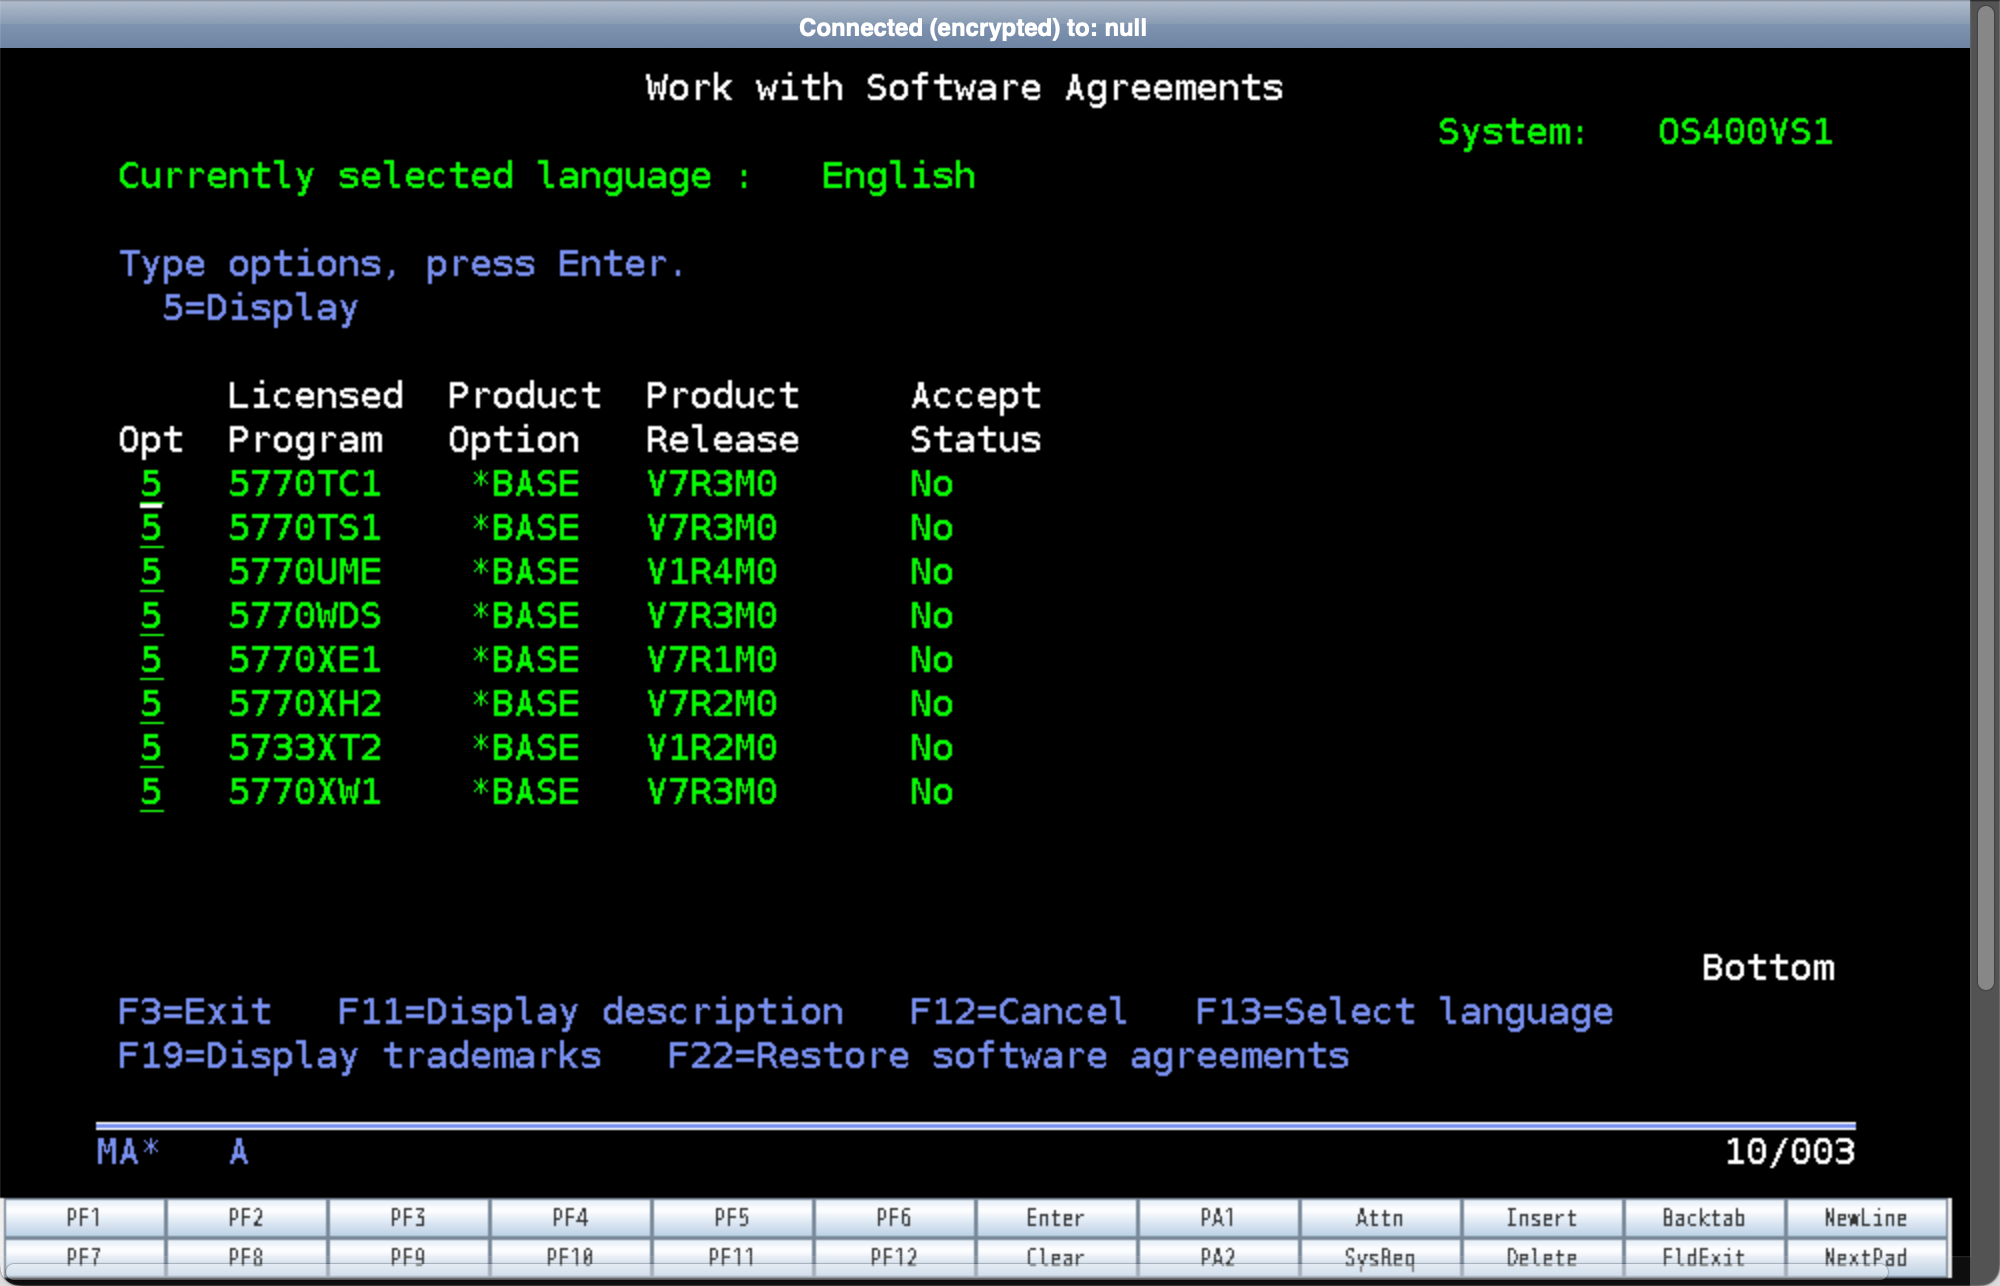
Step 16
Accept Software Agreements. Enter 5 next to the Option field for each line.
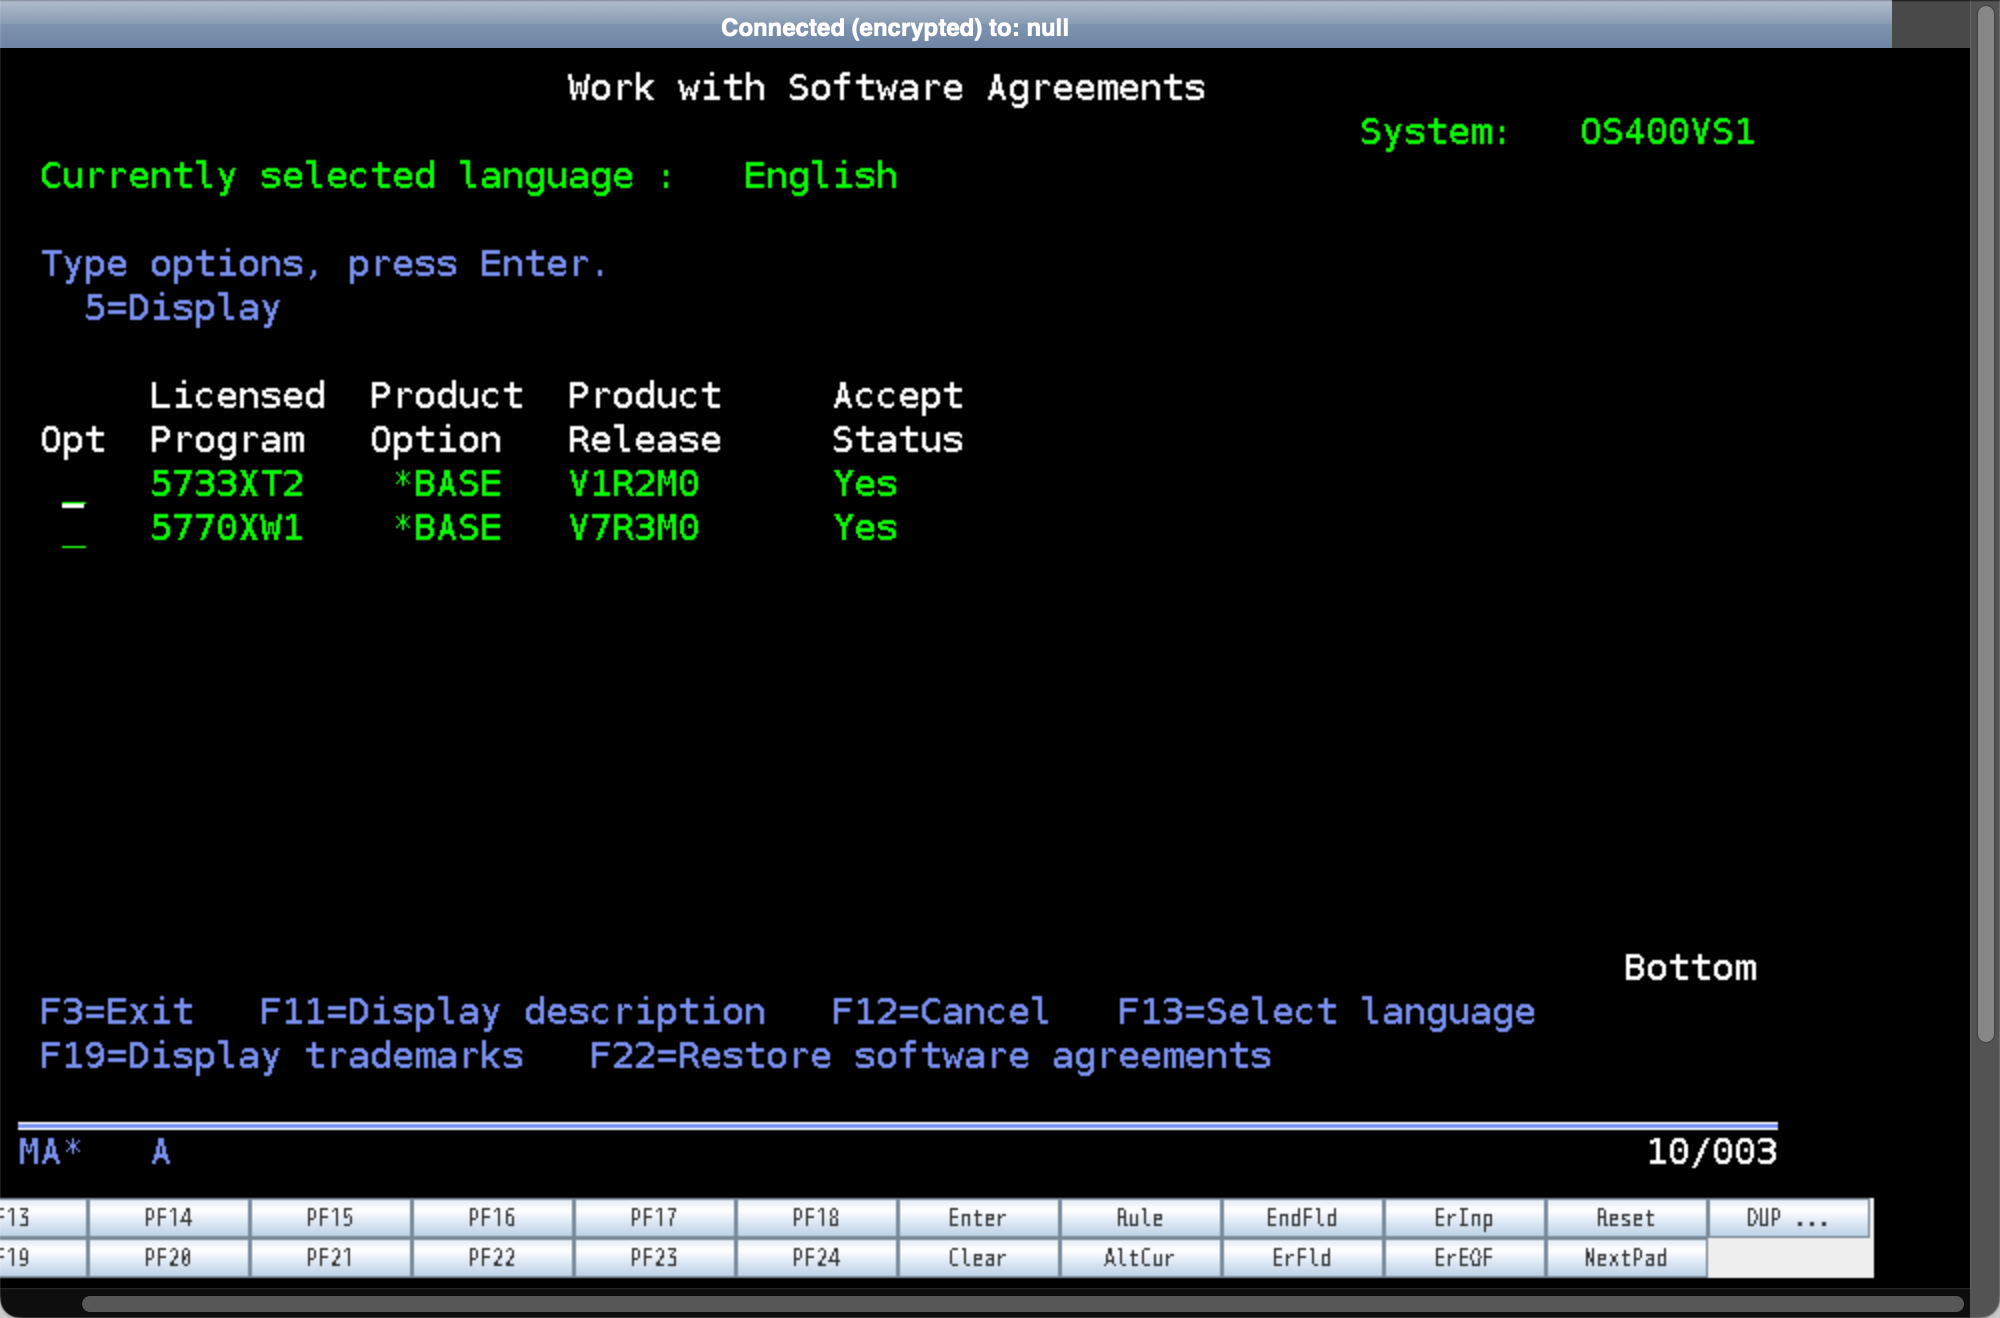
Press Pgdn key to go to the next page of software agreements. Press the Enter key to display the agreements and accept them by pressing the F15 key.
Step 17
Once all agreements have been accepted, press the F3 key to Exit.
Step 18
The IBM i virtual server instance is now ready for use.
The TCP/IP IPv4 address has already been assigned and configured automatically.
Please refer to this link for more tips on using and navigating the IBM i virtual server instance on IBM Cloud.
https://cloud.ibm.com/docs/power-iaas?topic=power-iaas-configuring-ibmi
Step 19 - Shutdown the IBM i Virtual Instance
If this is only for testing and development please make sure to shutdown the server after each use to save on costs.
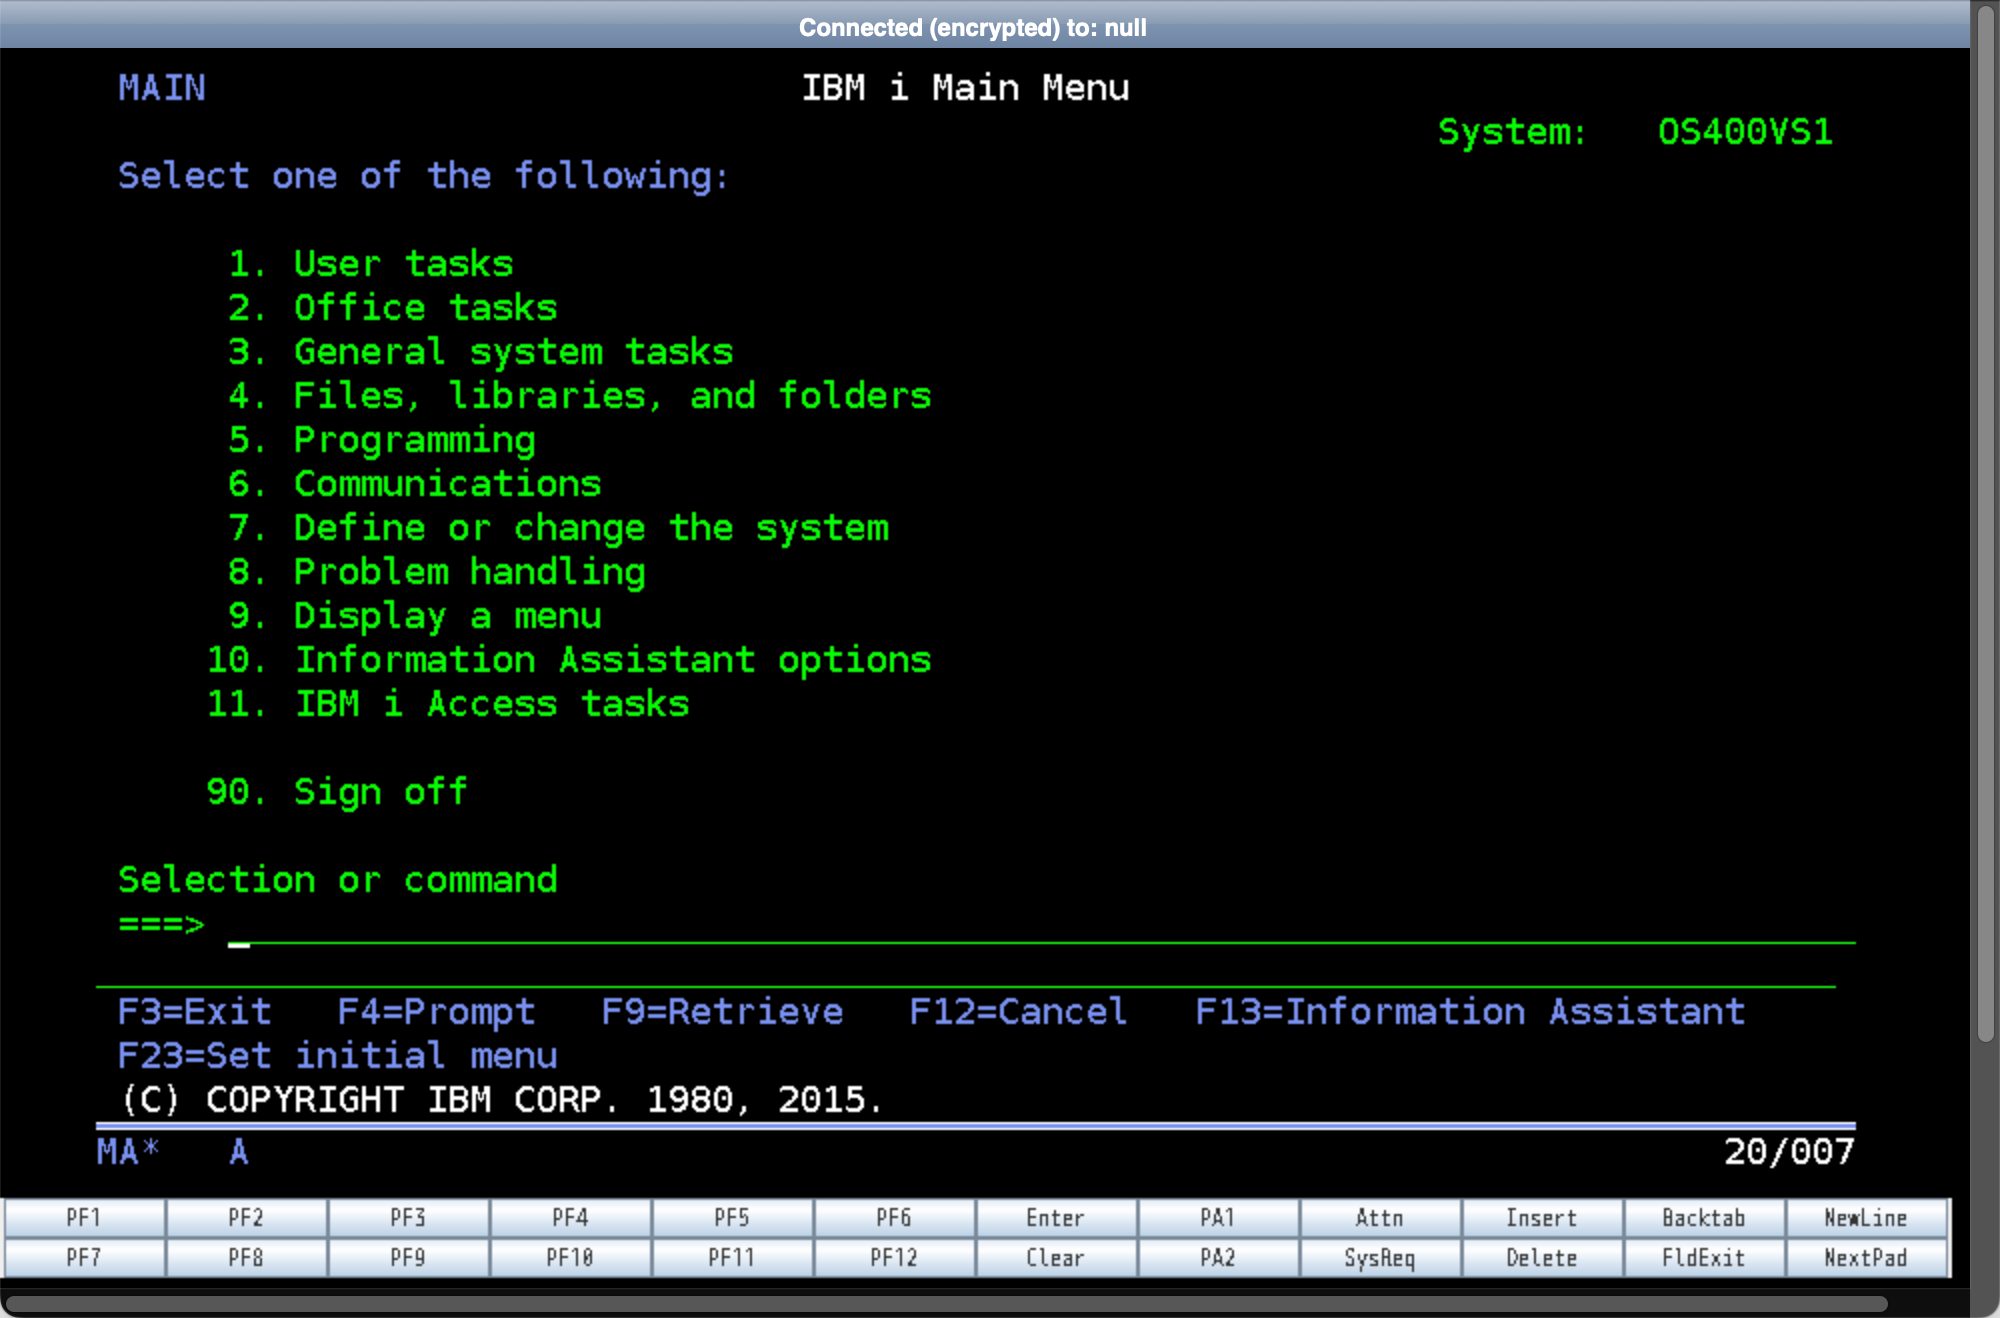
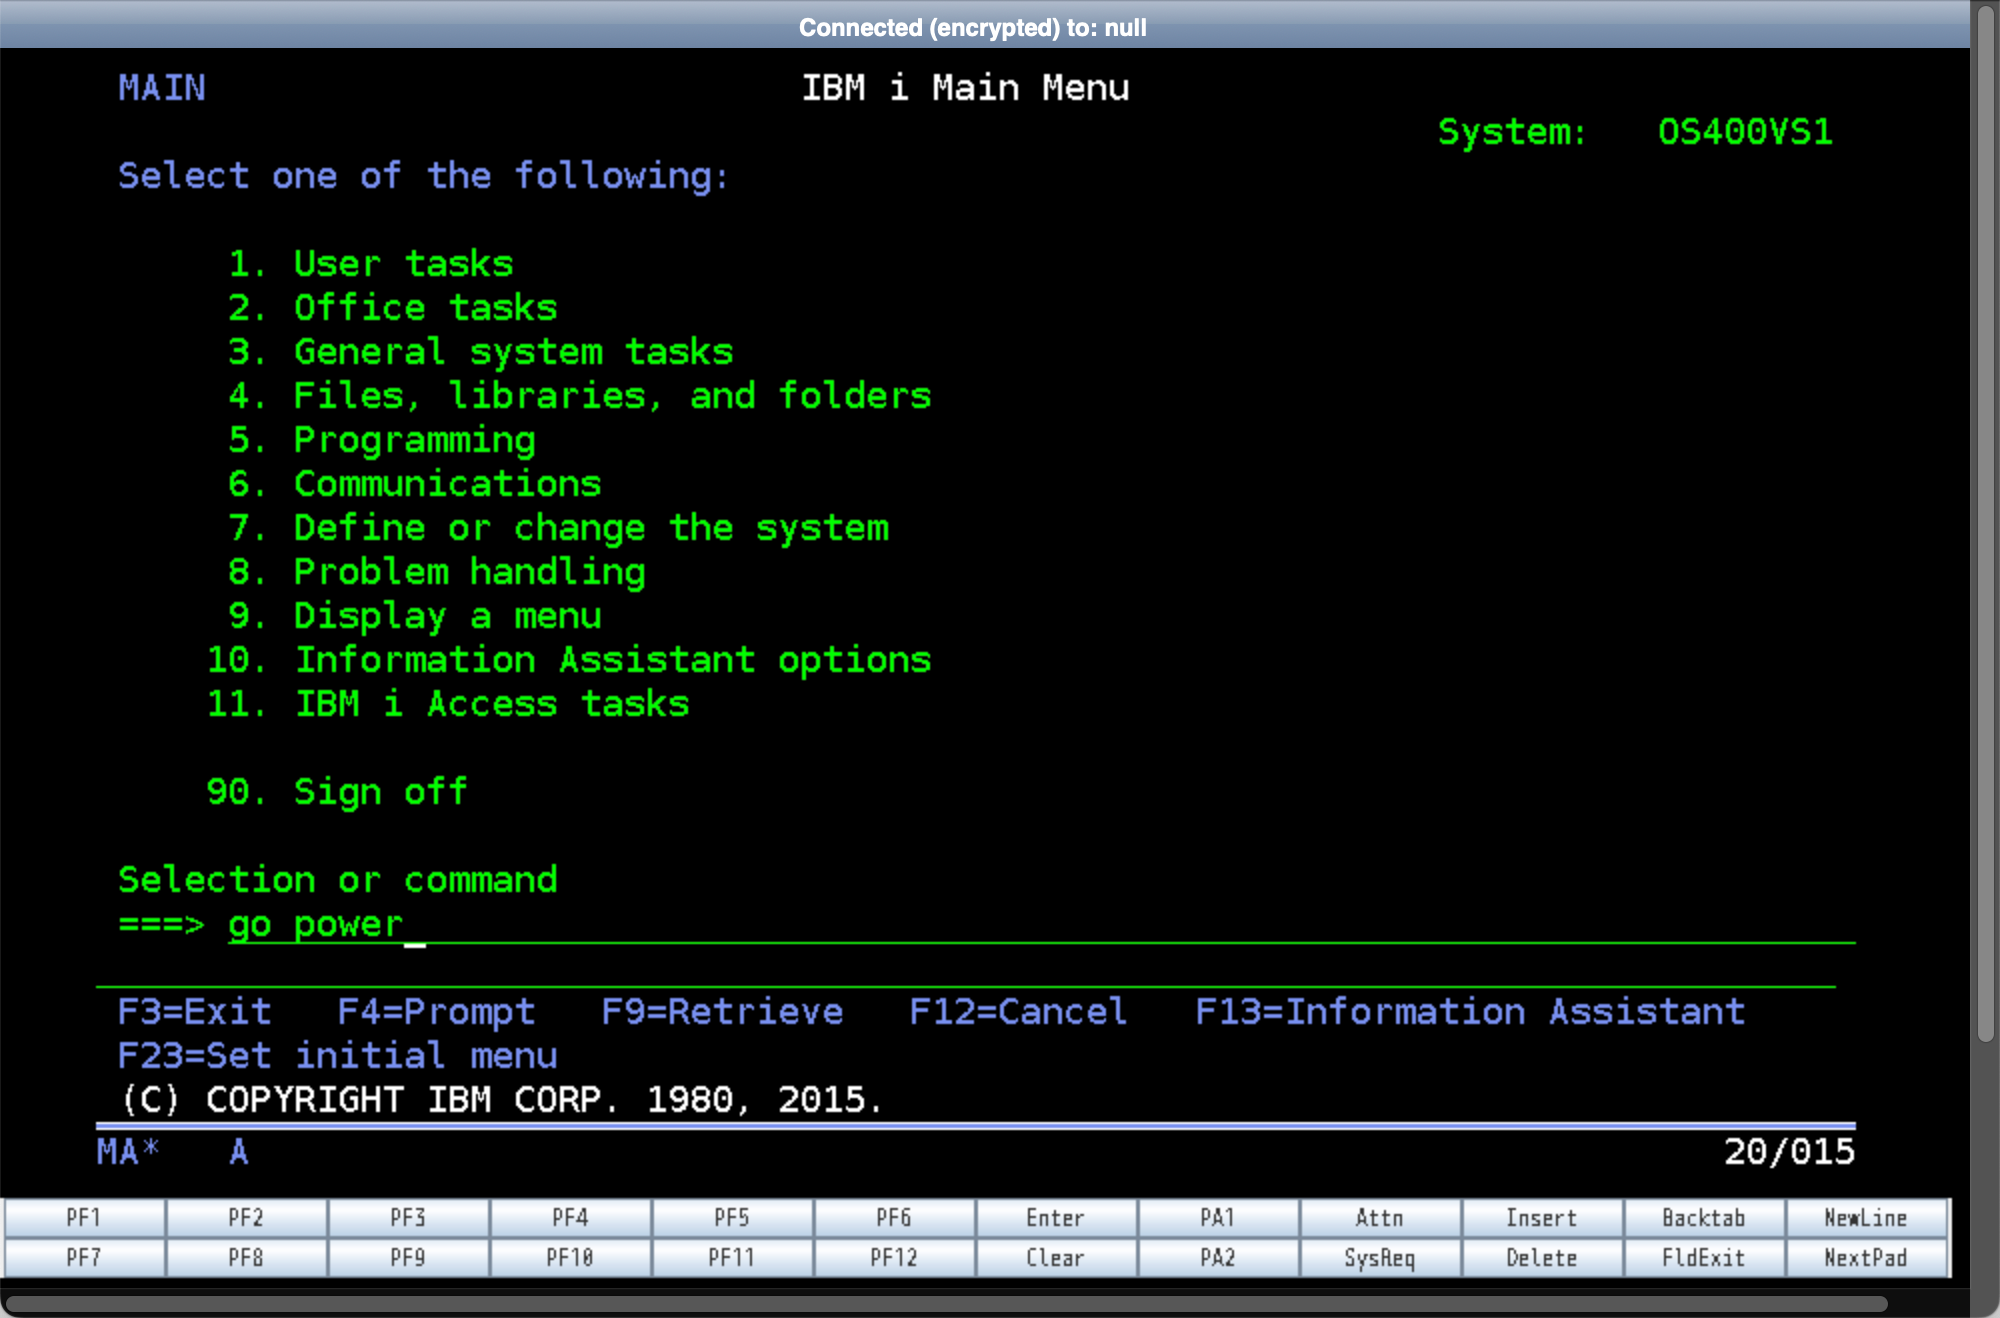
On the Main menu, type "go power" then hit the Enter key.
Step 20
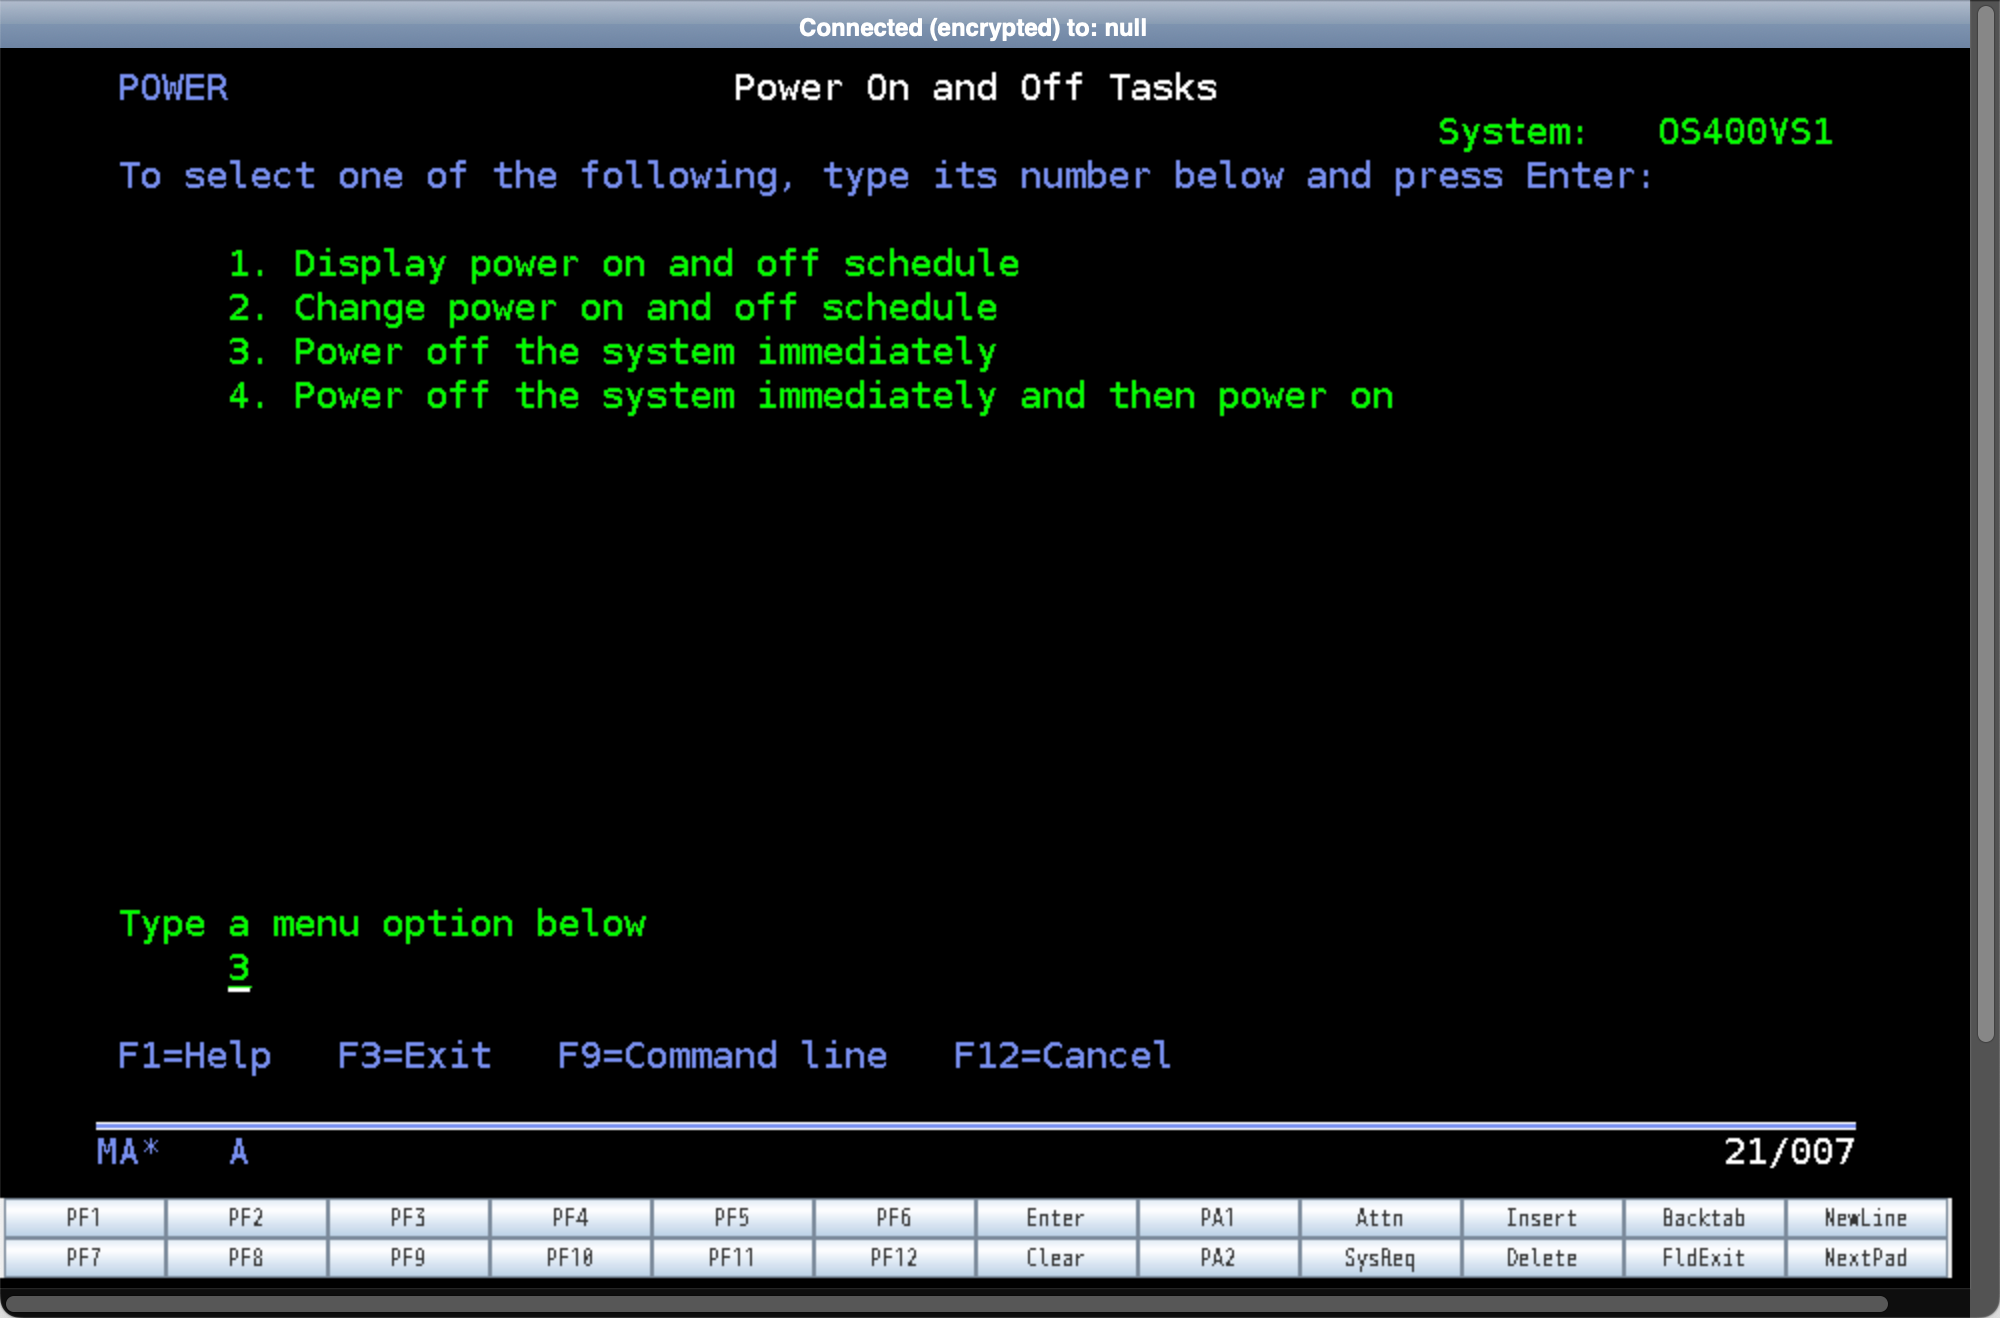
The server I built is only a test server so I went to choose option 3 to shutdown the server. Hit Enter.
Step 21
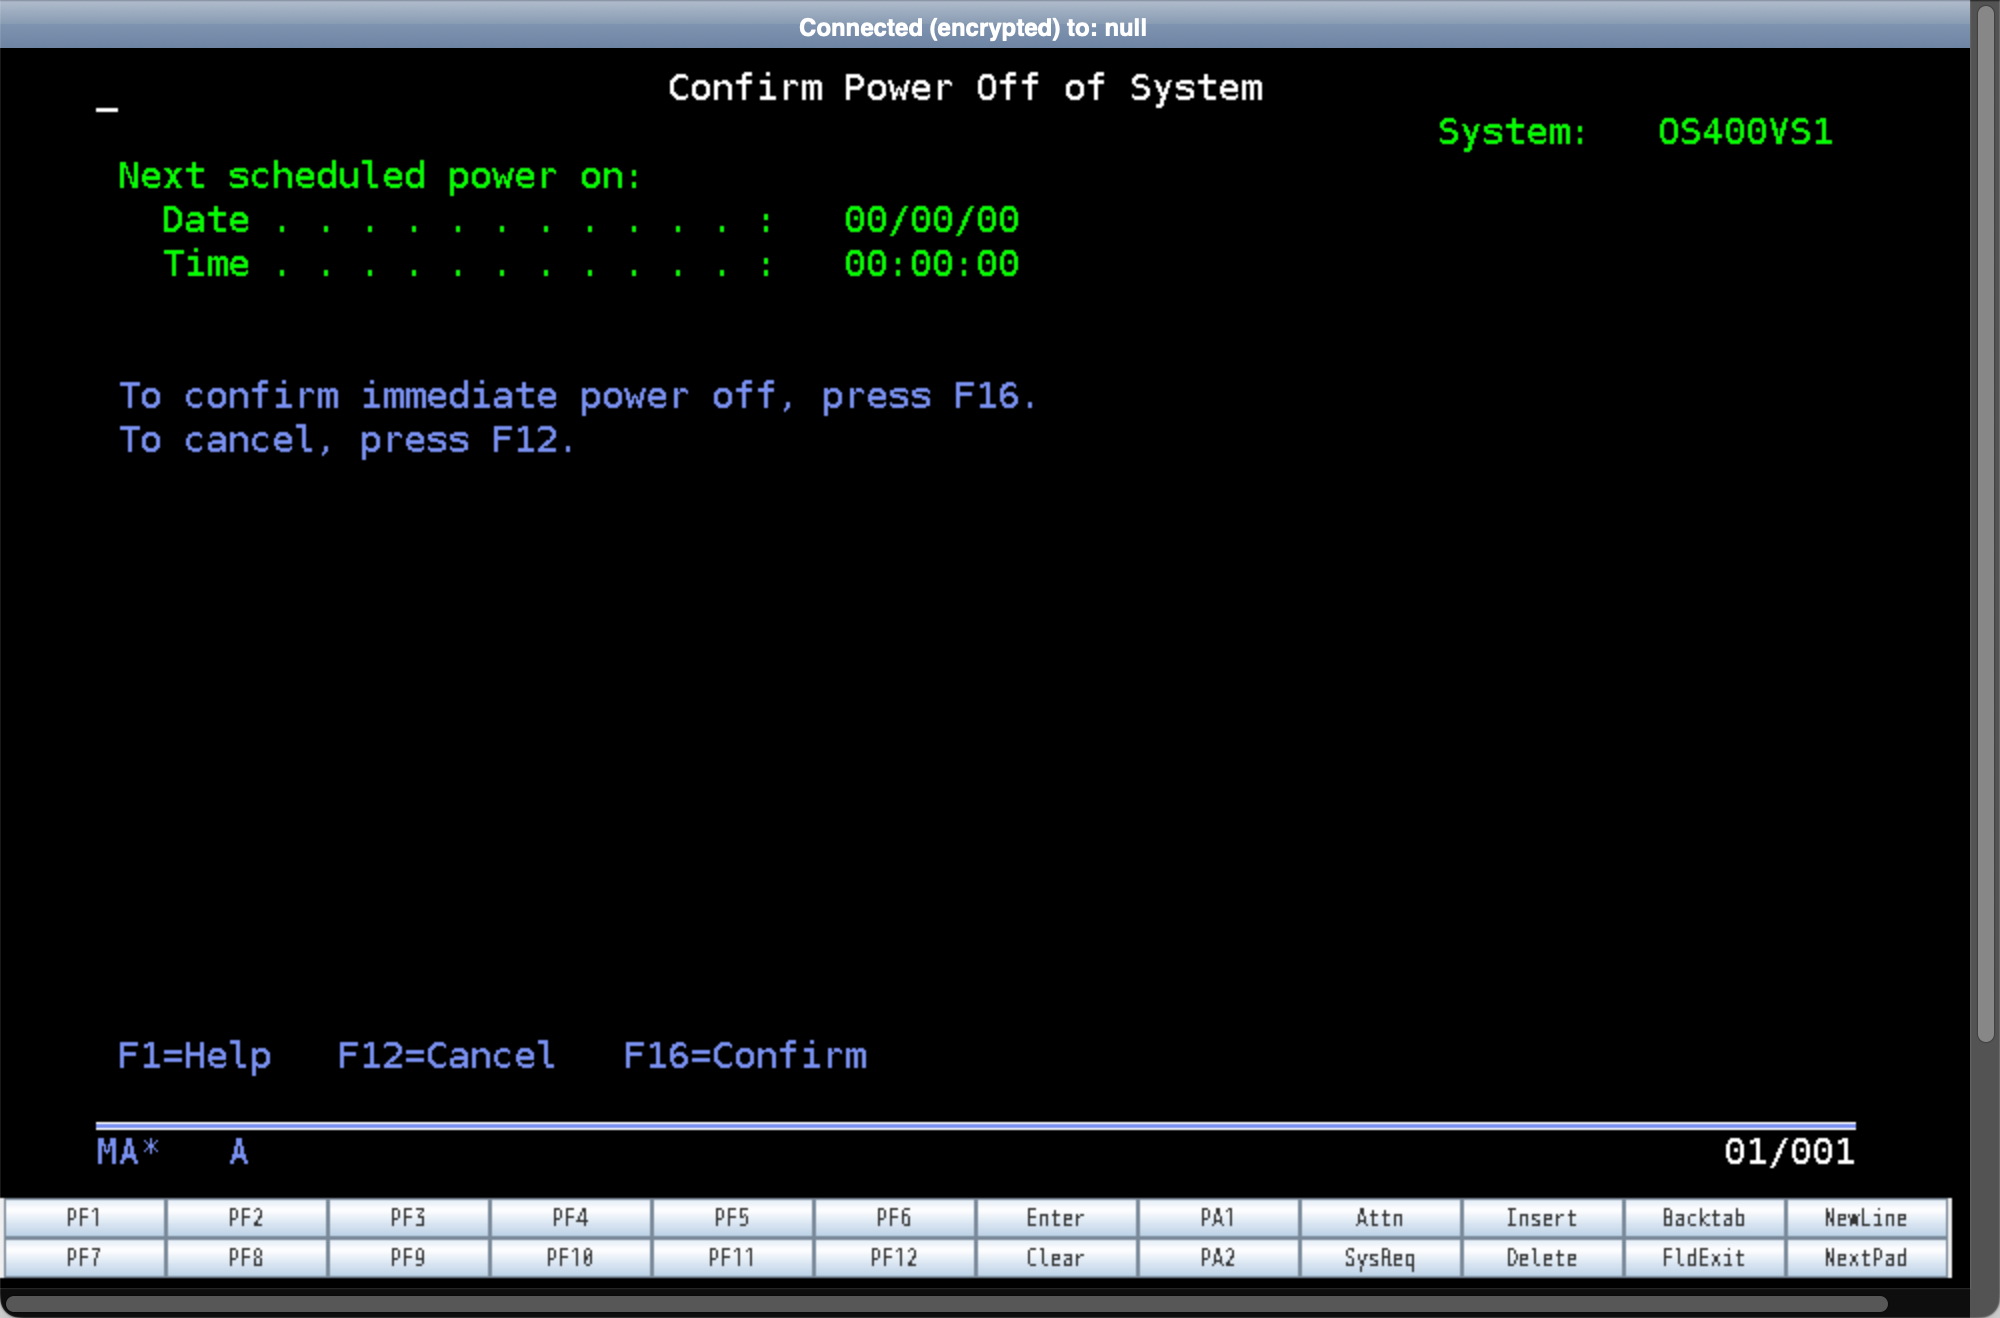
Press F16 to confirm the server power off.
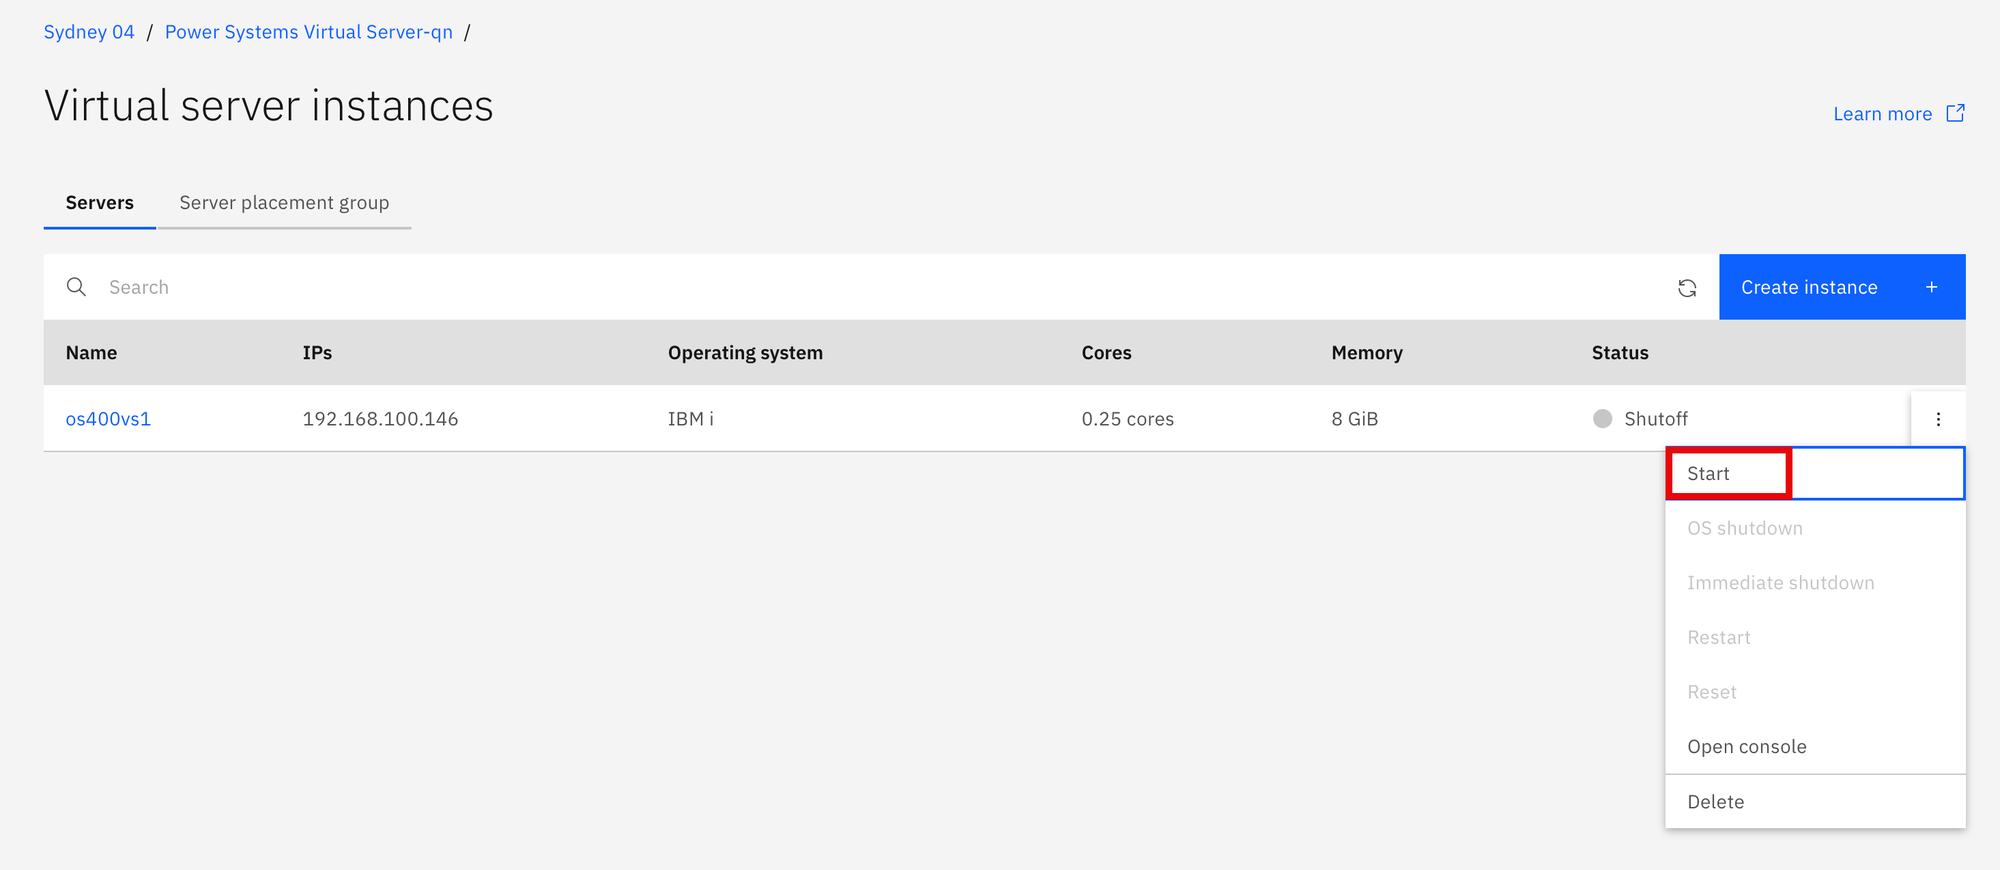
Step 22
The IBM i virtual server instance should show a Status of Shutoff.
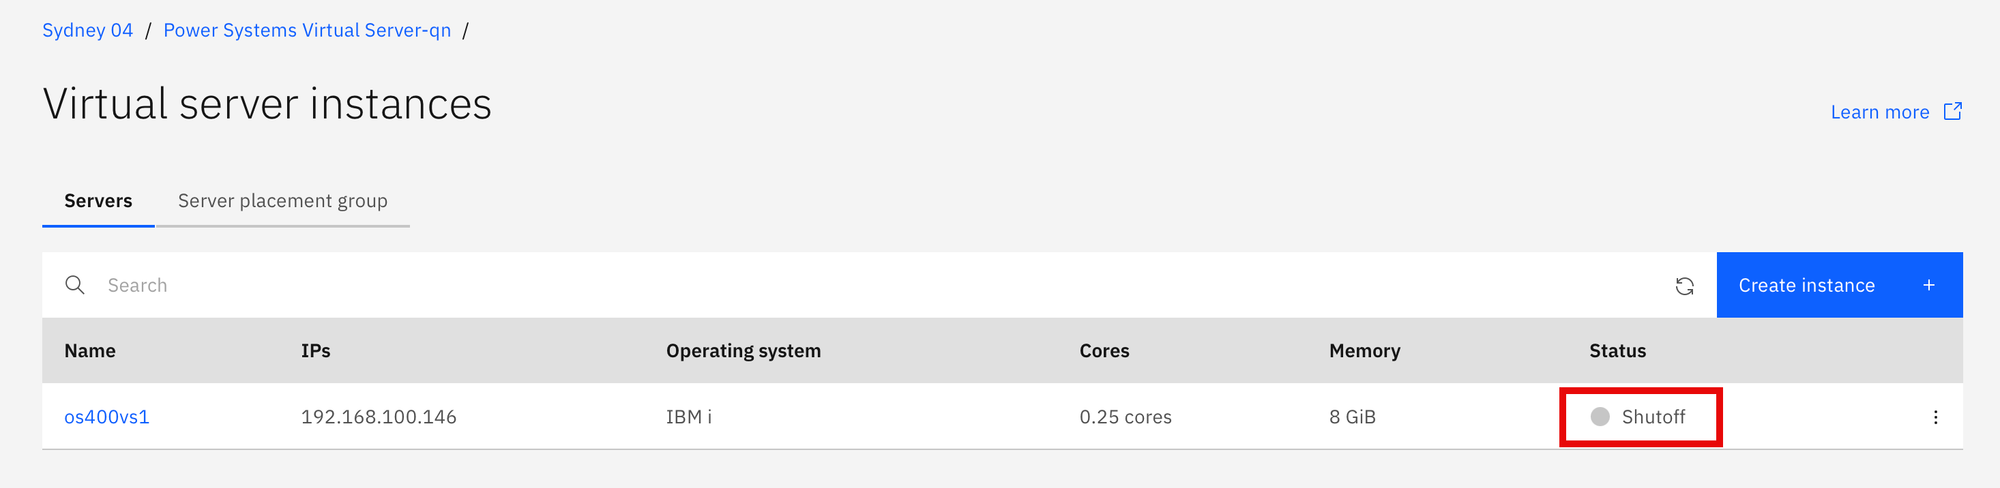
Note: Choose the Start option if the IBMi instance needs to be activated.
Choose Delete if the IBMi instance is no longer required.